Tuesday, June 26, 2012

Big Sis Art Gallery Entries

Some recent favorites from big sis....
(Pardon the sideways pics...too tired to try and fix them tonight...)
She had Mommy, Daddy, Little Sis and Little Sis' bear pose for a family portrait on the stairs. (Little sis is in Mommy's lap and bear is in between us...Little Sis got impatient, so the drawing was rushed after Daddy's picture was complete!)


She drew a crocodile one night when she couldn't sleep and attempted to spell it with no help!


I'm guessing this one is a pirate...


Hello Kitty Party

For Big E's 5th birthday, she wanted a Hello Kitty theme. Below are various pics from the party.

Homemade pinata (I followed the directions here)


Homemade cake and cupcakes (aside from the pinata, we went with lime green/pink color theme)


Paper flowers (directions easily found online) with balloons on ceiling and foam necklace craft on table


Other decorations (nothing too special here...girly colors really don't go well in my fall orange kitchen! Ha!)


We played a "pin the bow on Hello Kitty" game, had a self-serve bubble station (if you ever do this, don't go cheap on your pitcher! my valve doesn't work well...sticky mess everywhere!), made our necklaces, hit the pinata, and of course had cake and ice cream. The birthday girl had a blast!


Homemade Slip 'N Slide

We took on a major gardening undertaking that involved being outside all day. As the girls grew antsy (and saw a slip 'n slide in our neighbors' yard!), we decided to set up a homemade slip 'n slide! Not really sure I need to post directions, but in case you've never seen or thought of it, here's what we did...

Unrolled several huge trash bags without separating them. We laid them so they sloped downward and used some plastic pegs we had on hand to secure them in the ground at the starting line. (It was windy, so we initially had a bag of mulch at the finish line...ha!) We brought over the hose and set it at the start of the trash bag slide and the girls went to town! They found that it was a lot of fun to lay on their pool kickboards and slide down on them.


Lemonade Stand

After hearing about the lemonade stand from over at Oh, Pickles (her inspiration came from here), I knew immediately that I wanted to try something like this some day!

As I was attempted to clean out the garage, I noticed some spare wood and decided it was time to take on the project. After searching various do-it-yourself stands and getting input from my two little entrepreneurs, I decided to mainly use the plans from This Old House (mainly because I had the right amount of wood on hand for this plan AND the plan allows you to fairly easily disassemble the stand for storage...a must in our house!), but adding the awning from this site.

I didn't take pictures as I worked, so I only have finished product pics.

I will say that the poles I used for my awning are too long and I cut the tulle a little too short, so my awning doesn't look as cute. (I also could stand to add more!) I may just make a cloth awning at some point in time...perhaps end of summer fabric sales! I also plan to paint a frame around the chalkboard. The spray paint has worked wonderfully...it wipes down so easily! All in all, a fun project and my girls love playing with it!


Thursday, March 8, 2012

Storing School Memories

Like about everyone else, I have become a bit of a Pinterest junkie. While mindlessly searching one day, I stumbled upon this fantastic idea for storing/labeling kids' school papers/work. Mine are still a bit in progress, but here's my take on it (not much different from the original post, I will say!):

Supplies needed:
Plastic file folder tub (recommend the see through kind)
Hanging file folders
Labels (I used Avery shipping labels- the kind you can run through the printer)
Possibly photo corners
Not sure if all brands have this, but Avery has templates available for free online and I was able to easily design my labels the way I wanted. I had mine print out with a table that included the following categories: Name, School, Year, Teacher

Print these out and attach one to each folder. As your child gets his/her school pictures, you can attach a photo to the folder as well using photo corners. We do not have any school photos, so I have not added this yet.
I love that each folder can hold quite a bit, it's all in one container, all you have to do is slide something into the folder and you are done!


Easter Garland

Here we go again! Another one of my ribbon/wood shape garlands! I just love the way they look on my mantel - a quick, inexpensive way to change up for the seasons and hardly requires any room to store!

As always, this is highly adaptable. If you want to focus more on the meaning of Easter, you could always pick circles or a different shape and write out "He Is Risen", maybe add a cross, etc.

Here's how I did mine:
Supplies needed:
8 oval shapes (I get mine at a local chain craft store - can cost anywhere from 10-39 cents a piece)
Ribbon
Paint and paint brushes
letter stickers (if desired)
hot glue gun

First, I decorated each oval to look like an Easter egg.

Once dry, I opted to use letter stickers to write out EASTER. (I had some left over and really did not like the way my hand lettering turned out on my Valentine's garland.)
Cut as much ribbon as you desire to hang across your mantel. Space the finished wood shapes on your ribbon and glue.
Hang and enjoy!

Tuesday, February 14, 2012

Easter Egg Wreath

Yes, today is Valentine's Day, but all of my crafts for this year are taking forever and obviously will not be done in time for VDay, so thought I'd post a favorite Easter craft from past years. I will post a picture when I can find it, but that may be a while...ha! With Ash Wednesday just a week away, thought I'd post the link to the directions.

Cute and Easy Easter Egg Wreath

Supplies needed:
42-ish plastic Easter Eggs
Cardboard (large enough for the base of your wreath)
plastic grass (don't need tons)
Wire-edged ribbon - will be making a bow out of it (I always use pipe cleaners when I make bows)
Hot glue gun
Scissors, pencil

(Basically, you make your wreath base, hot glue the eggs down leaving space for a ribbon, tuck grass into the holes using the eraser end of a pencil to fill in the gaps. Add the ribbon and some sort of hook for hanging (I think I used a paperclip)

Very easy and can be super inexpensive if you buy your eggs after Easter!

Love their moms craft night out too...super fun!!

Sunday, January 29, 2012

Simple VDay Frame Picture

Saw this idea on Pinterest. Happened to have some picture frames not being used, so it was a simple and inexpensive project!

Supplies needed:
Picture frame
Music paper (I bought a piece of scrapbook paper, but there are sites with free sheet music to print - could print one and stain it or print it on a certain color of cardstock perhaps)
Red paper
Glue

Don't think it really needs explanation. Here's how mine turned out...

I like the one I found through pinterest pinterest a little better (she had a better frame and I forgot about how she used a distressed ink pad on her heart), but this was the best frame I currently had on hand. Could easily just take out a picture for the season and avoid having to store anything very big or purchase a frame.

Initial shirts

Thanks to Caroline over at Oh Pickles for this idea!

Supplies needed:
t-shirt
paper doily (I used 4 inch, but I think 6 inch would still work for the toddler/preschool crowd?)
fabric paint and brushes
stencils (or make one using card stock and your printer)
possibly spray adhesive
I opted to use a light coat of spray adhesive on the t-shirt, waited about 5 minutes, then placed a doily in the center of the shirt.

Next, I painted all of the doily openings with fabric paint, then carefully peeled off the doily.

Finally, I used a stencil I made using my computer/cardstock and painted the initial in the center of the doily.

Voila! I will say that the shirt was a bit tacky from the glue residue. I am assuming it will be fine after a good wash. If this is not the case, I will adjust this post. I've made bags without using the glue and I will say it is much easier to do a good job with the paint if you use the glue!

If you go on a kick of making these shirts/tote bags, they can be pretty inexpensive...especially if you can find a good shirt on sale! Looks super cute with a tutu skirt and leggings or tights.


Valentine's Day garland for mantle

I loved the way our fall leaf garland turned out, so I thought I might try that for Valentine's day. My plan was to purchase hearts and have the girls help paint them. However, there was just one heart left. Instead, I opted for a simple oval shape, wrote "Be Mine" on them and ran with that instead. In retrospect, I wish I would have purchased wood letters and painted them, since my writing stinks! (It would have been more expensive, though.)

On to the craft!

Supplies needed:
Roll of ribbon (I used grossgrain, 1 inch wide I think)
5 oval wood disks and 1 heart (or letters or other shapes)
Craft paint
Paint brushes
Hot glue gun


Paint your wood pieces as desired and let dry.
Cut a piece of ribbon the length you desire.
Lay your ribbon out on the floor and determine where you want your wood pieces to hang (I always start with my center piece and work out)
Use the hot glue gun to attach the pieces to the ribbon.
Hang and enjoy!

(For a fun version with kids, have them help paint!)

(Note: I leave my garland up through winter, the house just feels so much cozier and happier through the blah months of winter!)


Friday, January 20, 2012

Big Sis Birthday April 2011

Just realized I had not blogged Big Sis' cake from last year. She wanted Rudolph the Red Nosed Reindeer. She had this particular cake in mind, but it just wasn't an option. (I do not own a printer for edible items and she has a tree nut allergy, so almost all bakery made cakes are off limits.) Instead, I made Rudolph cupcakes along with a mini cake that said Happy Birthday.

For the cupcakes, I used Wilton icing tubes to make Rudolph's face on wax paper. (I had printed a picture and then just free handed it.) I stuck those in the freezer.
During that time, I spread each cupcake with icing and rolled the edges in red sugar sprinkles. Then I removed the Rudolph faces, peeled them off the wax carefully and placed on top of the cupcakes. She loved it!

Halloween Costumes from years past

I likely will never post sewing instructions, as I am always just winging it when I sew. Thought I'd still post past years' costumes, all of which were homemade with the exception of Minnie Mouse (I could not find polka dot material locally and was feeling intimidated by a dress...Cinderella was my first ever attempt at a dress) and the fairy wings.

(Side note: seems we do not have any pics prior to Little Sis' birth on our back up storage drive...will have to hunt for those years and add later. Missing Big sis as a fairy when she was 1.5 and dressed as a flower for her first Halloween.)

Sorry for all of the pics of Little Sis as Pebbles for her first Halloween. Right now, she's in that "over smiling" or scowling phase for pictures, so I just had to post all of these with her adorable smiling baby face!


Bought the Minnie Mouse Costume. Made the Pebbles dress and "bone" accessory for her little whale spout.


Made all of the Snow White Costume except the tiara (made a cape, skirt, and top...first time working with costume satin - definitely not my favorite! Did learn some lessons and improved the next year.) Made the fairy tutu. I think I like the way big sis' fairy tutu turned out just a little better, but it was fun to try a different technique

2011 Halloween Costumes

One thing I really enjoy is trying to make my girls' Halloween costumes. This year, big sis was set on being a witch. At 4, I just wasn't ready to go that route so when I temporarily had her agreeing to be a penguin, I immediately jumped on it! As a result, I had their costumes basically finished back in August!

For Big Sis' penguin costume, I took a picture of a pattern you could buy and used it as my guide - did everything free hand. I used fleece for her costume, but mistakenly sewed the hood in place, which made the neck hole too tight to slip over her head. I cut a v in the front part and then later hid it with a bow tie that was held in place by velcro.

Little Sis wanted to be Cinderella. I followed the directions here and was more than pleased with how it turned out. I added an extra layer to her skirt portion and it just looked gorgeous. I have never made sleeves like that...her directions are just great! The one mistake I made: I didn't follow the directions EXACTLY and attached the skirt later, only I forgot to measure the top bodice to determine where it should attach to the skirt. As a result, the bodice was rather long on her. Overall, it worked though and I was SO very proud of the outcome. Seriously, this pattern is worth trying. I'm not a very good seamstress and was able to do it!


Card Table Tent

While snooping around on etsy once back when I was pregnant with Little Sis, I fell in love with these card table tents. This gal is so talented and her tents are so cute!

Upon seeing it, I decided to try it out myself and give it to Big Sis when we came home from the hospital with her new sibling. I searched around other sites to get some ideas as to how I might want to make ours. Not only am I a self-taught cake decorator, I am also a self-taught and pretty inexperienced seamstress. Therefore, this is no where near perfect or as cute as hers, but for as big a project as it was, I was so excited with how it turned out. The girls still enjoy playing with it. In fact, the pictures below are from this past week, not 3 years ago when it was first presented to big sis. It has been through some wear and tear, and some of the accessories are missing (letters for the mailbox, some apples, veggies from the veggie patch, and the watering can for the garden). Regardless, I thought I'd still share. Not something I will likely ever do again, but it was fun and rewarding to try it once!


Dora Birthday!

Little Sis turned 3! For each birthday, I let the girls pick what they want on their cake and what flavor cake they want, then I do my best to make it. Someday, I'd really like to take a Wilton class, as I am entirely self-taught and it certainly shows! (I can't make roses to save my life, my writing is not very steady, and I cannot ice smoothly unless I am working with fondant!)

Little Sis decided on Dora for her theme. I made her cake and we also did something fun with her presents. I'll detail both below:

Presents:
I stumbled on this idea on a few different websites as I was searching for cake ideas. Here was my take on it:
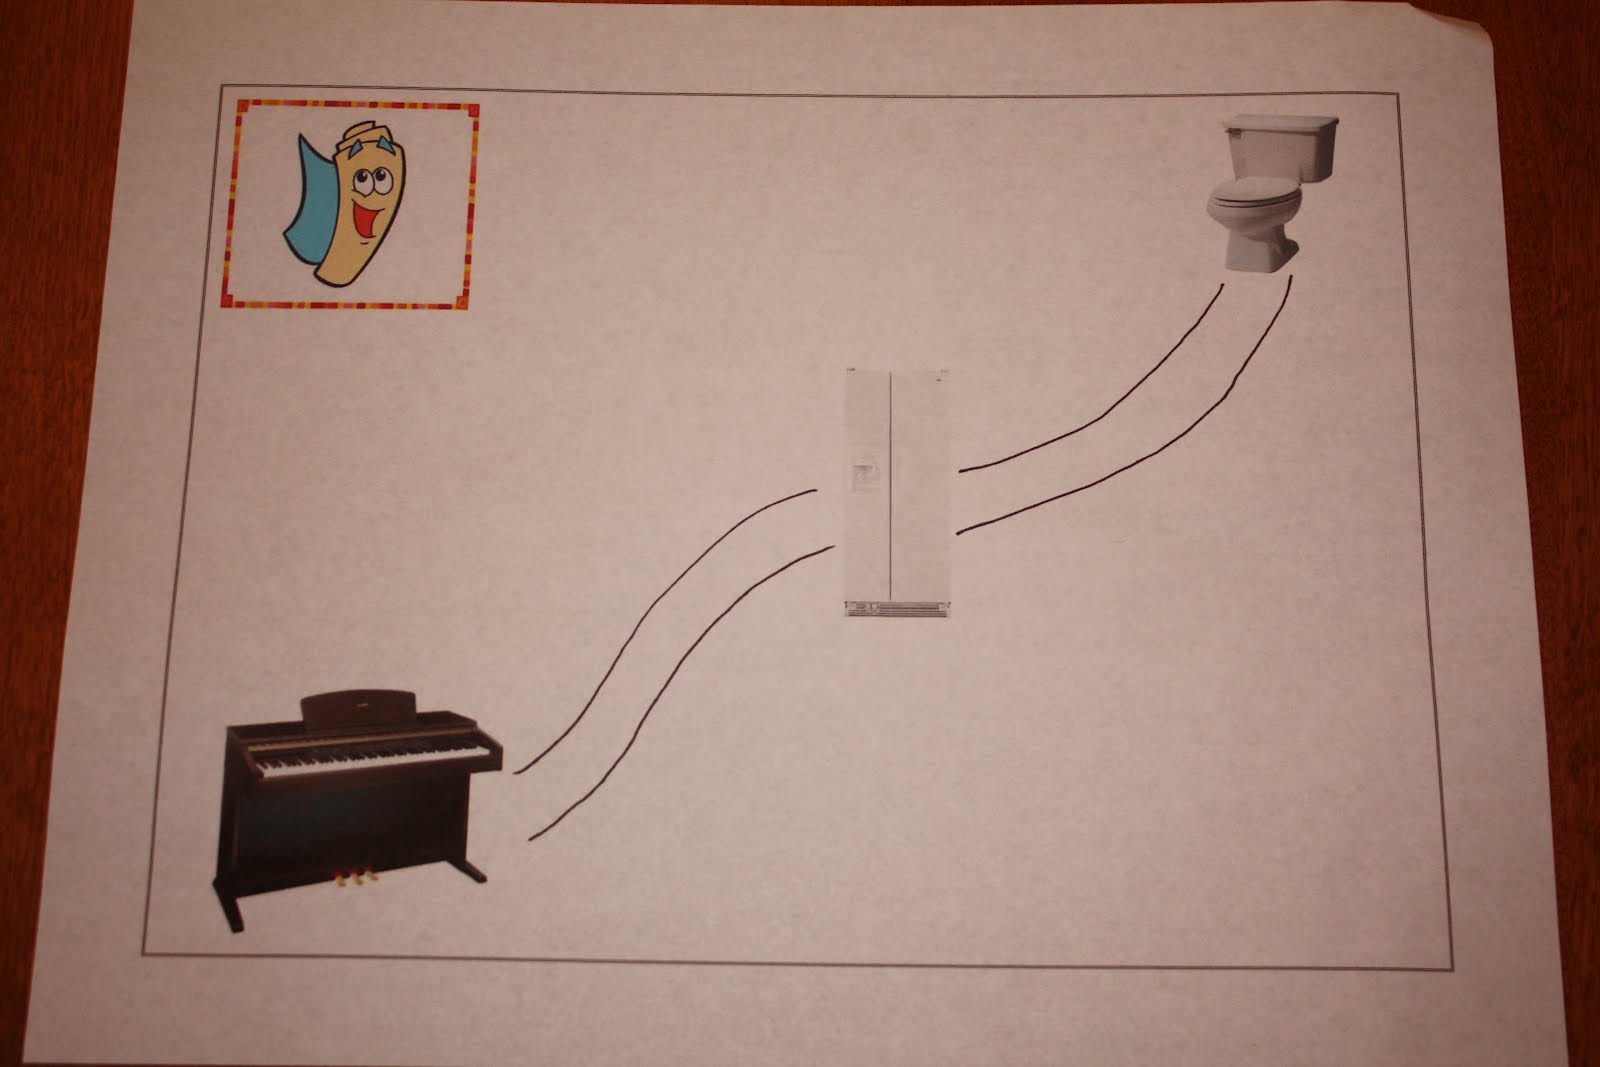
Before the big day, I bought a Swiper beanie baby and made a map. (Not very colorful, but it worked. Some people made fun sets that go along with places Dora visits...since we weren't having a formal party, I just made a map through part of our house.)
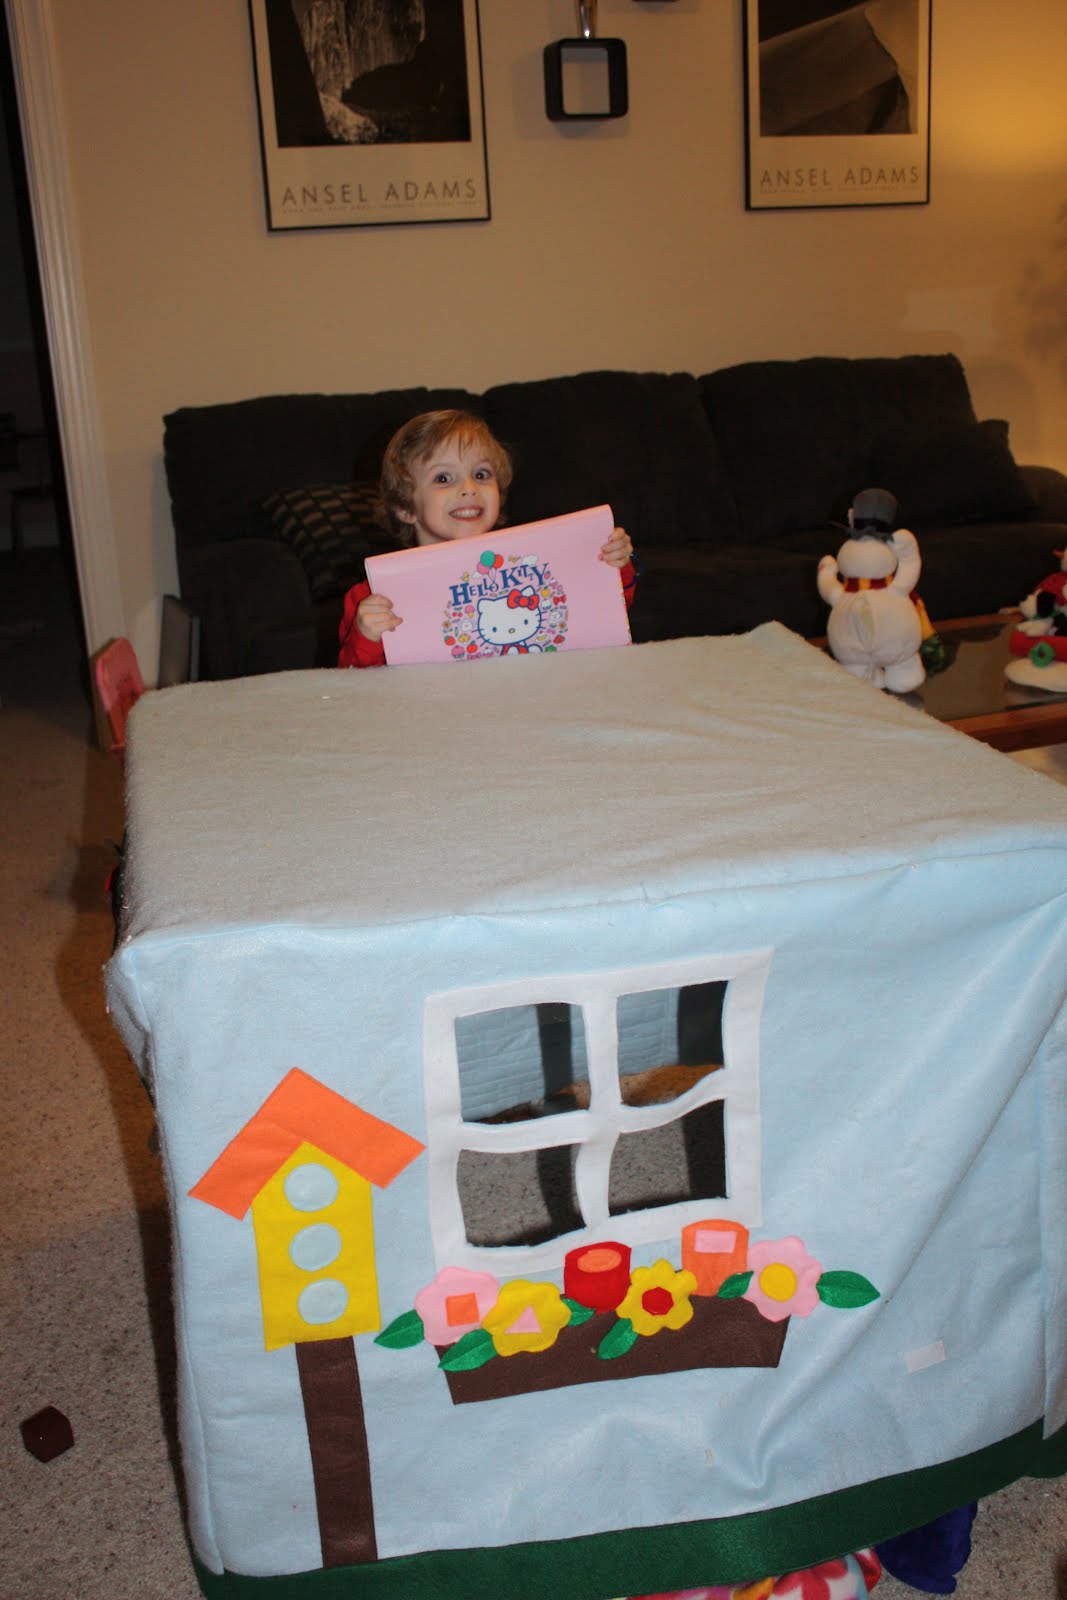
1. I set the presents out on a bench, had my girls look at it before going downstairs to play for a bit.
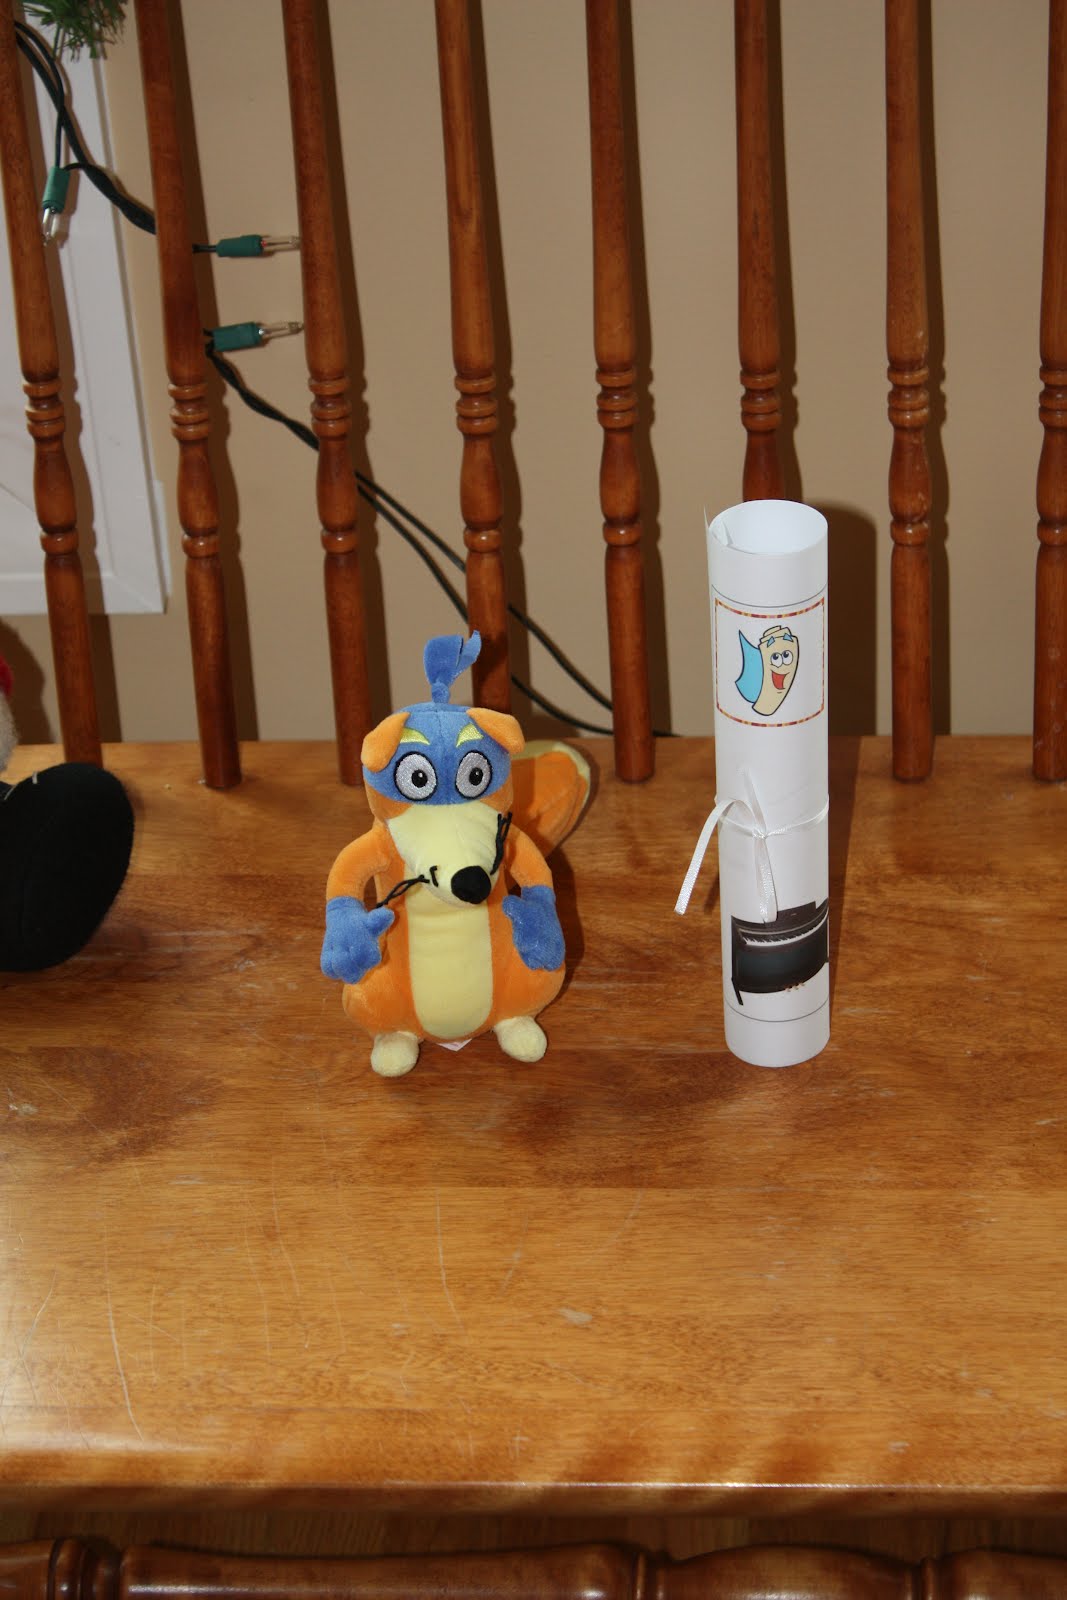
2. While they were downstairs, I moved the presents to a different location and replaced them with a beanie baby Swiper (part of her present too) and a map I had made on the computer, rolled up and tied with a ribbon. Then we let the fun begin!
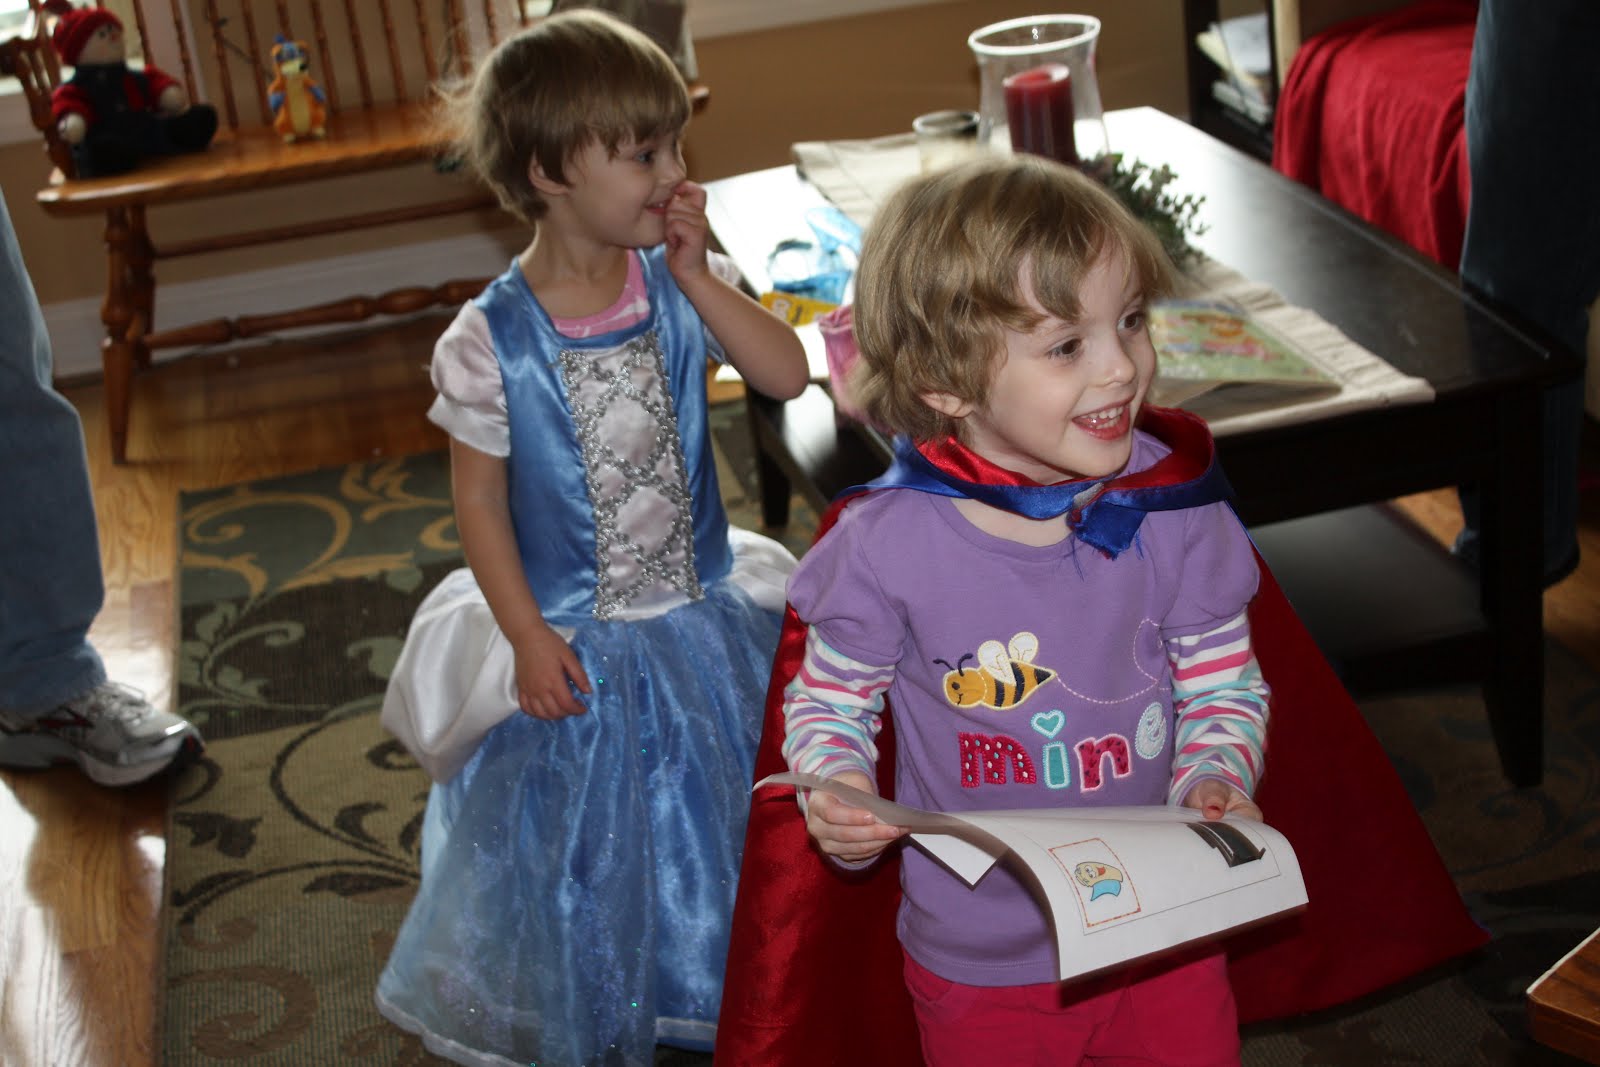
3. The girls came back up and immediately saw Swiper. We asked what happened to the presents and they realized Swiper "swiped" them. I had left Map right next to him, as I didn't want any tears because presents were stolen. I also said that Swiper must have stashed the presents somewhere else in the house and asked them who we needed to ask for help when we don't know which way to go!
4. They followed the map and found the presents! Little Sis was still talking about it at bedtime. Of course we had to read Dora books, with Swiper sitting nearby. HIGHLY recommend this fun game!

Cake:
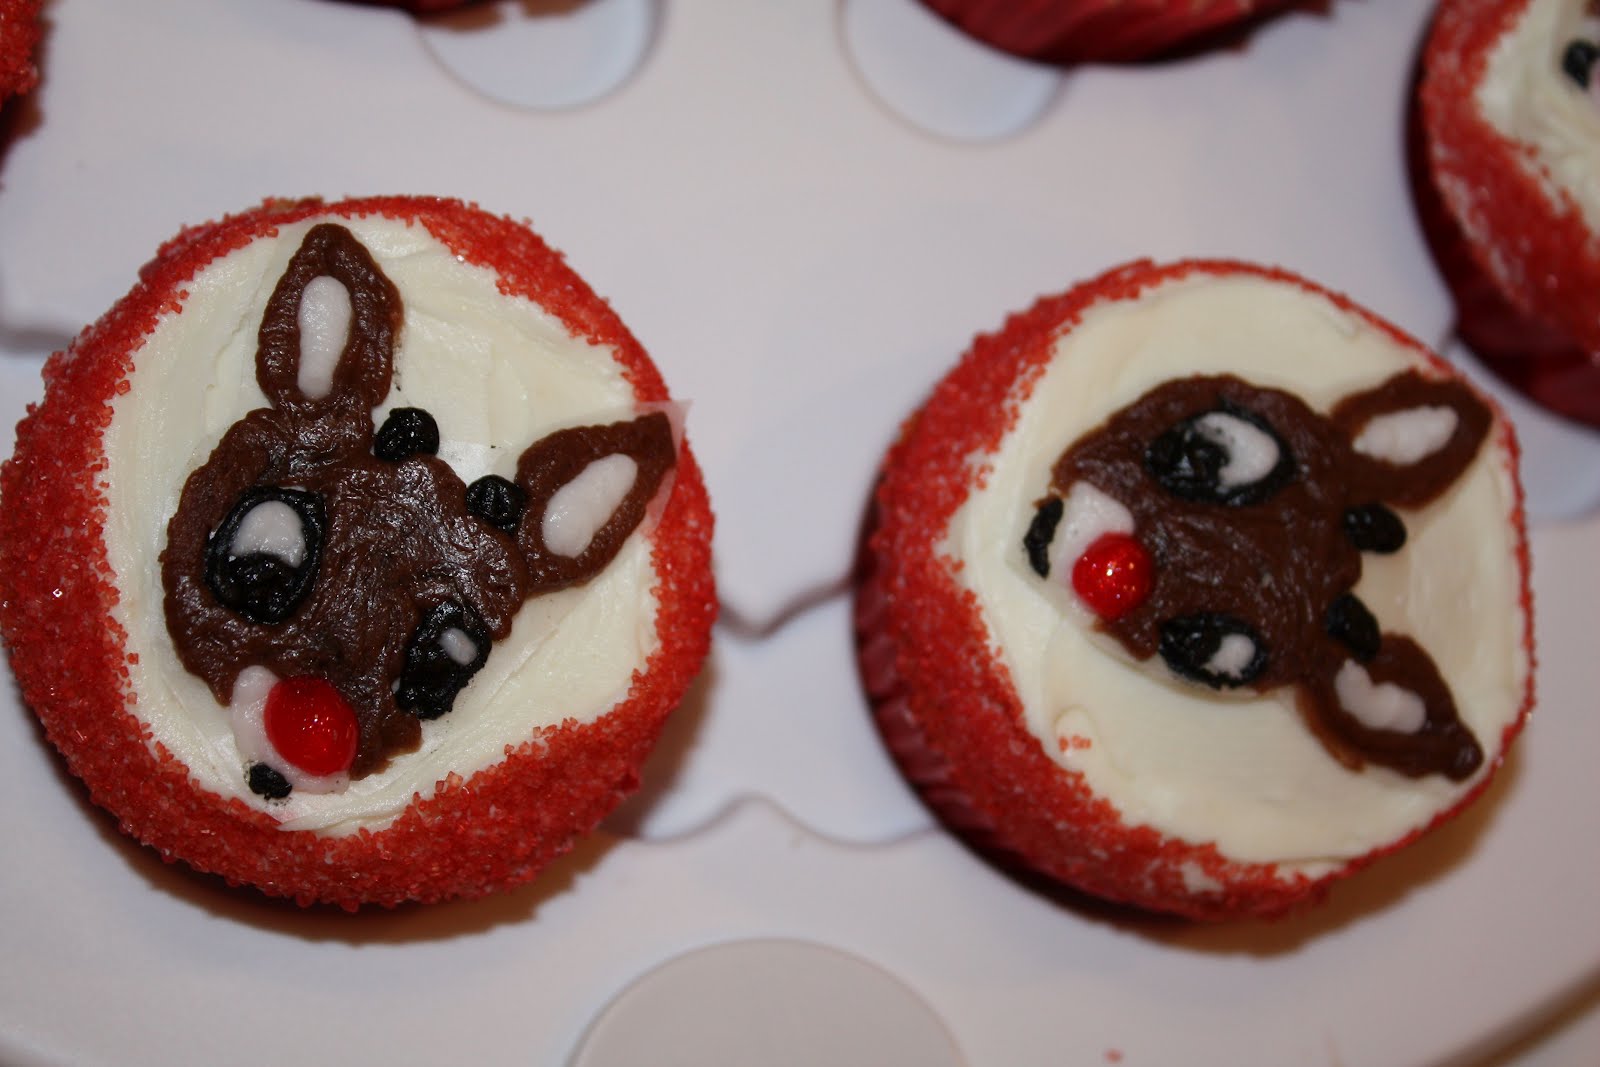
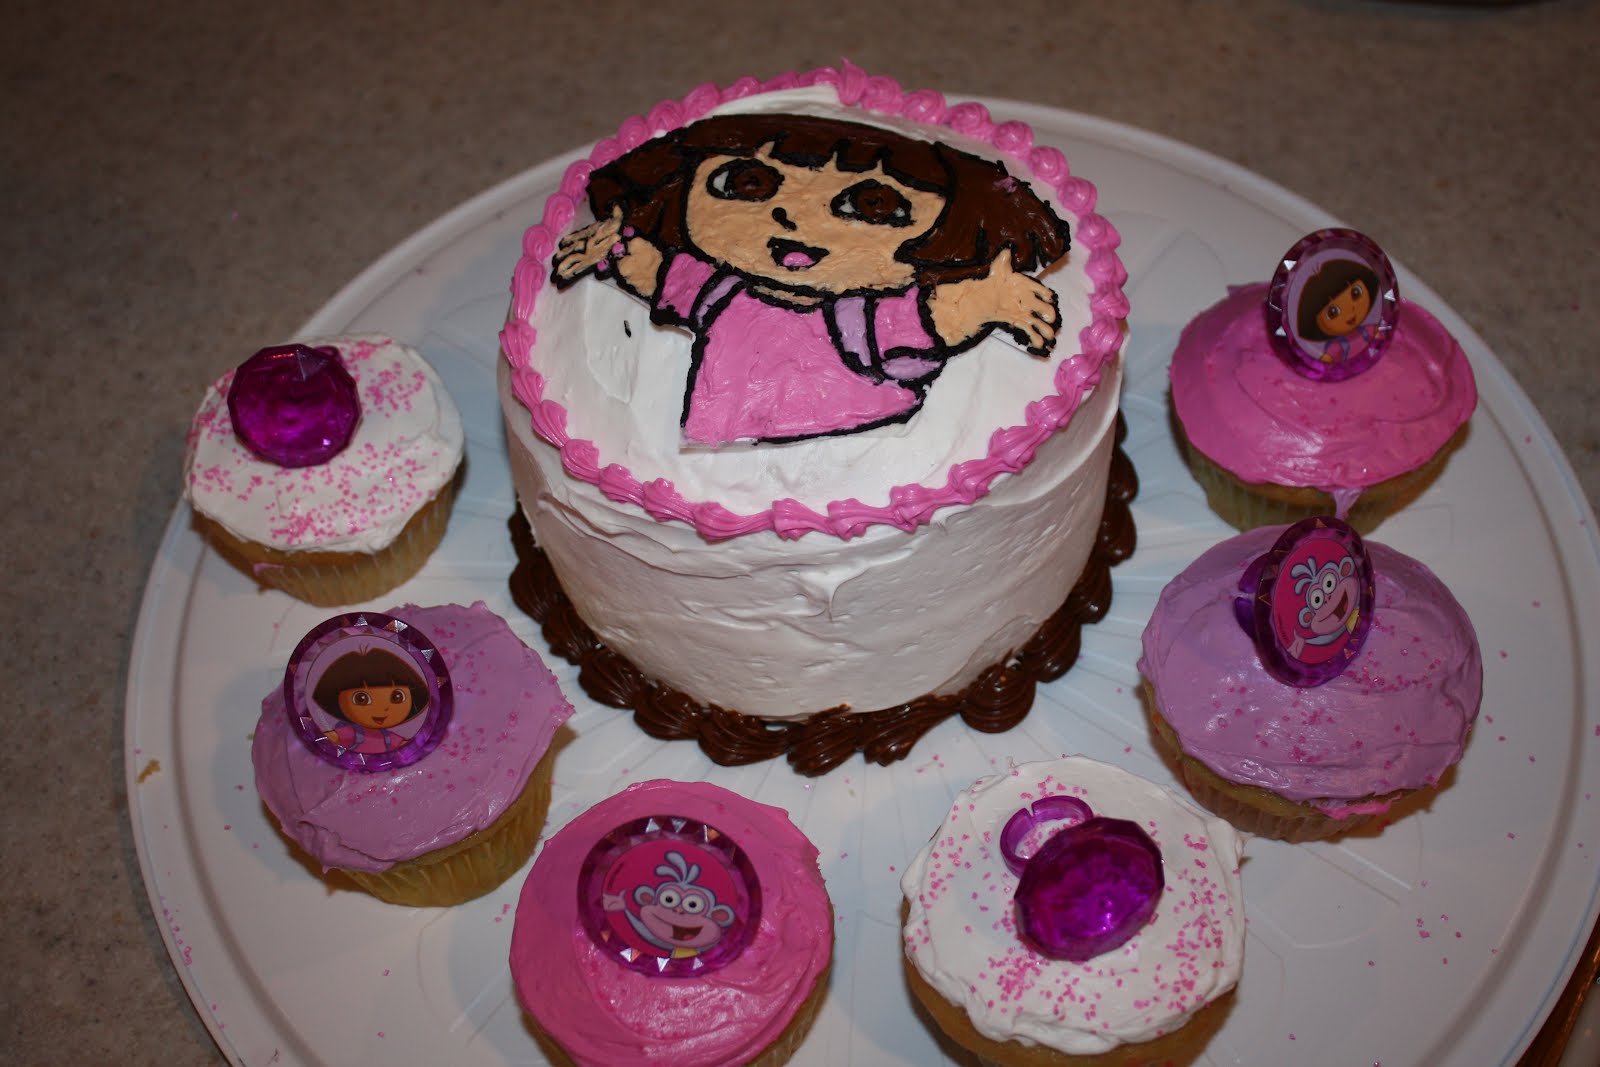
I did some searching and ended up making cupcakes with Dora rings, along with a small cake with Dora's face on it. I had intended to write Happy Birthday, but didn't have much room (and also finished everything else REALLY late at night). Here's how it turned out...
I had intended to make the cupcake icing really pretty, but ended up short handed and just smoothed it over with a butter knife and added some pink sugar sprinkles.

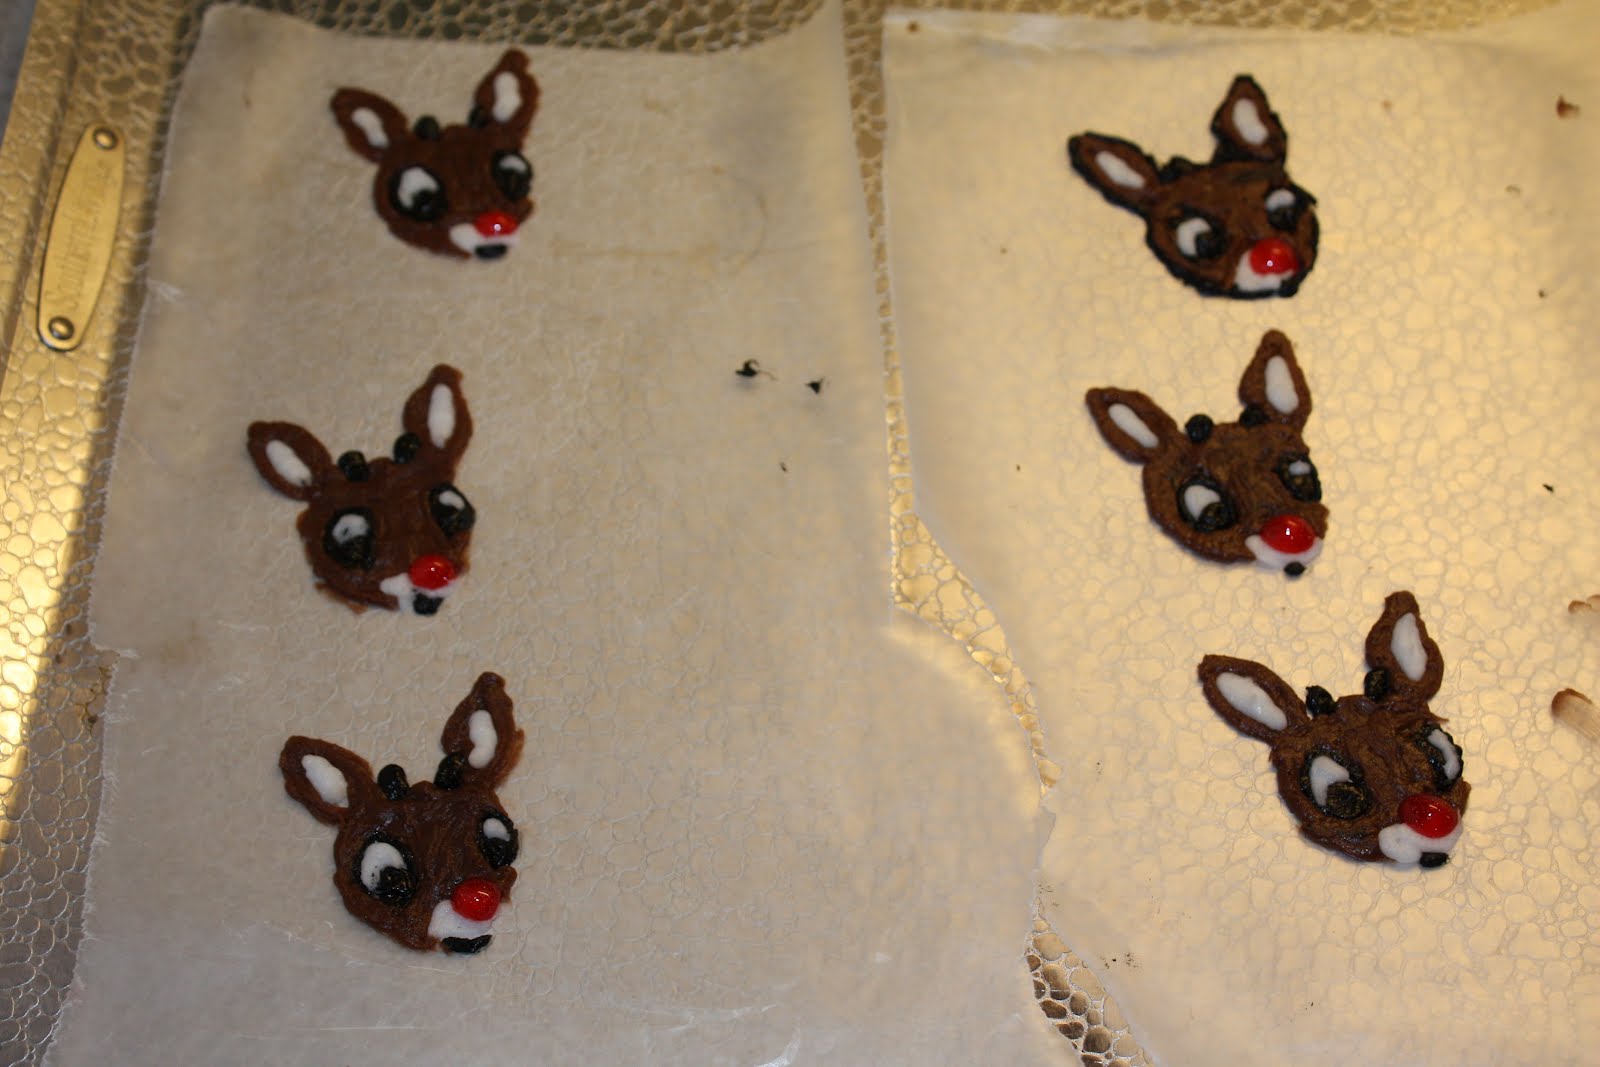
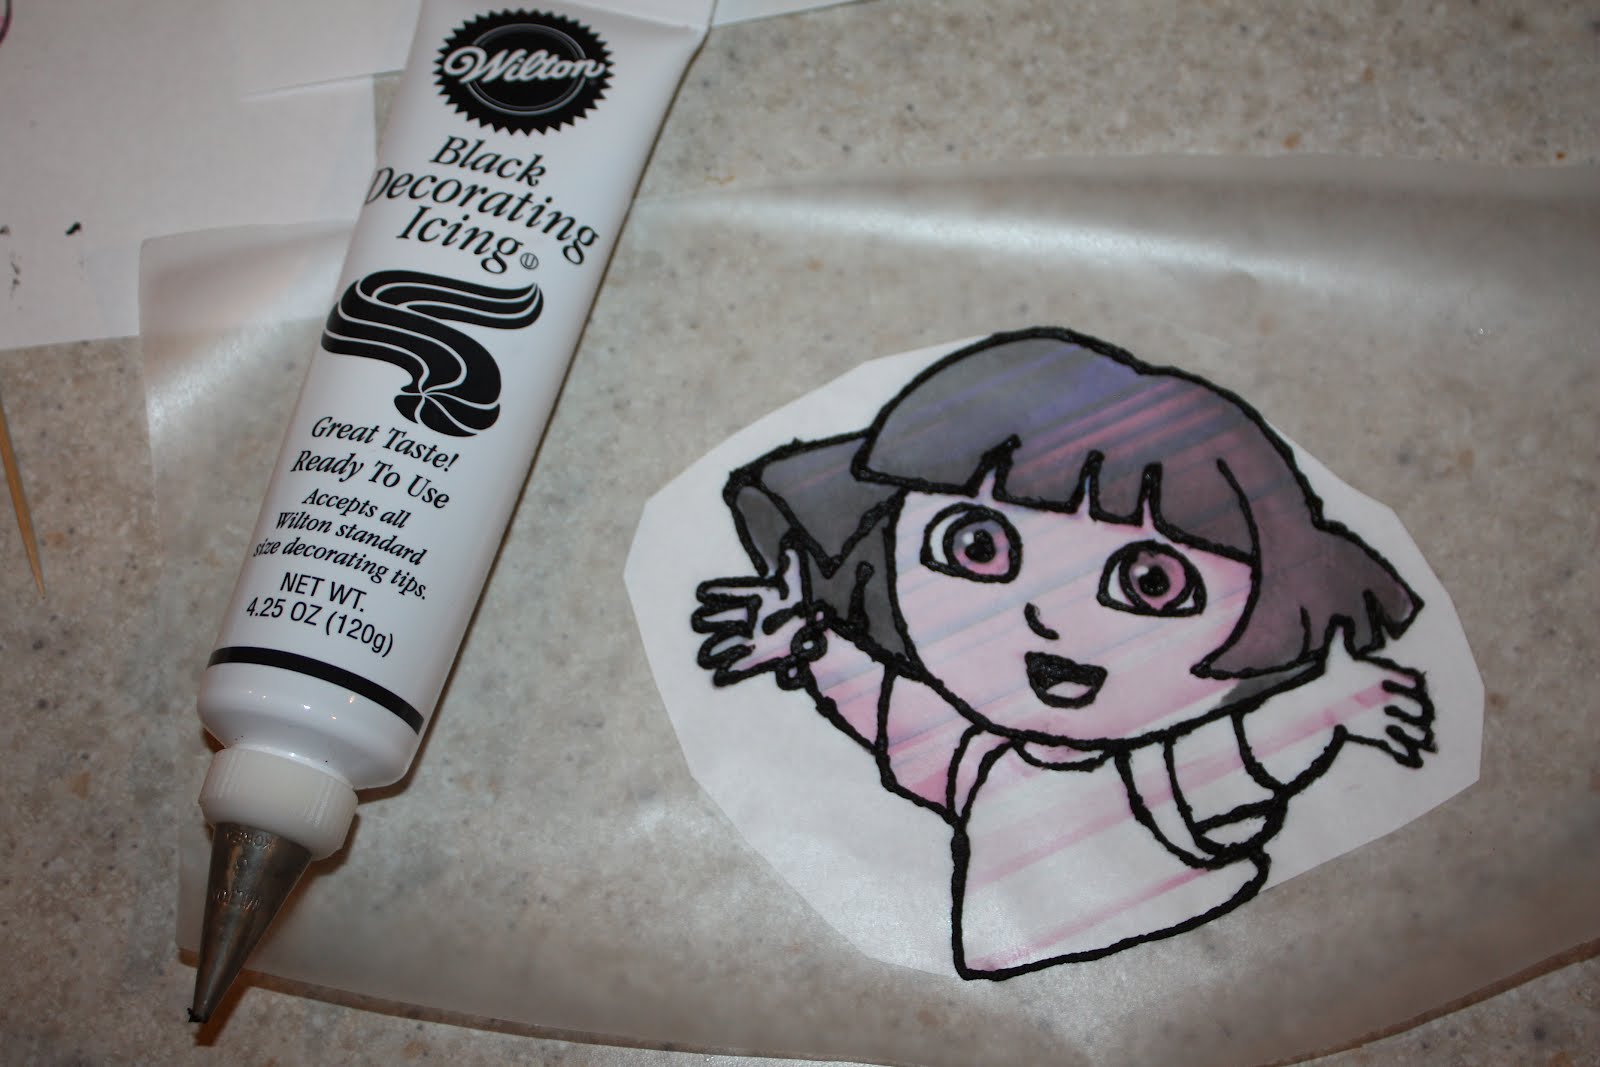
For the Dora face, I printed a picture of her, taped it to wax paper. I used a tube of black Wilton icing to make her outline on the wax paper, then froze it for about 15 minutes.
Then I used the Dora Wilton color pack, dyed the icing, and filled in all of the spaces and put it back in the freezer.
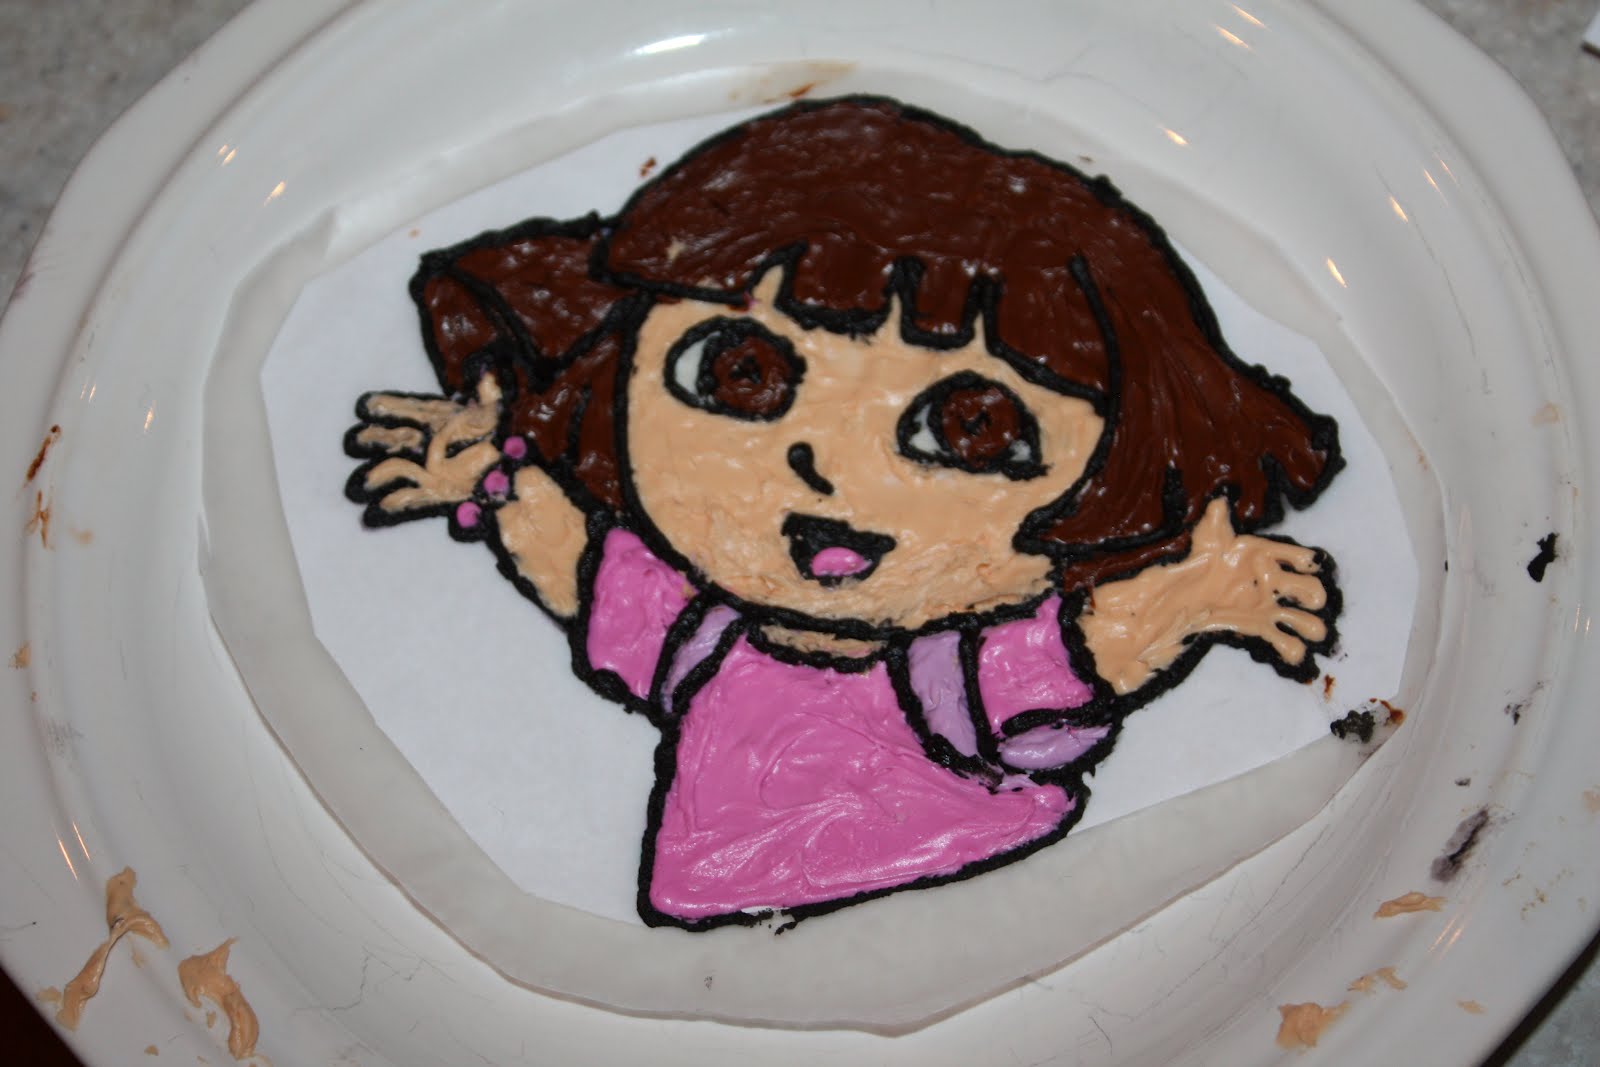
Mistakes I made: First, had troubles applying it smoothly. Second, likely didn't apply the icing thick enough....I think it has to be at least a certain thickness for this freezing method to work and you really have to make sure you do not leave any gaps. Finally, I left mine in the freezer overnight because it was really late and I didn't want to wait another 45 minutes. I don't think this affected it much, but may try differently next attempt. If you do it right, you should be able to peel the picture away fairly easily from the wax paper. Parts of mine were ready to peel off easily, other parts were not. Instead of peeling, I just cut around it and laid it on top of the cake until serving time. (Which brings my final mistake...didn't level my cake. You absolutely must have a level surface to apply figures made this way. Since I kept the wax paper attached, it worked for me. Had I been able to separate it, the face likely would have cracked. Still can't believe I forgo to level both layers of the cake!)

Didn't quite turn out the way I had visualized, but Little Sis loved it and that's all that matters!