Like about everyone else, I have become a bit of a Pinterest junkie. While mindlessly searching one day, I stumbled upon this
fantastic idea for storing/labeling kids' school papers/work. Mine are still a bit in progress, but here's my take on it (not much different from the original post, I will say!):
Supplies needed:
Plastic file folder tub (recommend the see through kind)
Hanging file folders
Labels (I used Avery shipping labels- the kind you can run through the printer)
Possibly photo corners
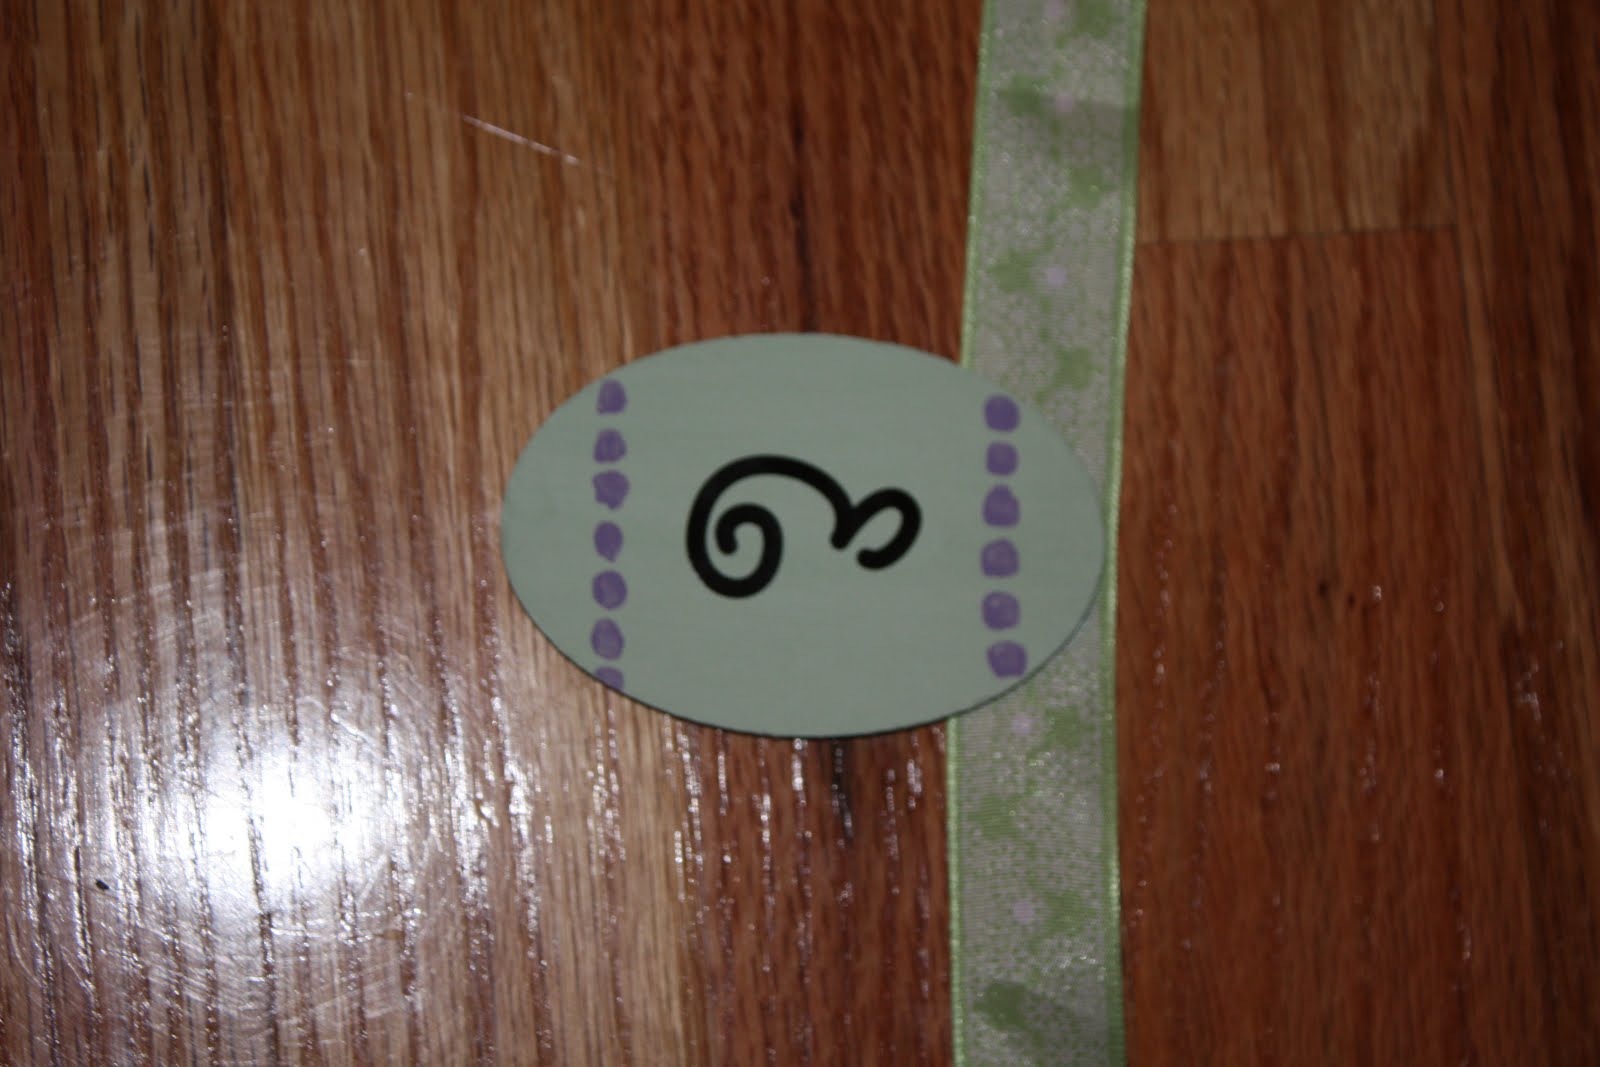
Not sure if all brands have this, but Avery has templates available for free online and I was able to easily design my labels the way I wanted. I had mine print out with a table that included the following categories: Name, School, Year, Teacher
Print these out and attach one to each folder. As your child gets his/her school pictures, you can attach a photo to the folder as well using photo corners. We do not have any school photos, so I have not added this yet.
I love that each folder can hold quite a bit, it's all in one container, all you have to do is slide something into the folder and you are done!