
I love tiered stands, but they take up so much storage space and can get pricey. Here's a way to make your own that you can change with the seasons/occasion and keep low cost (I know I spent less than $10). (You may want to see her directions as she was better at remembering to photograph each step!)
Supplies needed:
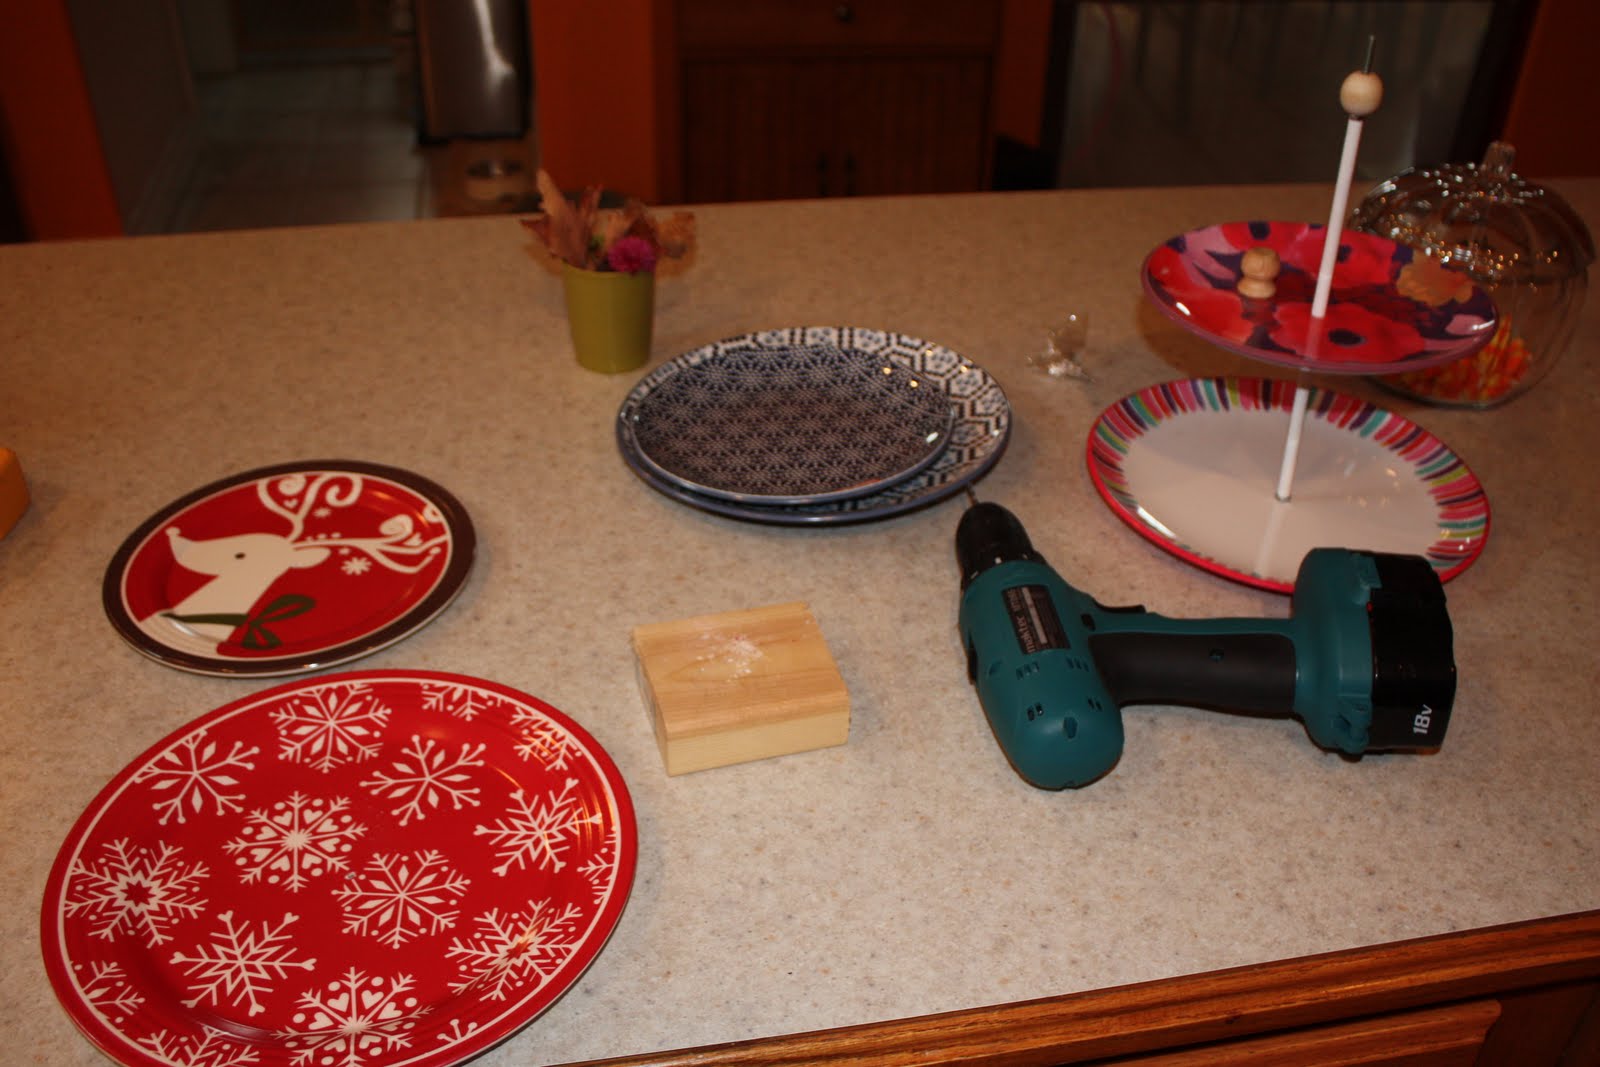
Two different sized melamine plates (make sure they have a decent ring on the bottom)
Threaded rod (hardware store)
4 nuts to fit your threaded rod and maybe 1 stop nut
Drill
2 Bic pens
Paint
Take apart the pens - you only need the tube that covers the ink. Paint it whatever color you wish. These tubes will cover the metal rod as you assemble the stand. (I recommend spray paint. I used acrylic and it chips off easily unless you coat it with a sealant or something.)
Drill holes in the center of your plates. I used some markings on the back to find the center, but you may want to measure. You'll want the holes to be pretty exact so the two plates line up nicely. I've read of others having problems cracking their plates when too much pressure is applied while drilling, but I did not have trouble. Some of the plates took a while to drill through, however.
Run the threaded rod through your larger plate and hold it there by placing a nut at the bottom making it even with the plate's rim. I do not recommend a stop nut as they are thicker. Most of the plates I've seen don't have a very wide rim that will work with a stop nut.
Next slide on one of the pen tubes and top it with a nut.

Slide the second, smaller plate on top, screw on another nut, then add the other pen tube. Lock everything in place with a nut.
Finally decide how you want to top it. The original post sawed off the excess rod and tied a ribbon to the top. I bought two different wooden bead type things, painted them white, hot glued a stop nut inside one of the beads to serve as the cap. I plan to tie a ribbon in the small gap that remains. (When I have access to a better saw, I may also just saw off some of the rod.)

TIPS:
If the bottom plate isn't deep enough, the whole stand will be wobbly as it tries to stand on the small nut. One remedy if you face this problem: use little felt anti-scratch tabs (like the ones you put on the bottom of chairs to keep them from scratching the floor) around the rim to get the plate a little further off the ground.
Mine sometimes becomes unscrewed a little easily so I might try adding a nut below and above the upper tier plate. I'm also wondering what would happen if you painted the bolts.
It is a bit of a pain to screw/unscrew, but it's worth it to me as it has saved money, is easier to store and gives lots of fun options!
No comments:
Post a Comment