Yes, today is Valentine's Day, but all of my crafts for this year are taking forever and obviously will not be done in time for VDay, so thought I'd post a favorite Easter craft from past years. I will post a picture when I can find it, but that may be a while...ha! With Ash Wednesday just a week away, thought I'd post the link to the directions.
Cute and Easy Easter Egg Wreath
Supplies needed:
42-ish plastic Easter Eggs
Cardboard (large enough for the base of your wreath)
plastic grass (don't need tons)
Wire-edged ribbon - will be making a bow out of it (I always use pipe cleaners when I make bows)
Hot glue gun
Scissors, pencil
(Basically, you make your wreath base, hot glue the eggs down leaving space for a ribbon, tuck grass into the holes using the eraser end of a pencil to fill in the gaps. Add the ribbon and some sort of hook for hanging (I think I used a paperclip)
Very easy and can be super inexpensive if you buy your eggs after Easter!
Love their moms craft night out too...super fun!!
Tuesday, February 14, 2012

Sunday, January 29, 2012
Simple VDay Frame Picture
Saw this idea on Pinterest. Happened to have some picture frames not being used, so it was a simple and inexpensive project!
Supplies needed:
Picture frame
Music paper (I bought a piece of scrapbook paper, but there are sites with free sheet music to print - could print one and stain it or print it on a certain color of cardstock perhaps)
Red paper
Glue
Don't think it really needs explanation. Here's how mine turned out...

I like the one I found through pinterest pinterest a little better (she had a better frame and I forgot about how she used a distressed ink pad on her heart), but this was the best frame I currently had on hand. Could easily just take out a picture for the season and avoid having to store anything very big or purchase a frame.
Supplies needed:
Picture frame
Music paper (I bought a piece of scrapbook paper, but there are sites with free sheet music to print - could print one and stain it or print it on a certain color of cardstock perhaps)
Red paper
Glue
Don't think it really needs explanation. Here's how mine turned out...
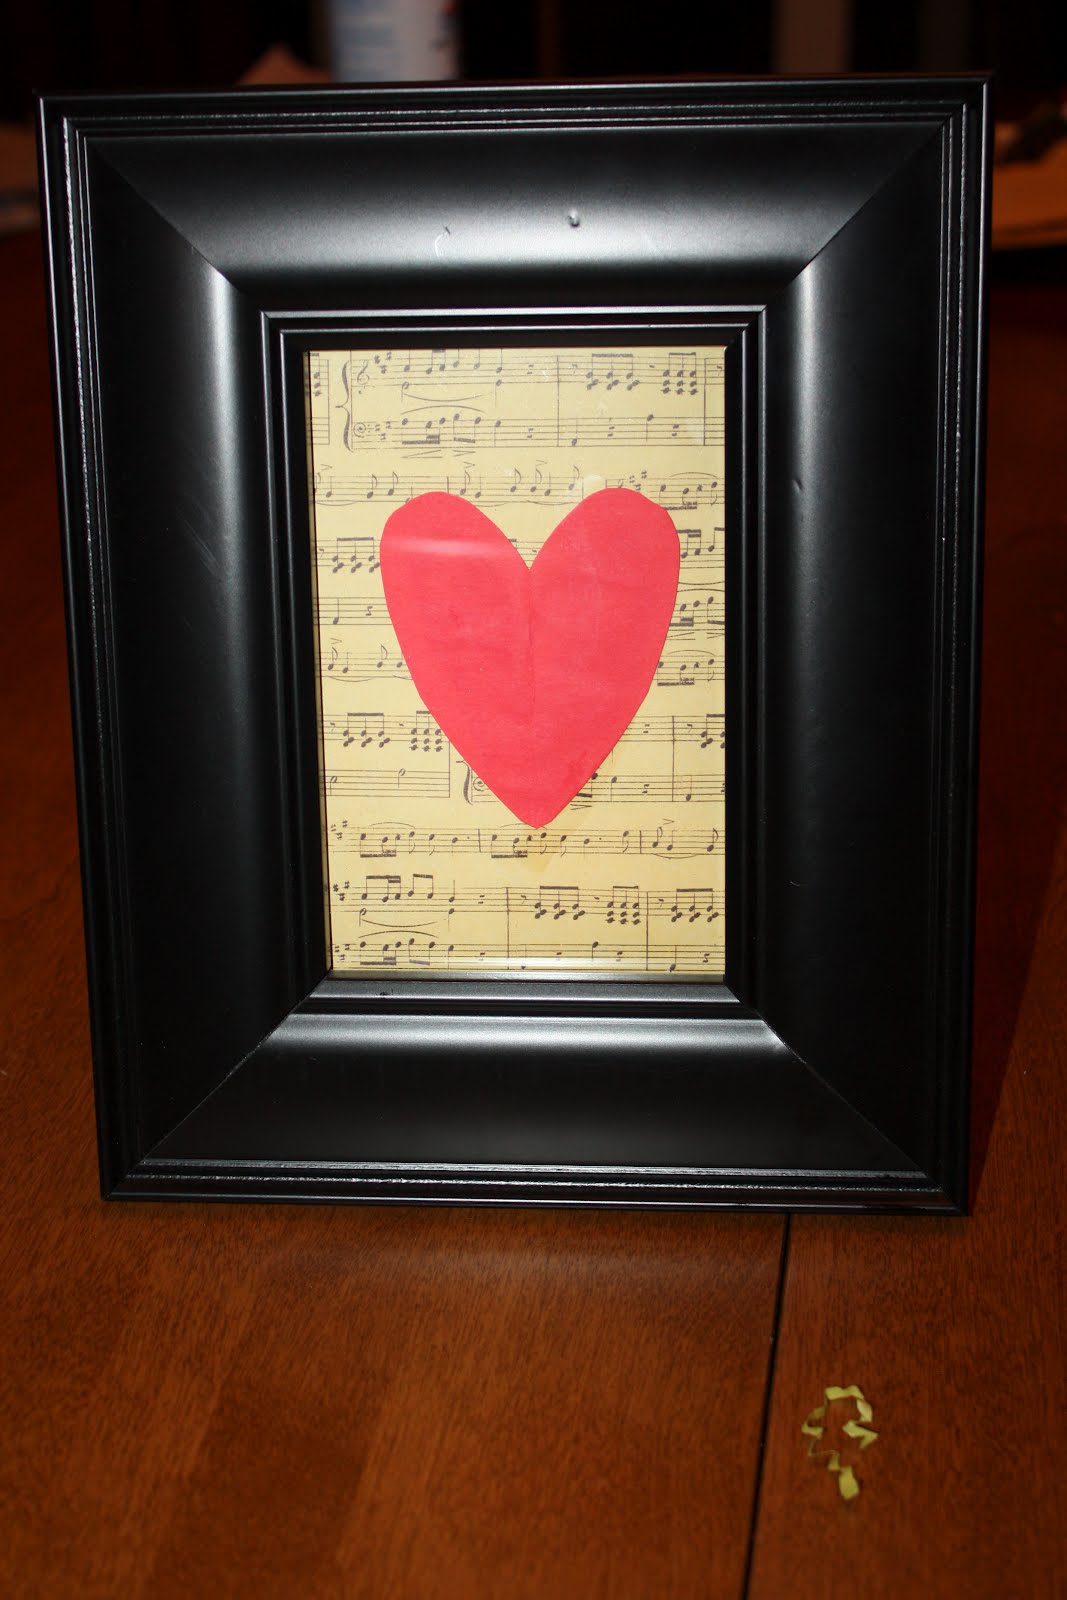
I like the one I found through pinterest pinterest a little better (she had a better frame and I forgot about how she used a distressed ink pad on her heart), but this was the best frame I currently had on hand. Could easily just take out a picture for the season and avoid having to store anything very big or purchase a frame.
Initial shirts
Thanks to Caroline over at Oh Pickles for this idea!
Supplies needed:
t-shirt
paper doily (I used 4 inch, but I think 6 inch would still work for the toddler/preschool crowd?)
fabric paint and brushes
stencils (or make one using card stock and your printer)
possibly spray adhesive
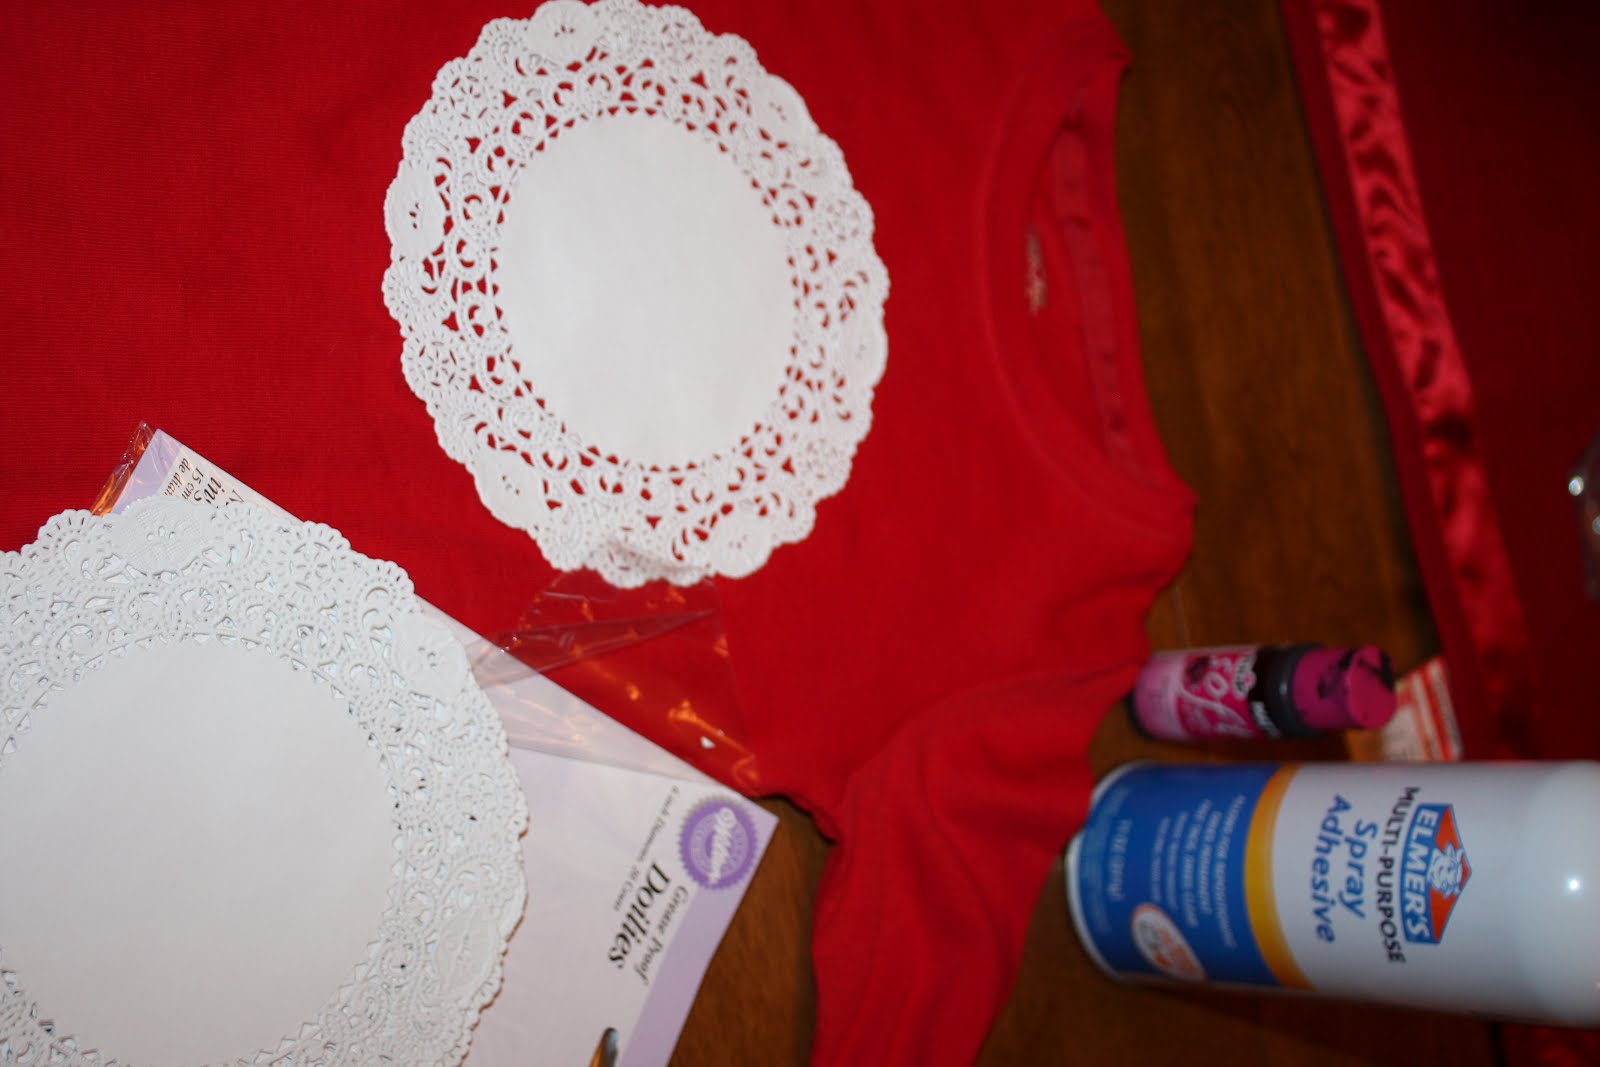
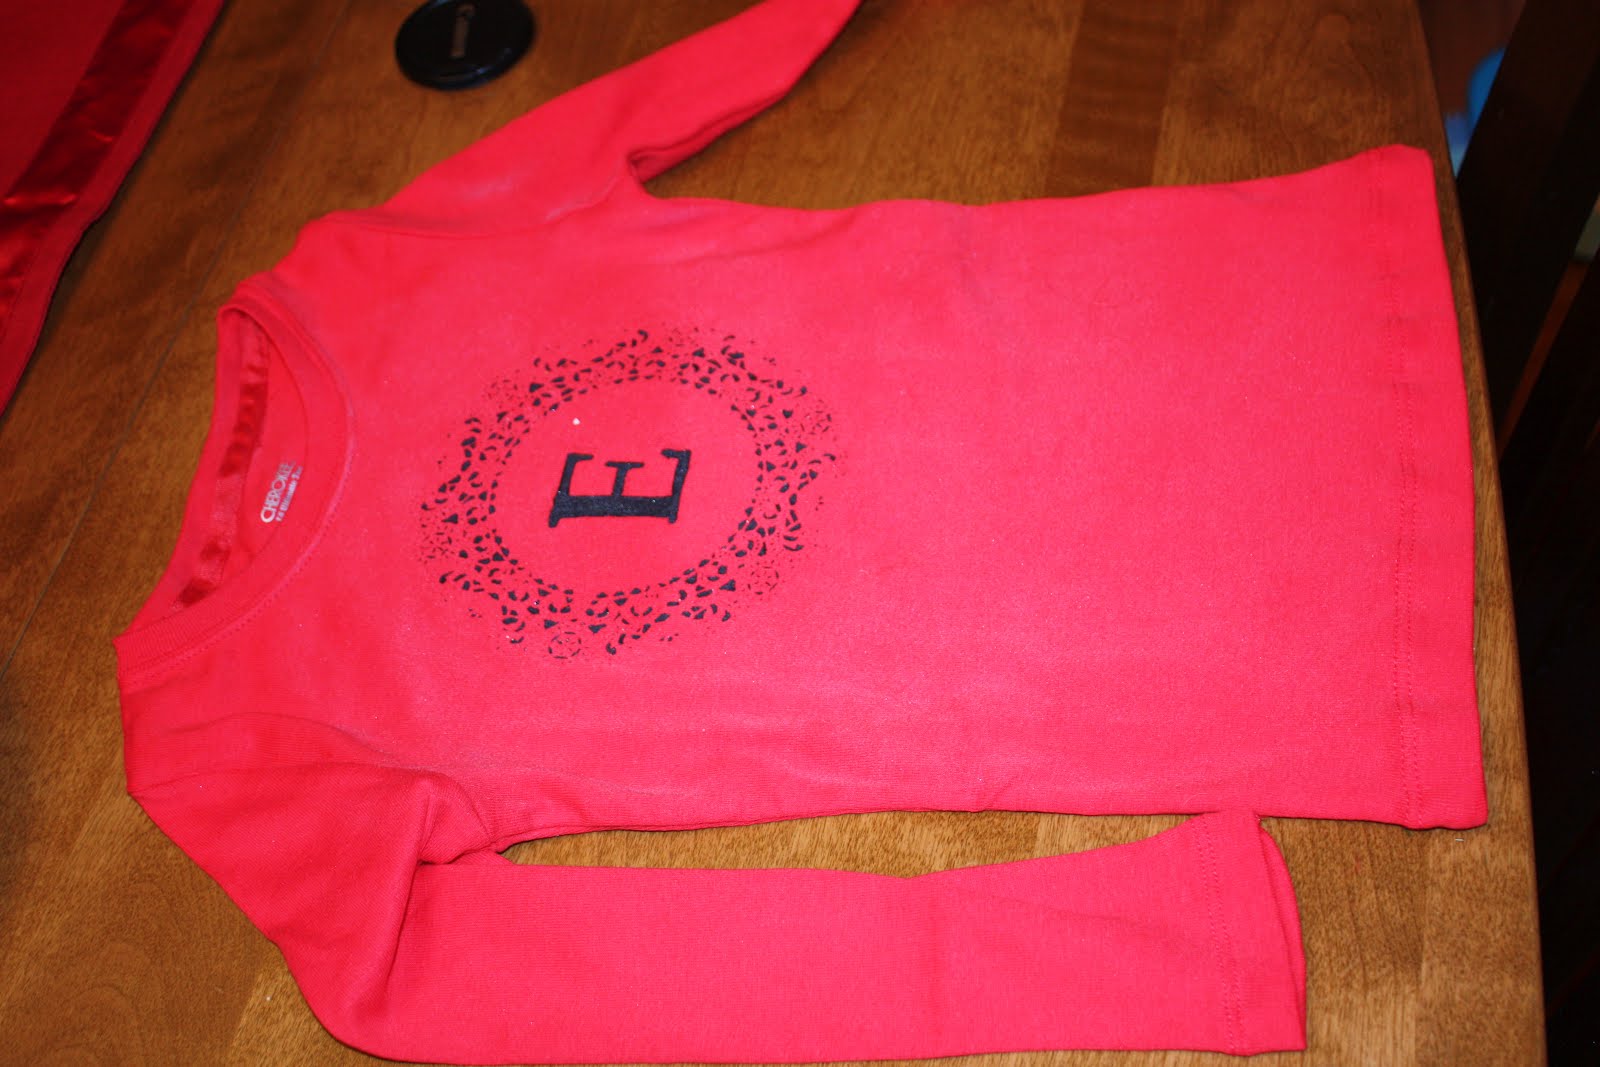
 I opted to use a light coat of spray adhesive on the t-shirt, waited about 5 minutes, then placed a doily in the center of the shirt.
Next, I painted all of the doily openings with fabric paint, then carefully peeled off the doily.
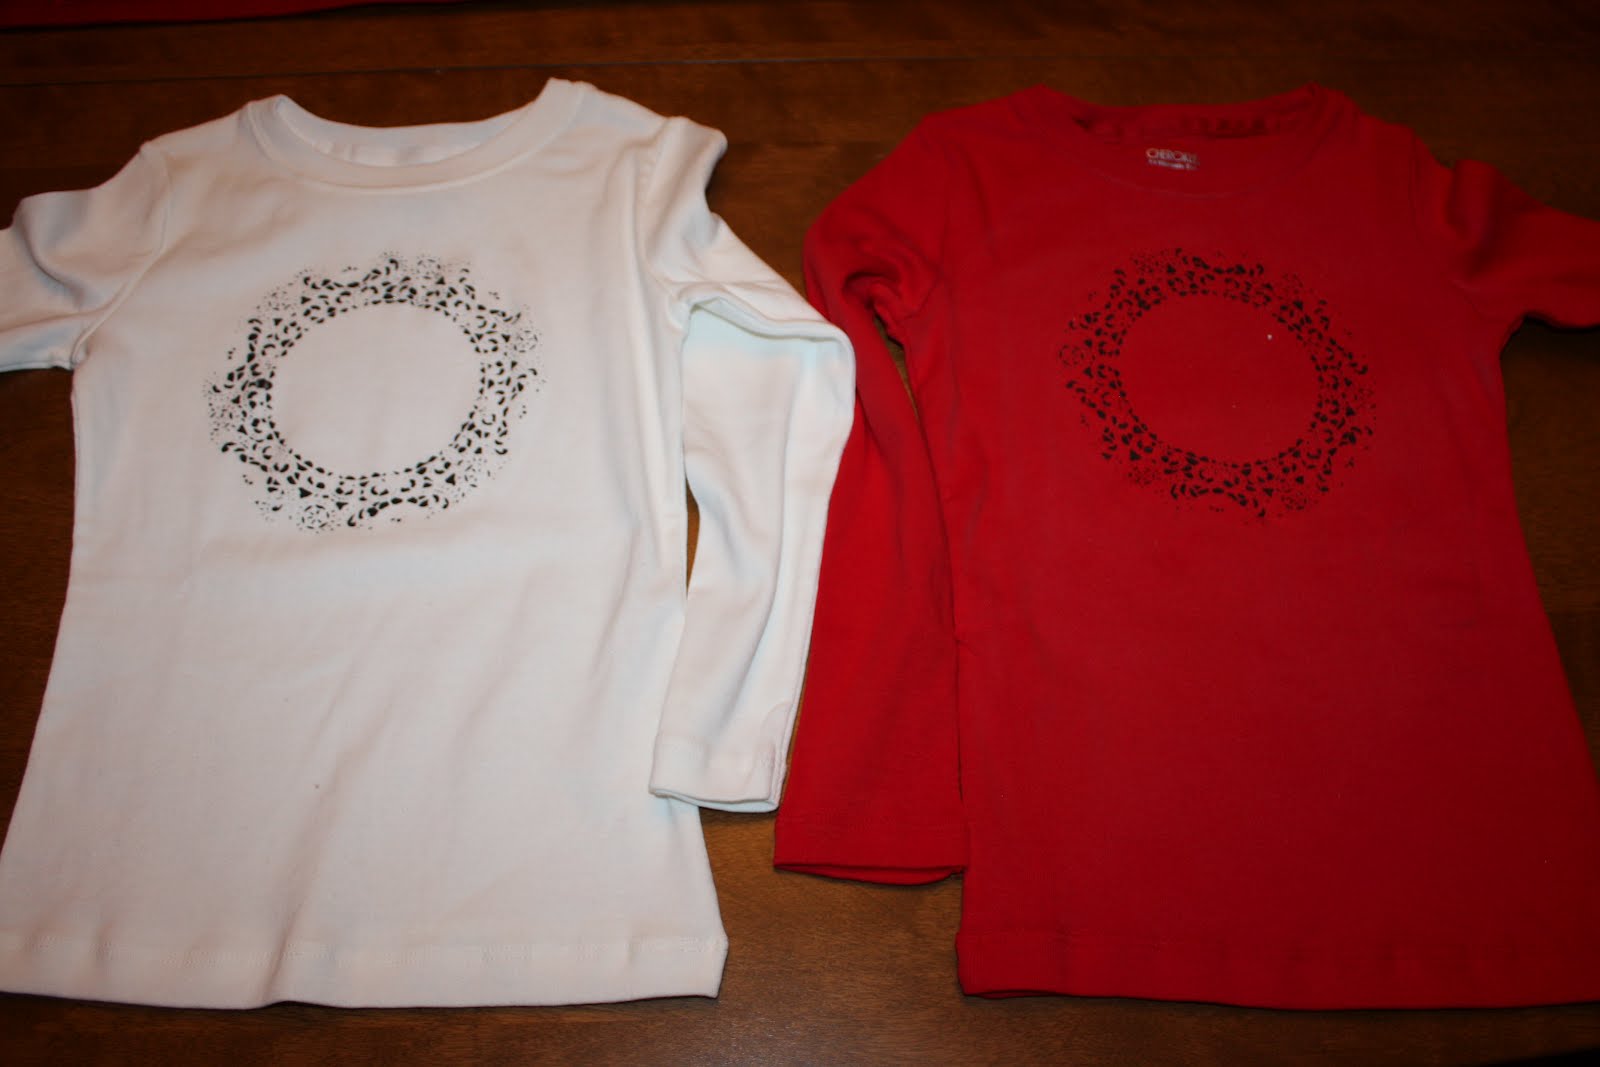
Finally, I used a stencil I made using my computer/cardstock and painted the initial in the center of the doily.
Voila! I will say that the shirt was a bit tacky from the glue residue. I am assuming it will be fine after a good wash. If this is not the case, I will adjust this post. I've made bags without using the glue and I will say it is much easier to do a good job with the paint if you use the glue!
If you go on a kick of making these shirts/tote bags, they can be pretty inexpensive...especially if you can find a good shirt on sale! Looks super cute with a tutu skirt and leggings or tights.


Supplies needed:
t-shirt
paper doily (I used 4 inch, but I think 6 inch would still work for the toddler/preschool crowd?)
fabric paint and brushes
stencils (or make one using card stock and your printer)
possibly spray adhesive
Next, I painted all of the doily openings with fabric paint, then carefully peeled off the doily.
Finally, I used a stencil I made using my computer/cardstock and painted the initial in the center of the doily.
Voila! I will say that the shirt was a bit tacky from the glue residue. I am assuming it will be fine after a good wash. If this is not the case, I will adjust this post. I've made bags without using the glue and I will say it is much easier to do a good job with the paint if you use the glue!
If you go on a kick of making these shirts/tote bags, they can be pretty inexpensive...especially if you can find a good shirt on sale! Looks super cute with a tutu skirt and leggings or tights.

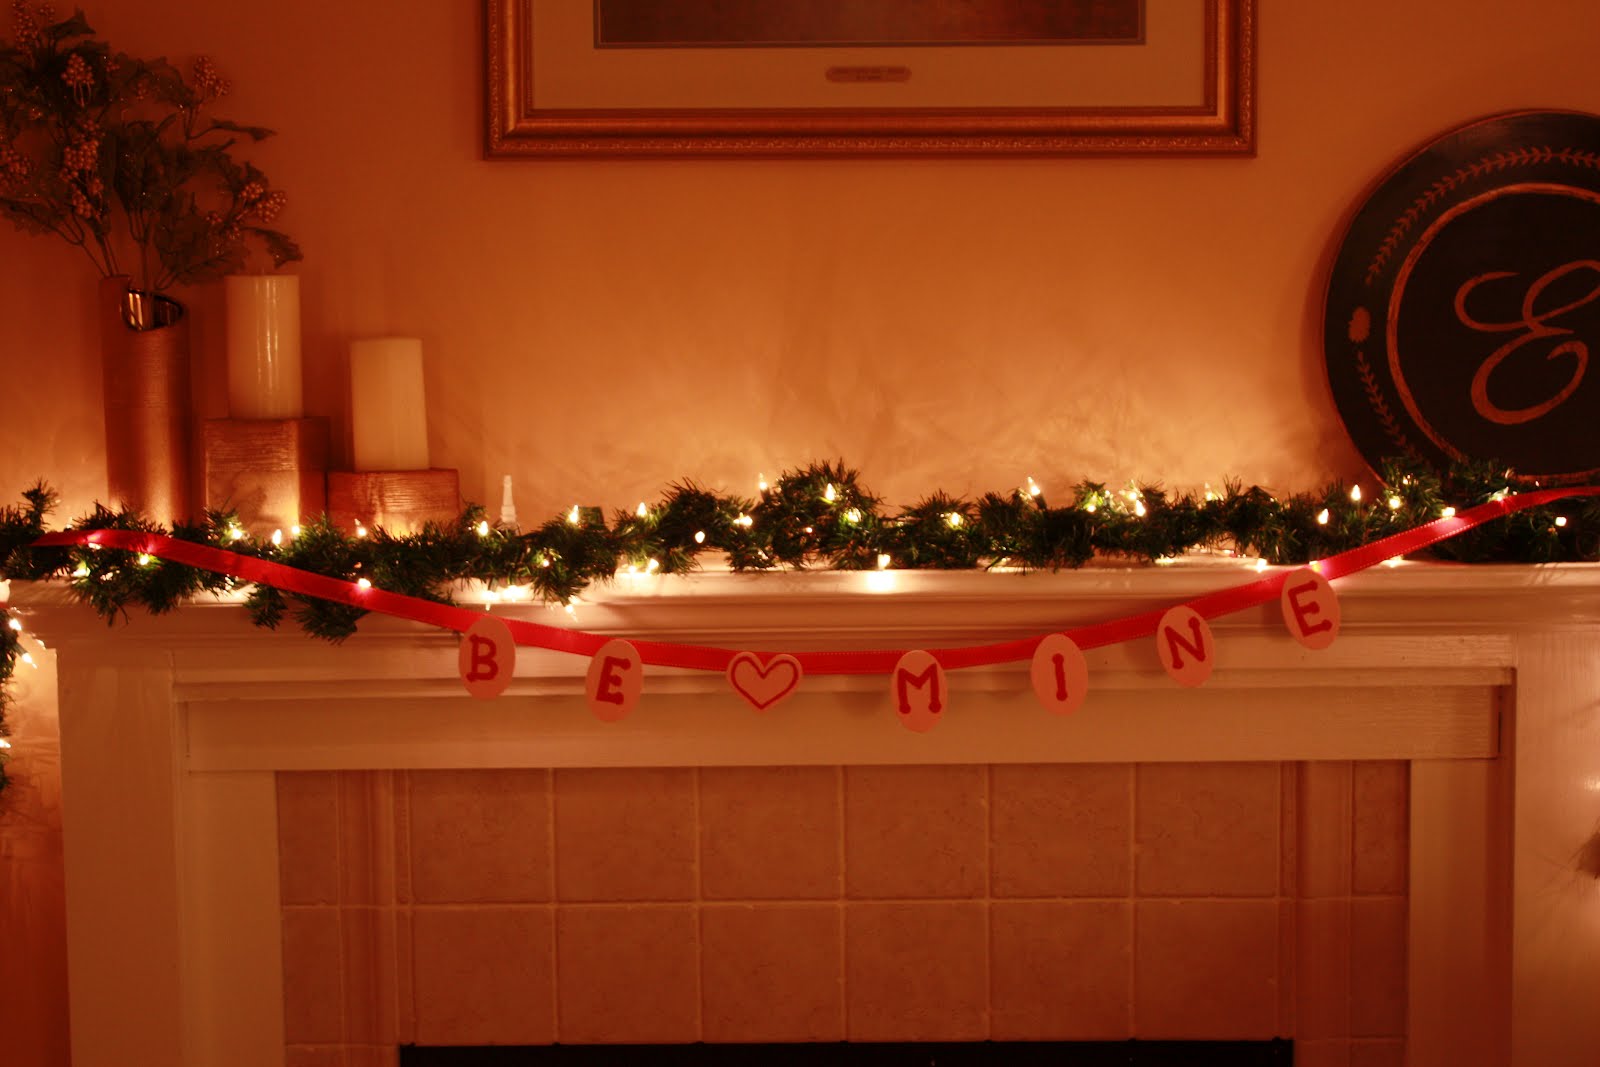
Valentine's Day garland for mantle
I loved the way our fall leaf garland turned out, so I thought I might try that for Valentine's day. My plan was to purchase hearts and have the girls help paint them. However, there was just one heart left. Instead, I opted for a simple oval shape, wrote "Be Mine" on them and ran with that instead. In retrospect, I wish I would have purchased wood letters and painted them, since my writing stinks! (It would have been more expensive, though.)
On to the craft!
Supplies needed:
Roll of ribbon (I used grossgrain, 1 inch wide I think)
5 oval wood disks and 1 heart (or letters or other shapes)
Craft paint
Paint brushes
Hot glue gun

Paint your wood pieces as desired and let dry.
 Cut a piece of ribbon the length you desire.
Lay your ribbon out on the floor and determine where you want your wood pieces to hang (I always start with my center piece and work out)
Use the hot glue gun to attach the pieces to the ribbon.
Hang and enjoy!
(For a fun version with kids, have them help paint!)
(Note: I leave my garland up through winter, the house just feels so much cozier and happier through the blah months of winter!)

On to the craft!
Supplies needed:
Roll of ribbon (I used grossgrain, 1 inch wide I think)
5 oval wood disks and 1 heart (or letters or other shapes)
Craft paint
Paint brushes
Hot glue gun
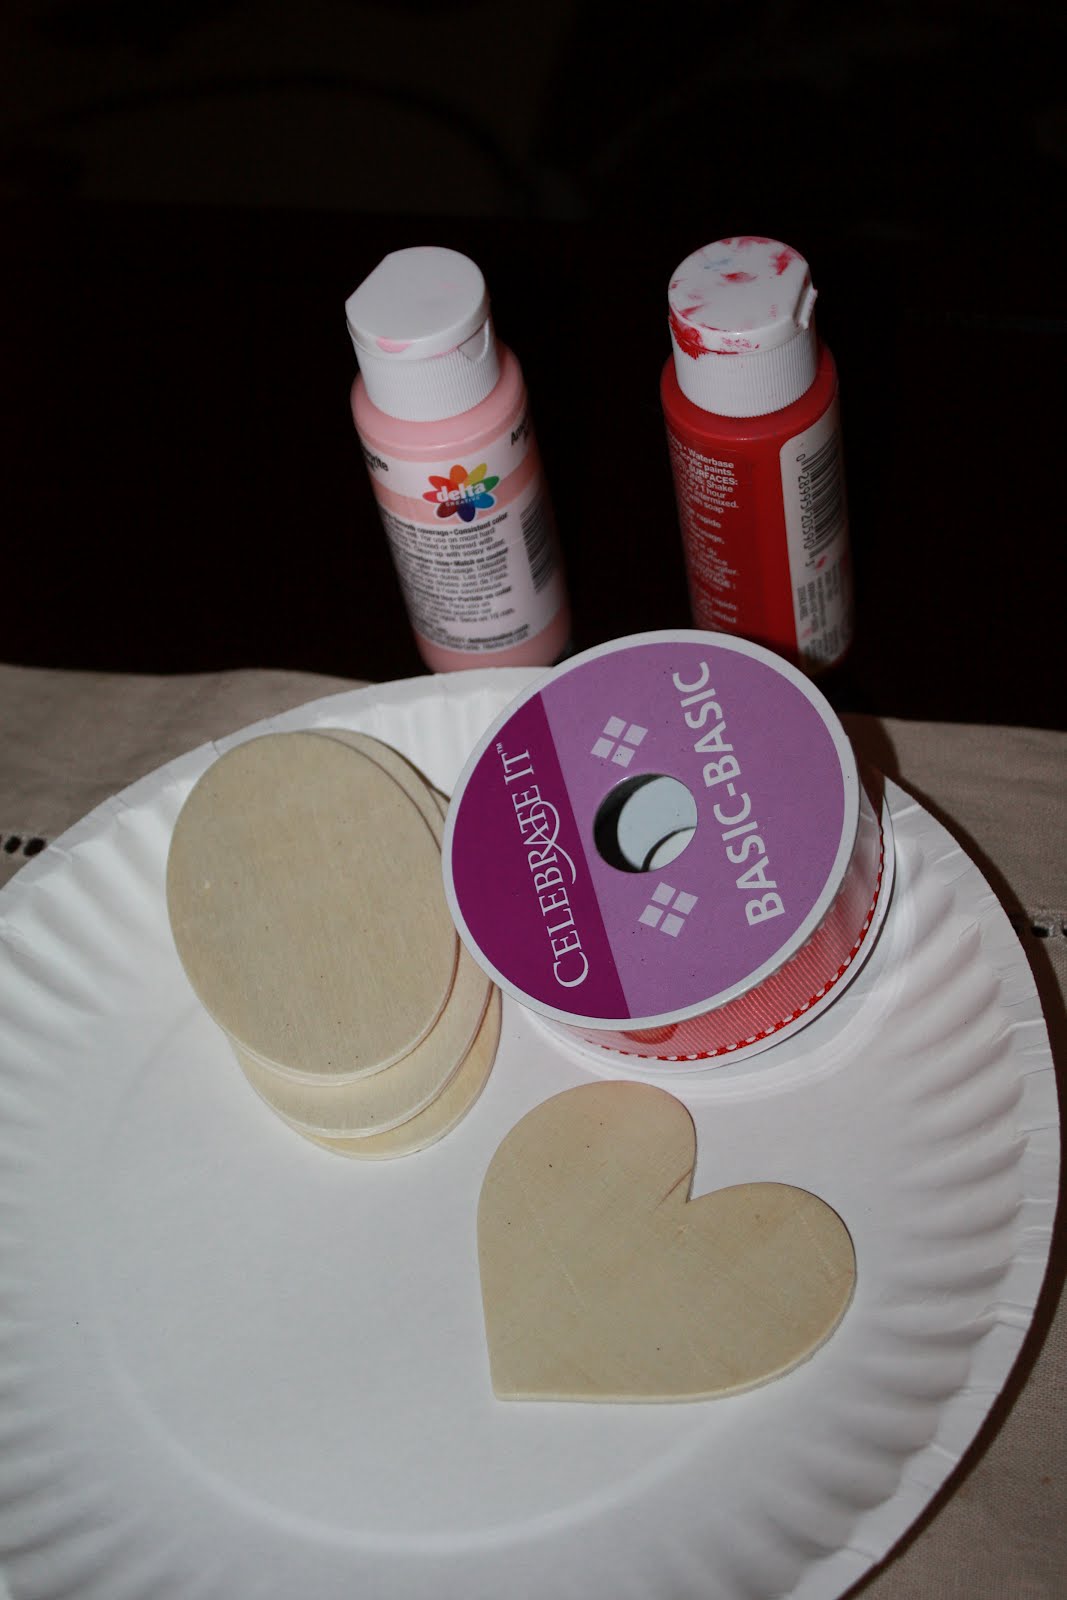
Paint your wood pieces as desired and let dry.

Lay your ribbon out on the floor and determine where you want your wood pieces to hang (I always start with my center piece and work out)
Use the hot glue gun to attach the pieces to the ribbon.
Hang and enjoy!
(For a fun version with kids, have them help paint!)
(Note: I leave my garland up through winter, the house just feels so much cozier and happier through the blah months of winter!)
Friday, January 20, 2012
Big Sis Birthday April 2011
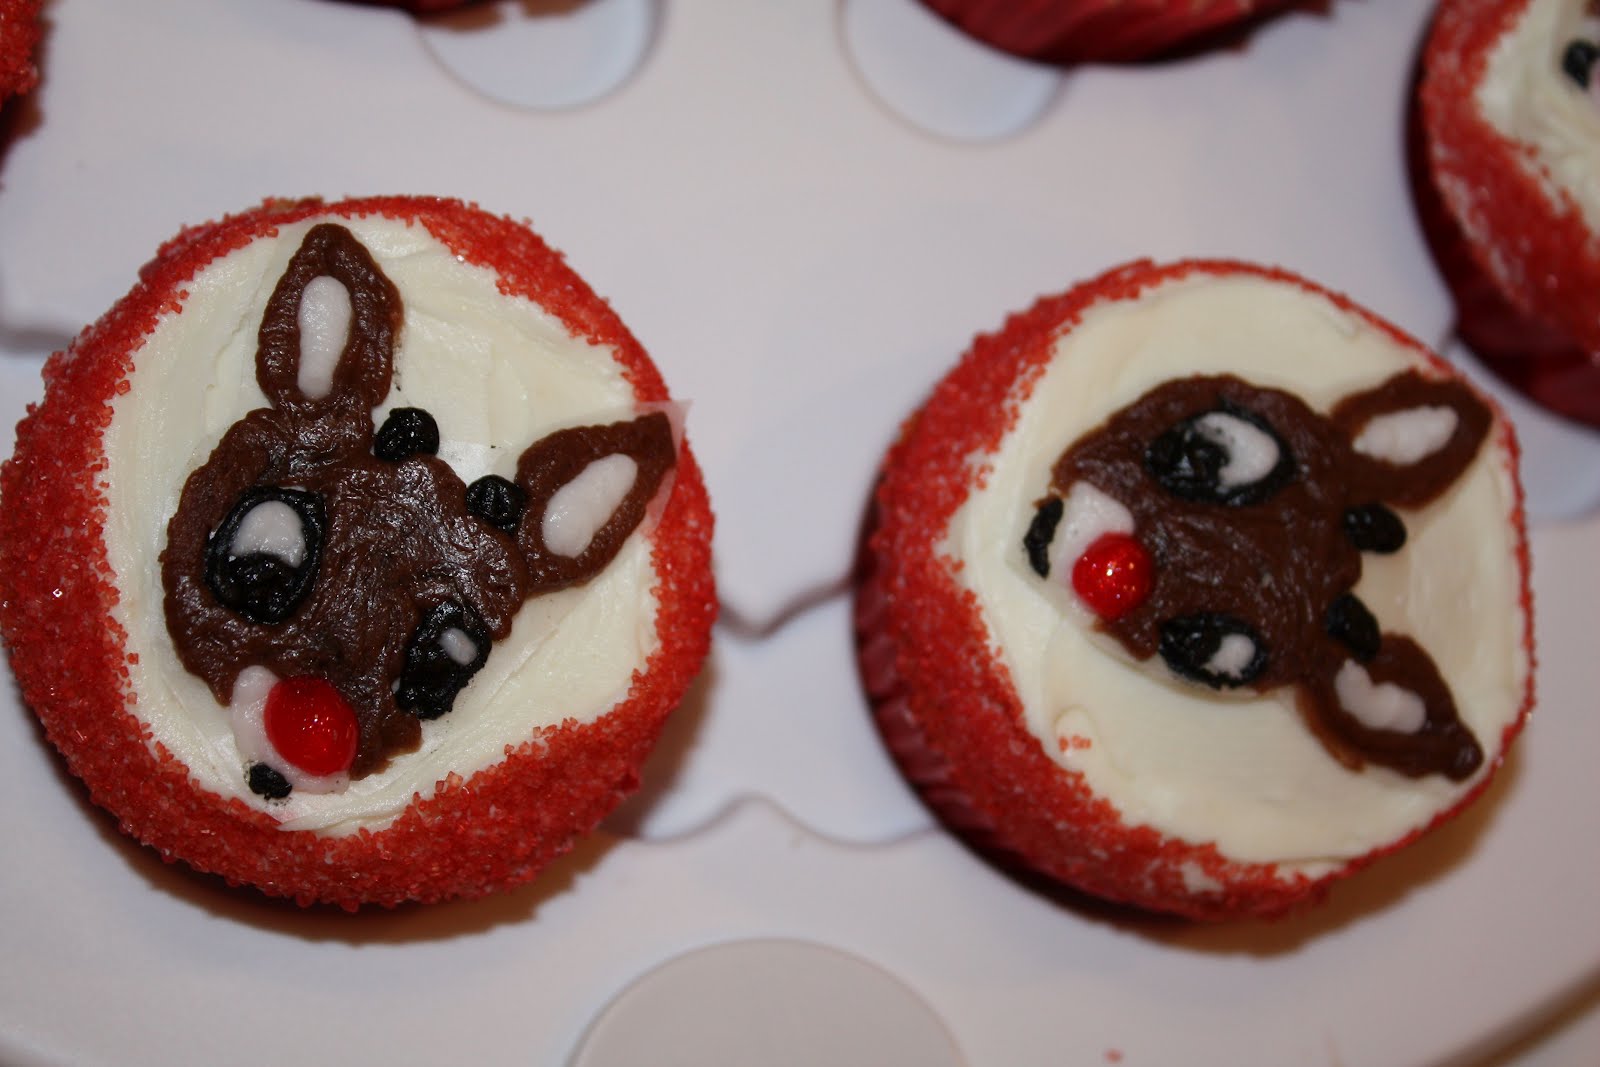
Just realized I had not blogged Big Sis' cake from last year. She wanted Rudolph the Red Nosed Reindeer. She had this particular cake in mind, but it just wasn't an option. (I do not own a printer for edible items and she has a tree nut allergy, so almost all bakery made cakes are off limits.) Instead, I made Rudolph cupcakes along with a mini cake that said Happy Birthday.
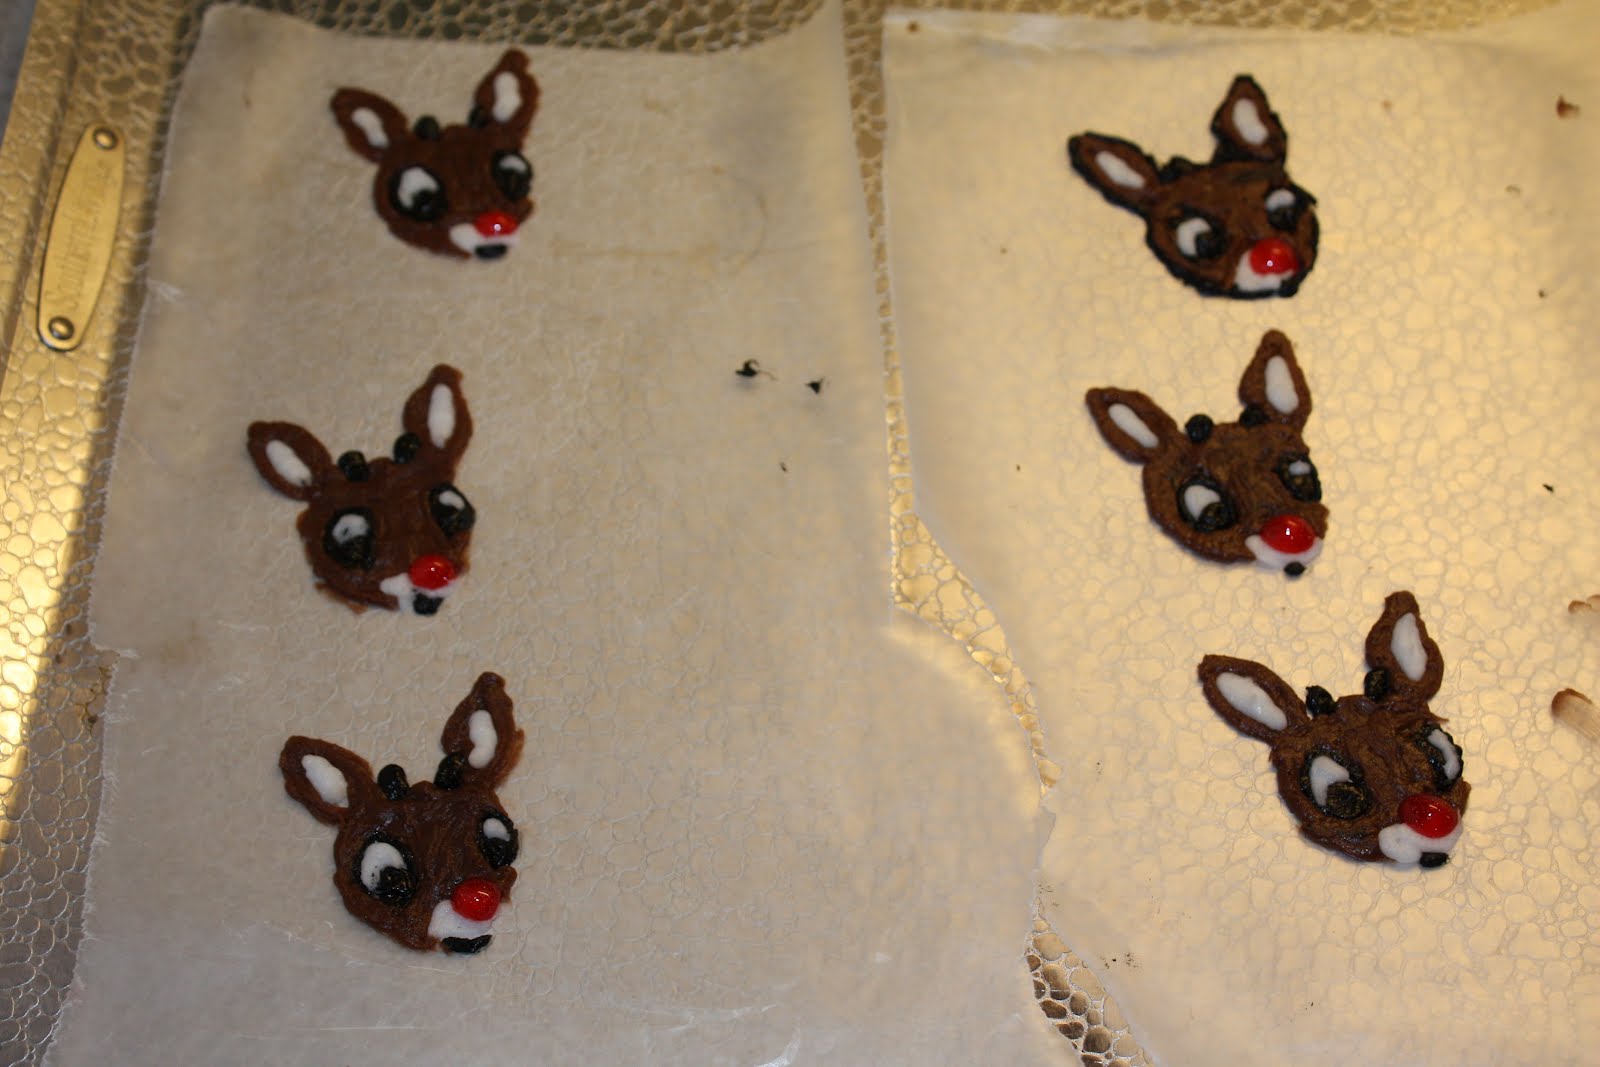
For the cupcakes, I used Wilton icing tubes to make Rudolph's face on wax paper. (I had printed a picture and then just free handed it.) I stuck those in the freezer.
 During that time, I spread each cupcake with icing and rolled the edges in red sugar sprinkles. Then I removed the Rudolph faces, peeled them off the wax carefully and placed on top of the cupcakes. She loved it!

For the cupcakes, I used Wilton icing tubes to make Rudolph's face on wax paper. (I had printed a picture and then just free handed it.) I stuck those in the freezer.
Subscribe to:
Posts (Atom)