Showing posts with label birthday. Show all posts

Tuesday, June 26, 2012

Hello Kitty Party

For Big E's 5th birthday, she wanted a Hello Kitty theme. Below are various pics from the party.

Homemade pinata (I followed the directions here)


Homemade cake and cupcakes (aside from the pinata, we went with lime green/pink color theme)


Paper flowers (directions easily found online) with balloons on ceiling and foam necklace craft on table


Other decorations (nothing too special here...girly colors really don't go well in my fall orange kitchen! Ha!)


We played a "pin the bow on Hello Kitty" game, had a self-serve bubble station (if you ever do this, don't go cheap on your pitcher! my valve doesn't work well...sticky mess everywhere!), made our necklaces, hit the pinata, and of course had cake and ice cream. The birthday girl had a blast!


Friday, January 20, 2012

Big Sis Birthday April 2011

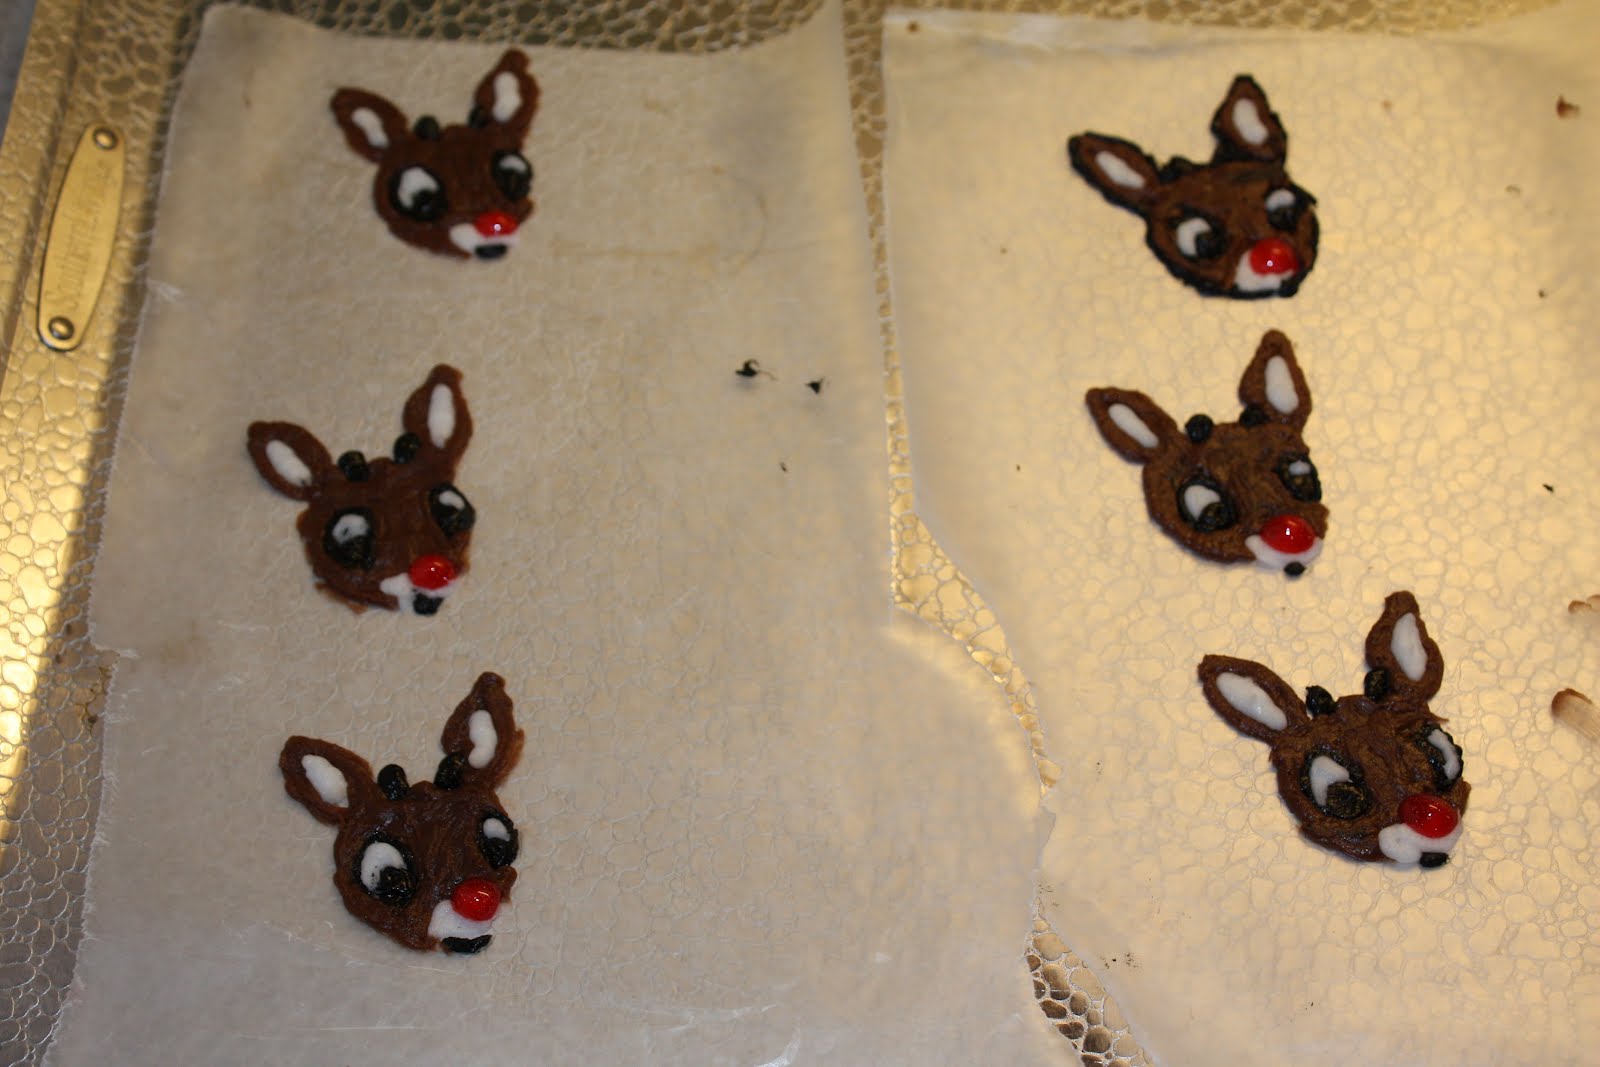
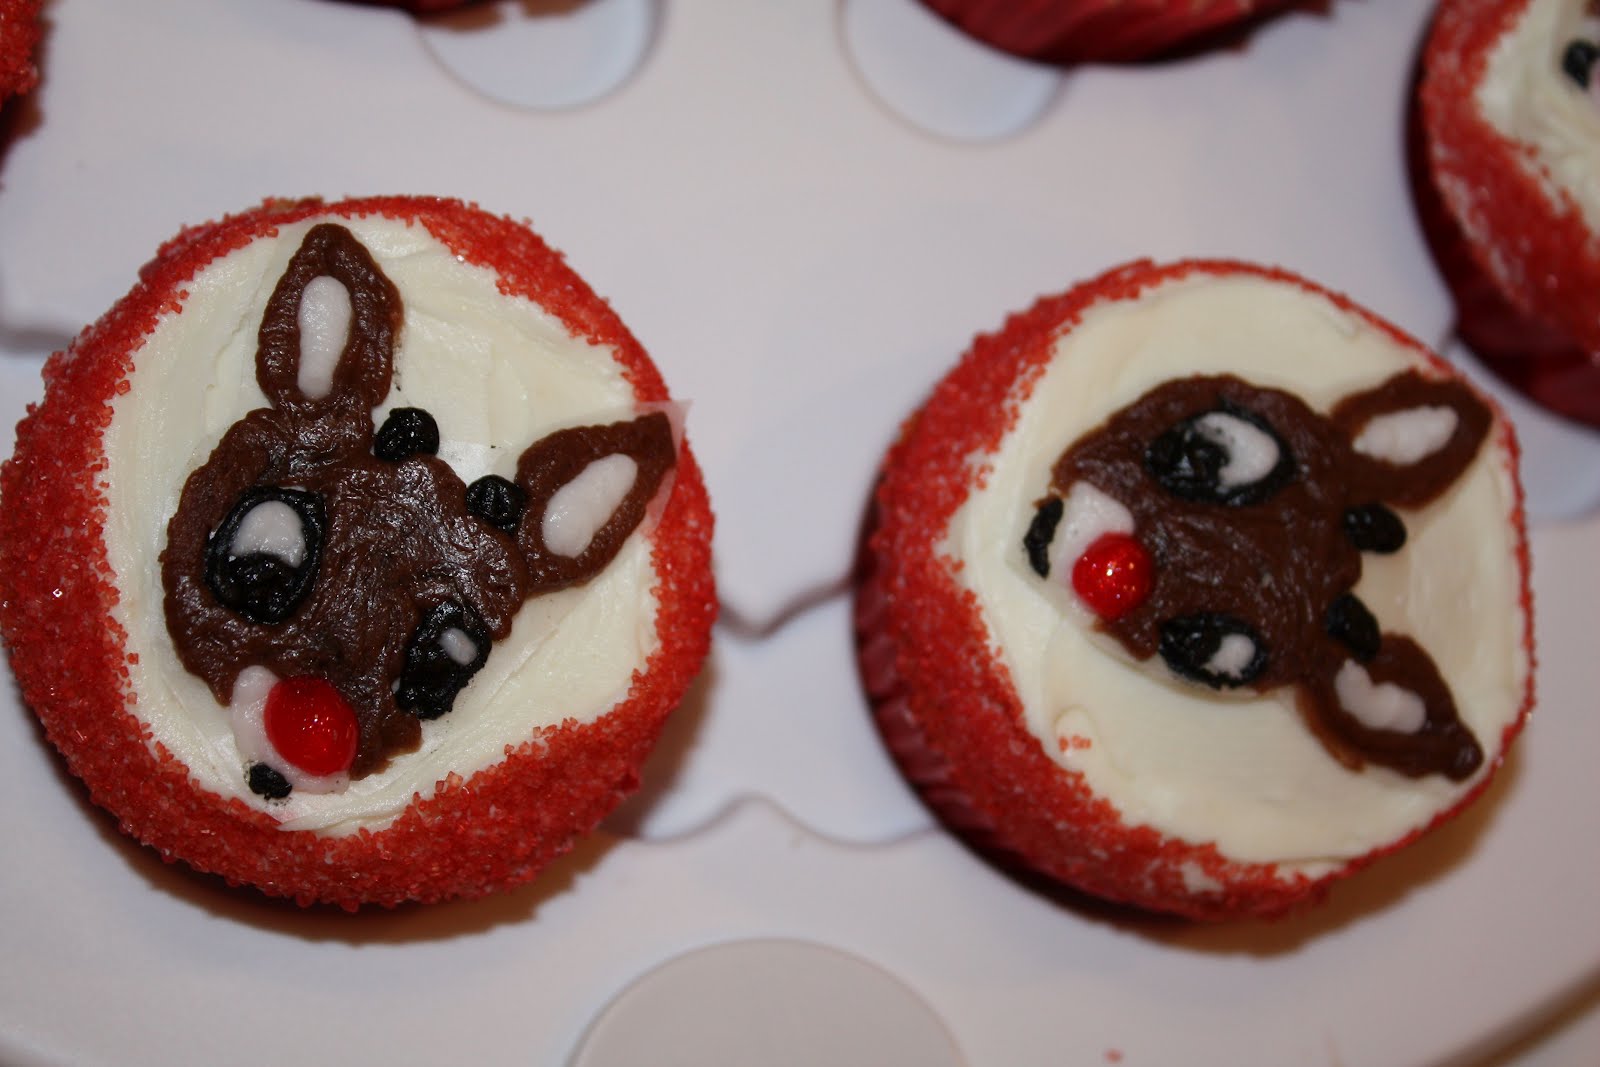
Just realized I had not blogged Big Sis' cake from last year. She wanted Rudolph the Red Nosed Reindeer. She had this particular cake in mind, but it just wasn't an option. (I do not own a printer for edible items and she has a tree nut allergy, so almost all bakery made cakes are off limits.) Instead, I made Rudolph cupcakes along with a mini cake that said Happy Birthday.

For the cupcakes, I used Wilton icing tubes to make Rudolph's face on wax paper. (I had printed a picture and then just free handed it.) I stuck those in the freezer.
During that time, I spread each cupcake with icing and rolled the edges in red sugar sprinkles. Then I removed the Rudolph faces, peeled them off the wax carefully and placed on top of the cupcakes. She loved it!

Dora Birthday!

Little Sis turned 3! For each birthday, I let the girls pick what they want on their cake and what flavor cake they want, then I do my best to make it. Someday, I'd really like to take a Wilton class, as I am entirely self-taught and it certainly shows! (I can't make roses to save my life, my writing is not very steady, and I cannot ice smoothly unless I am working with fondant!)

Little Sis decided on Dora for her theme. I made her cake and we also did something fun with her presents. I'll detail both below:

Presents:
I stumbled on this idea on a few different websites as I was searching for cake ideas. Here was my take on it:
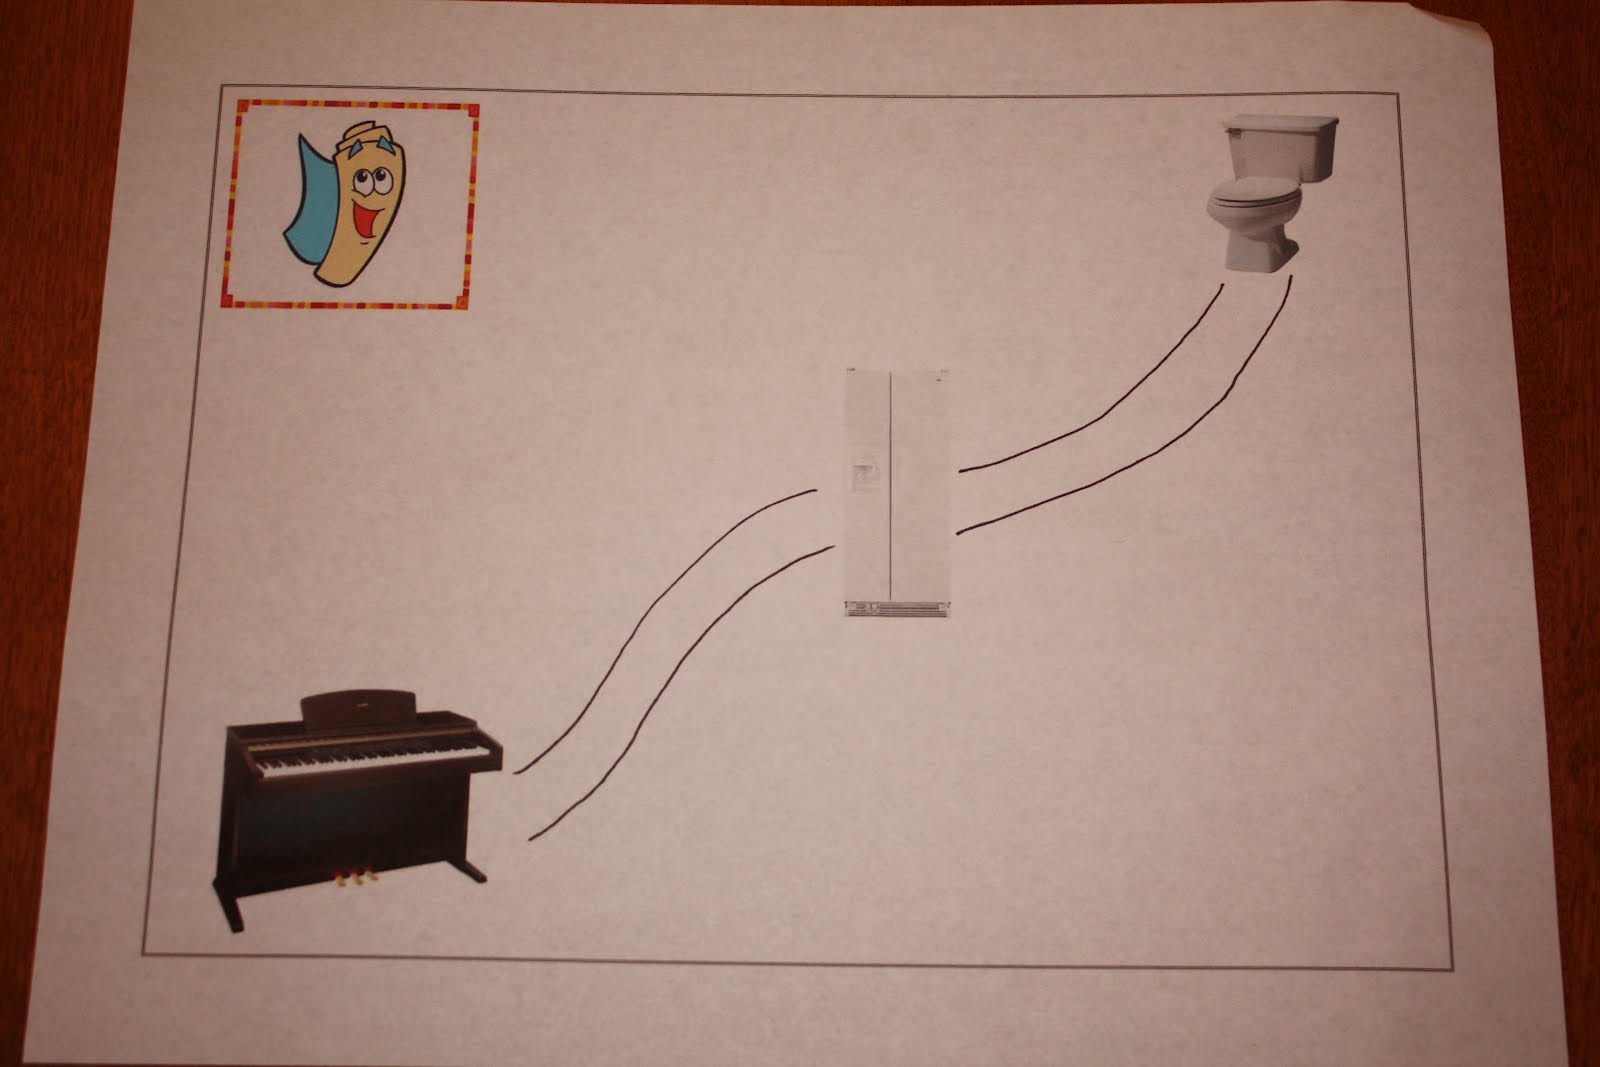
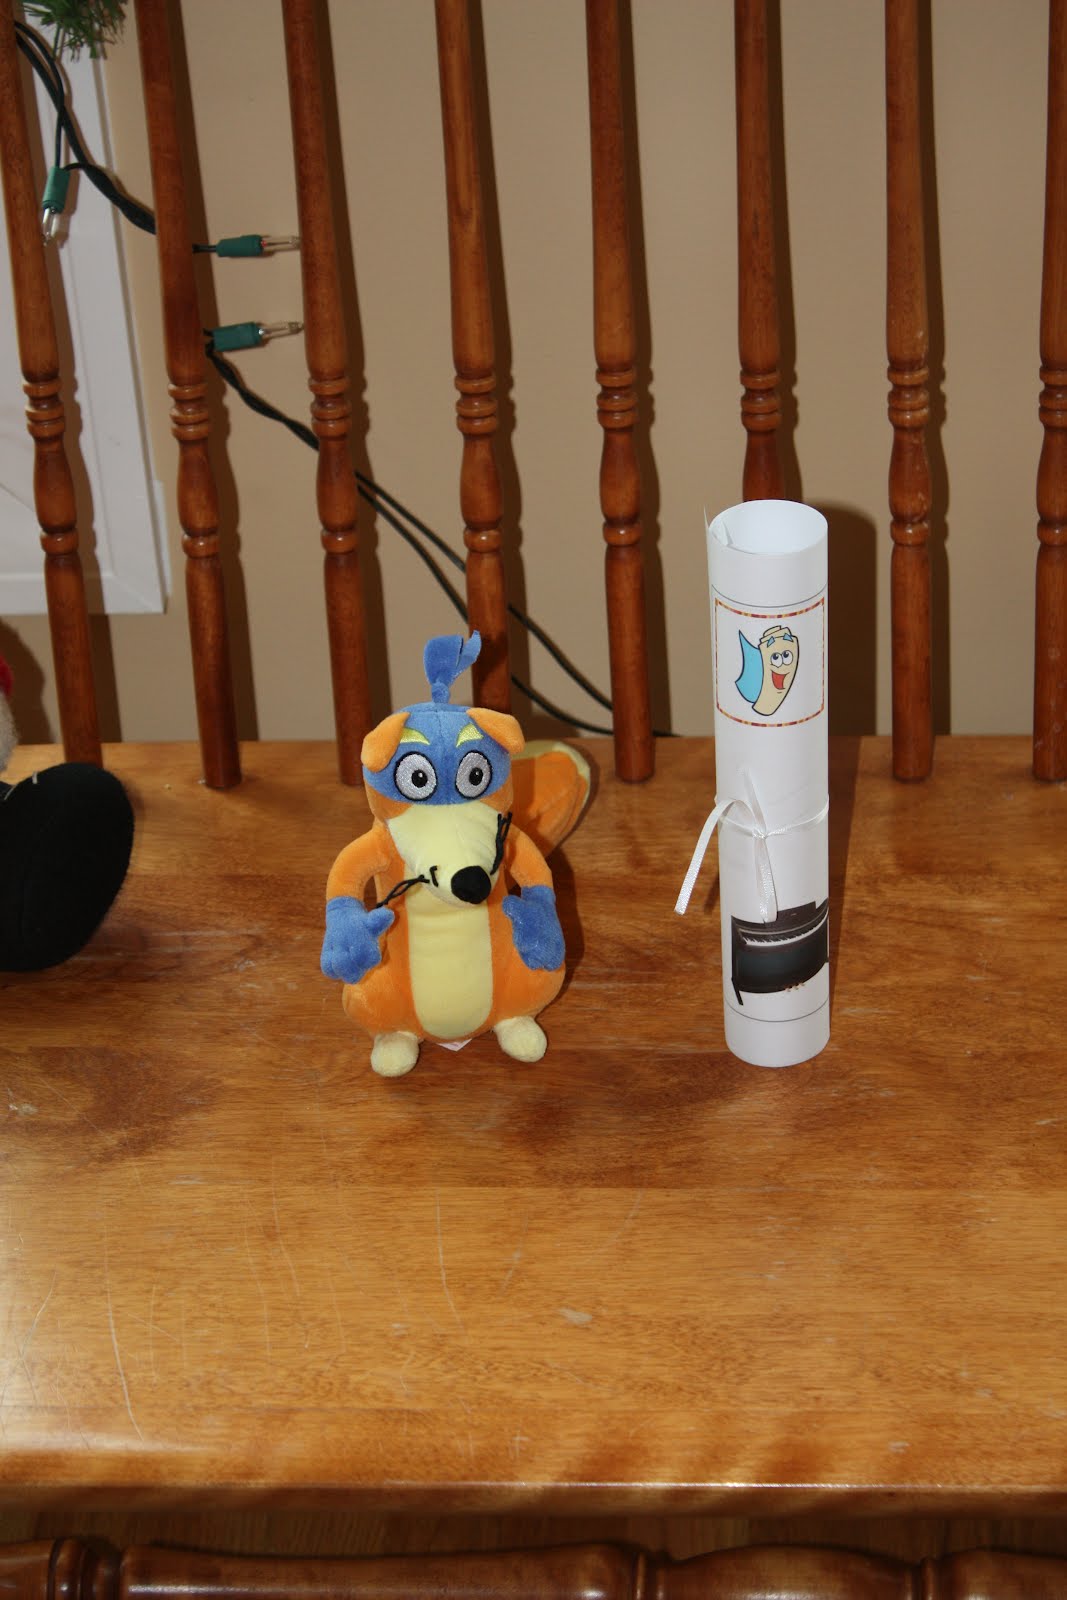
Before the big day, I bought a Swiper beanie baby and made a map. (Not very colorful, but it worked. Some people made fun sets that go along with places Dora visits...since we weren't having a formal party, I just made a map through part of our house.)
1. I set the presents out on a bench, had my girls look at it before going downstairs to play for a bit.
2. While they were downstairs, I moved the presents to a different location and replaced them with a beanie baby Swiper (part of her present too) and a map I had made on the computer, rolled up and tied with a ribbon. Then we let the fun begin!
3. The girls came back up and immediately saw Swiper. We asked what happened to the presents and they realized Swiper "swiped" them. I had left Map right next to him, as I didn't want any tears because presents were stolen. I also said that Swiper must have stashed the presents somewhere else in the house and asked them who we needed to ask for help when we don't know which way to go!
4. They followed the map and found the presents! Little Sis was still talking about it at bedtime. Of course we had to read Dora books, with Swiper sitting nearby. HIGHLY recommend this fun game!

Cake:
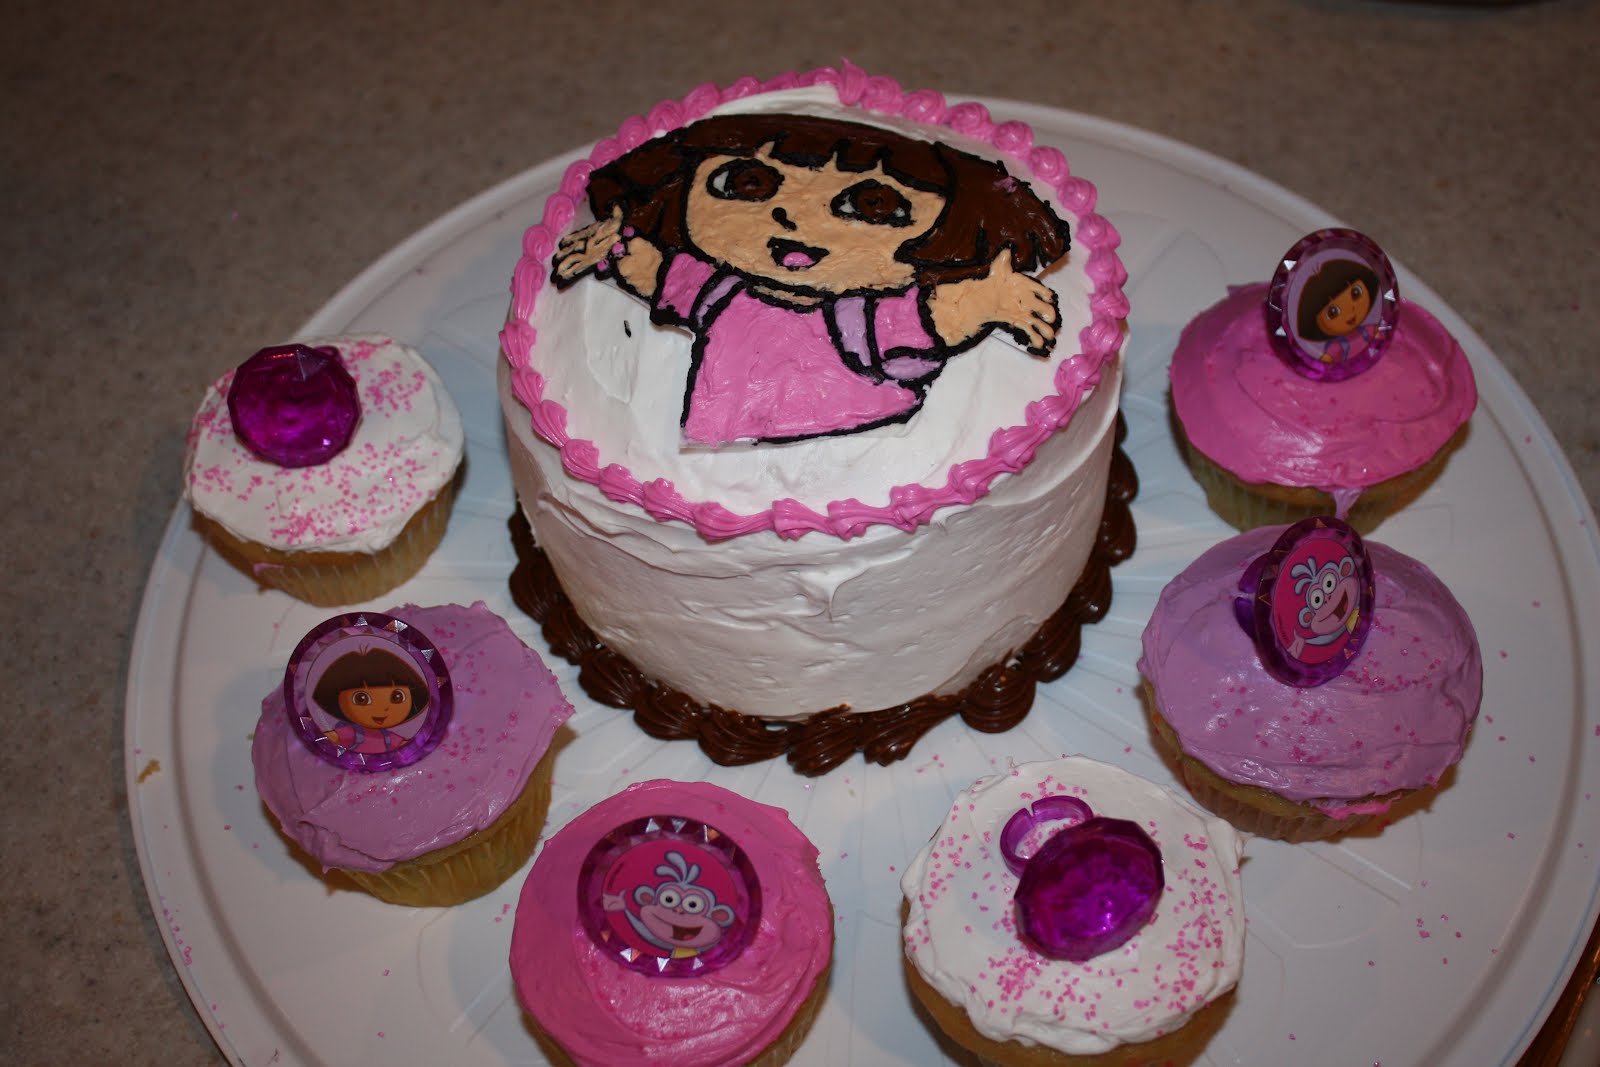
I did some searching and ended up making cupcakes with Dora rings, along with a small cake with Dora's face on it. I had intended to write Happy Birthday, but didn't have much room (and also finished everything else REALLY late at night). Here's how it turned out...
I had intended to make the cupcake icing really pretty, but ended up short handed and just smoothed it over with a butter knife and added some pink sugar sprinkles.

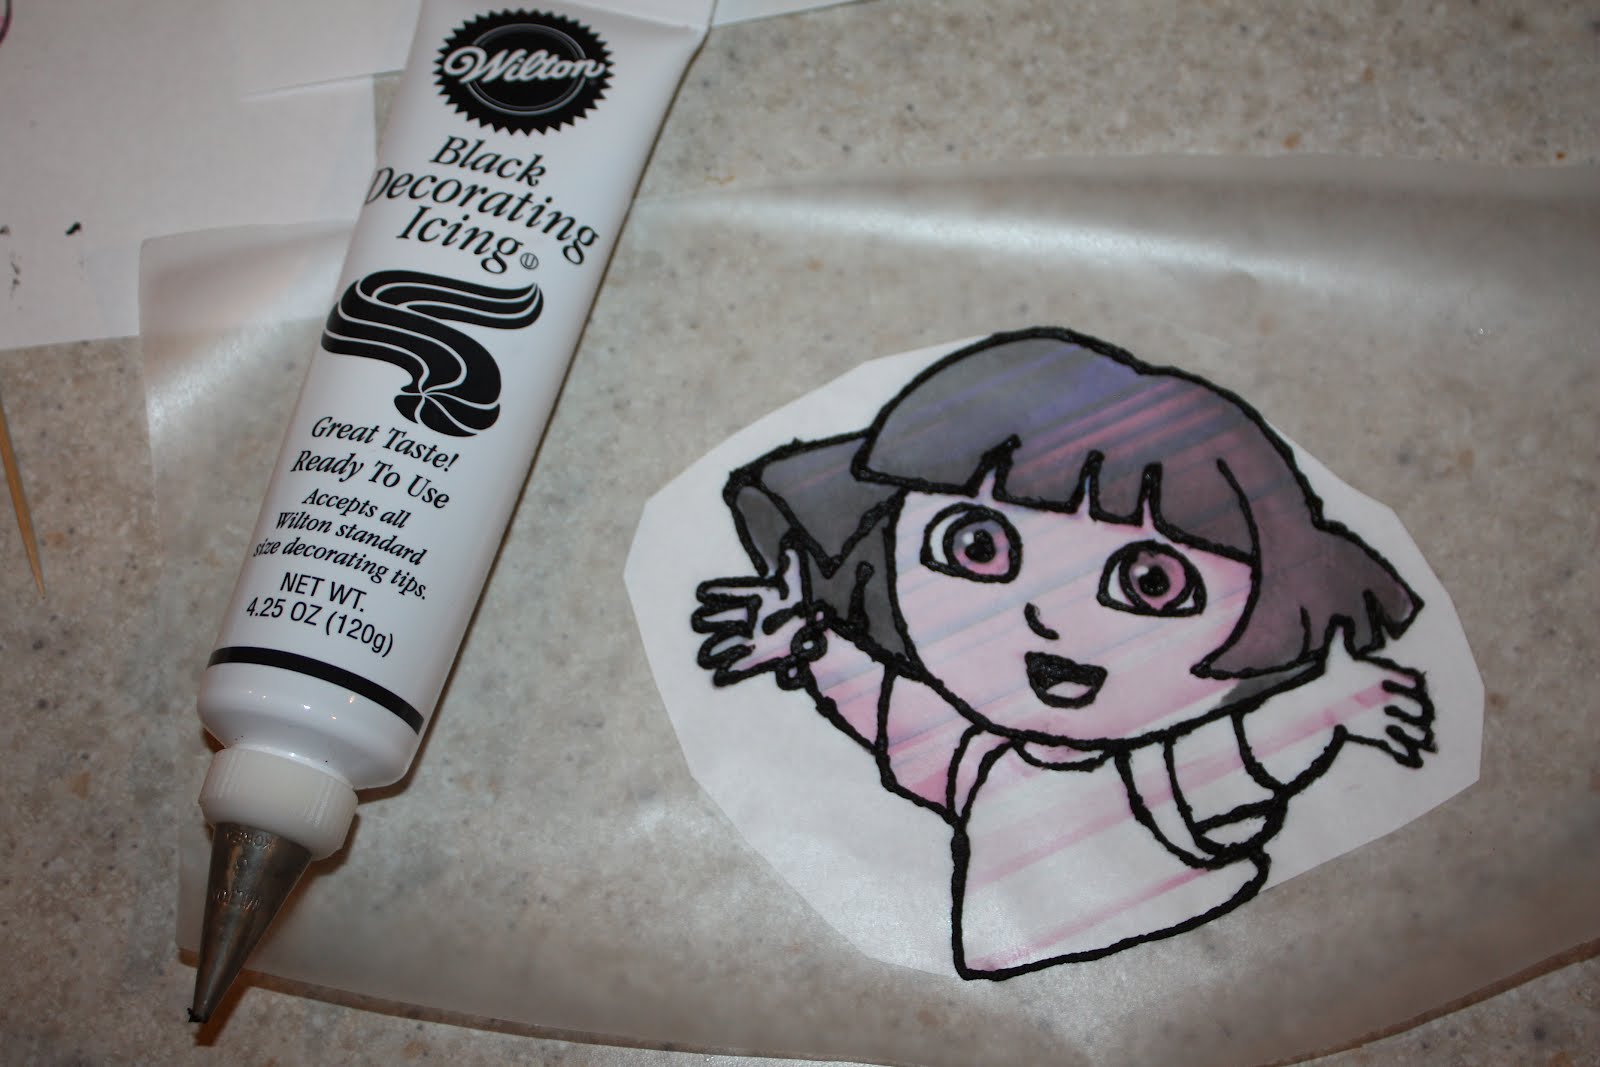
For the Dora face, I printed a picture of her, taped it to wax paper. I used a tube of black Wilton icing to make her outline on the wax paper, then froze it for about 15 minutes.
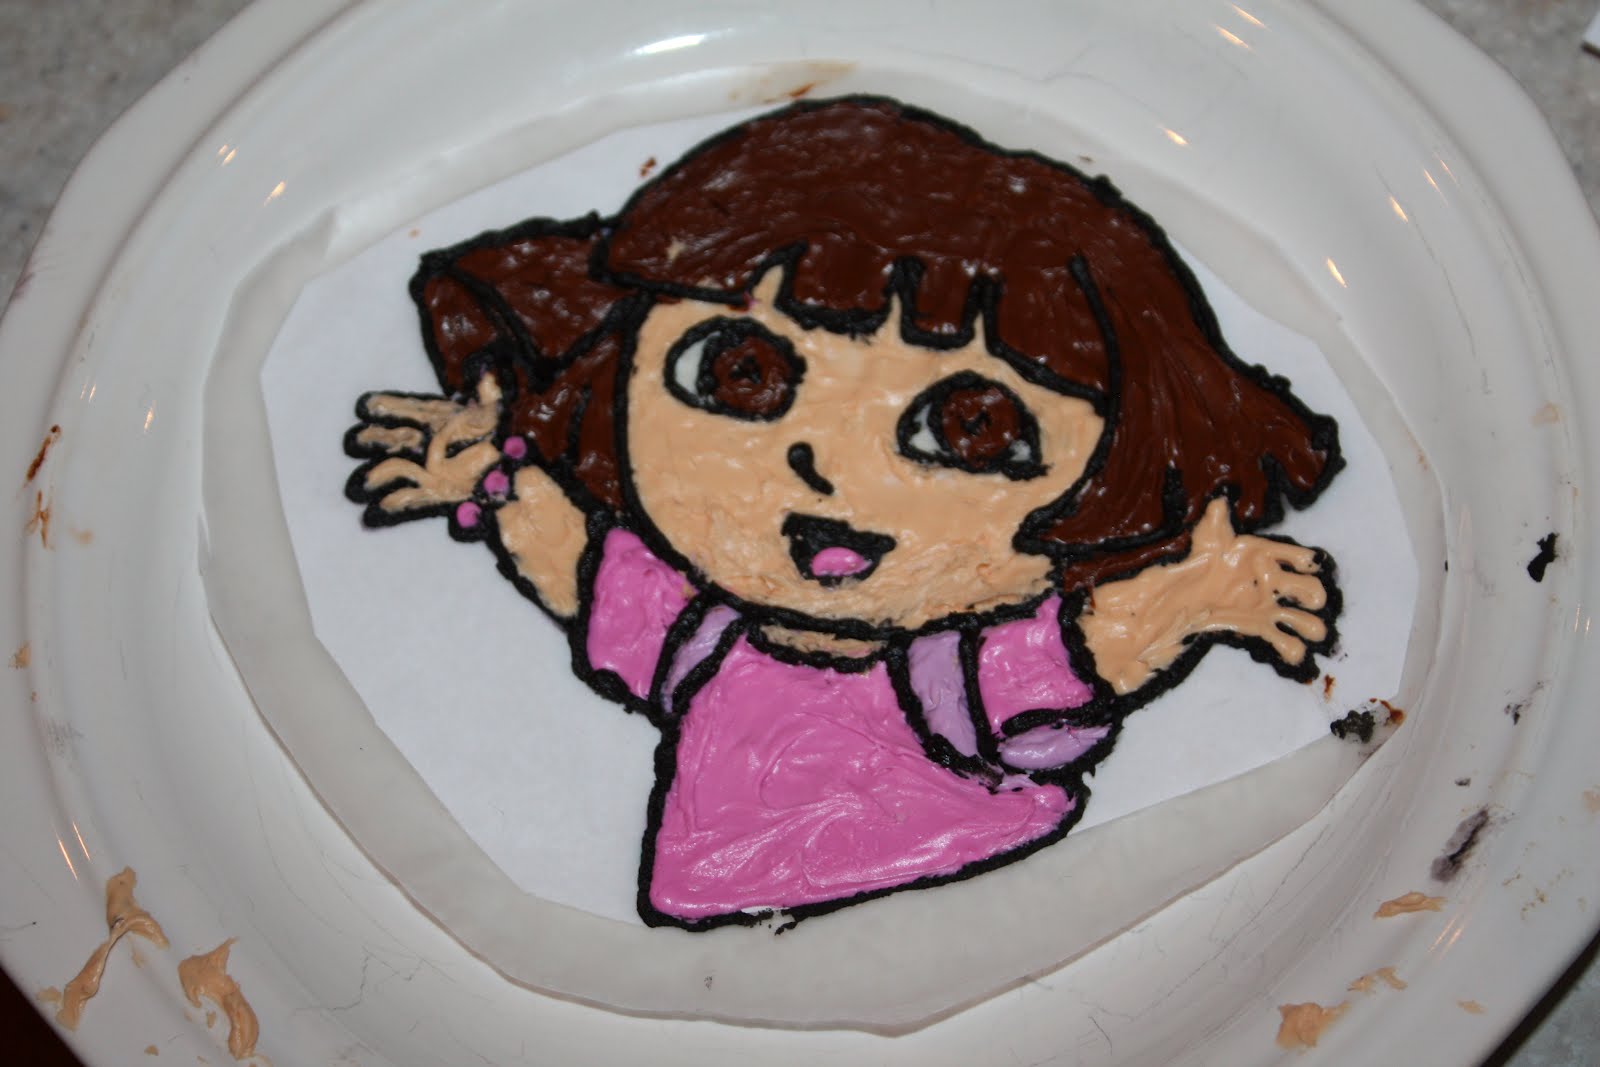
Then I used the Dora Wilton color pack, dyed the icing, and filled in all of the spaces and put it back in the freezer.
Mistakes I made: First, had troubles applying it smoothly. Second, likely didn't apply the icing thick enough....I think it has to be at least a certain thickness for this freezing method to work and you really have to make sure you do not leave any gaps. Finally, I left mine in the freezer overnight because it was really late and I didn't want to wait another 45 minutes. I don't think this affected it much, but may try differently next attempt. If you do it right, you should be able to peel the picture away fairly easily from the wax paper. Parts of mine were ready to peel off easily, other parts were not. Instead of peeling, I just cut around it and laid it on top of the cake until serving time. (Which brings my final mistake...didn't level my cake. You absolutely must have a level surface to apply figures made this way. Since I kept the wax paper attached, it worked for me. Had I been able to separate it, the face likely would have cracked. Still can't believe I forgo to level both layers of the cake!)

Didn't quite turn out the way I had visualized, but Little Sis loved it and that's all that matters!
Thursday, November 10, 2011

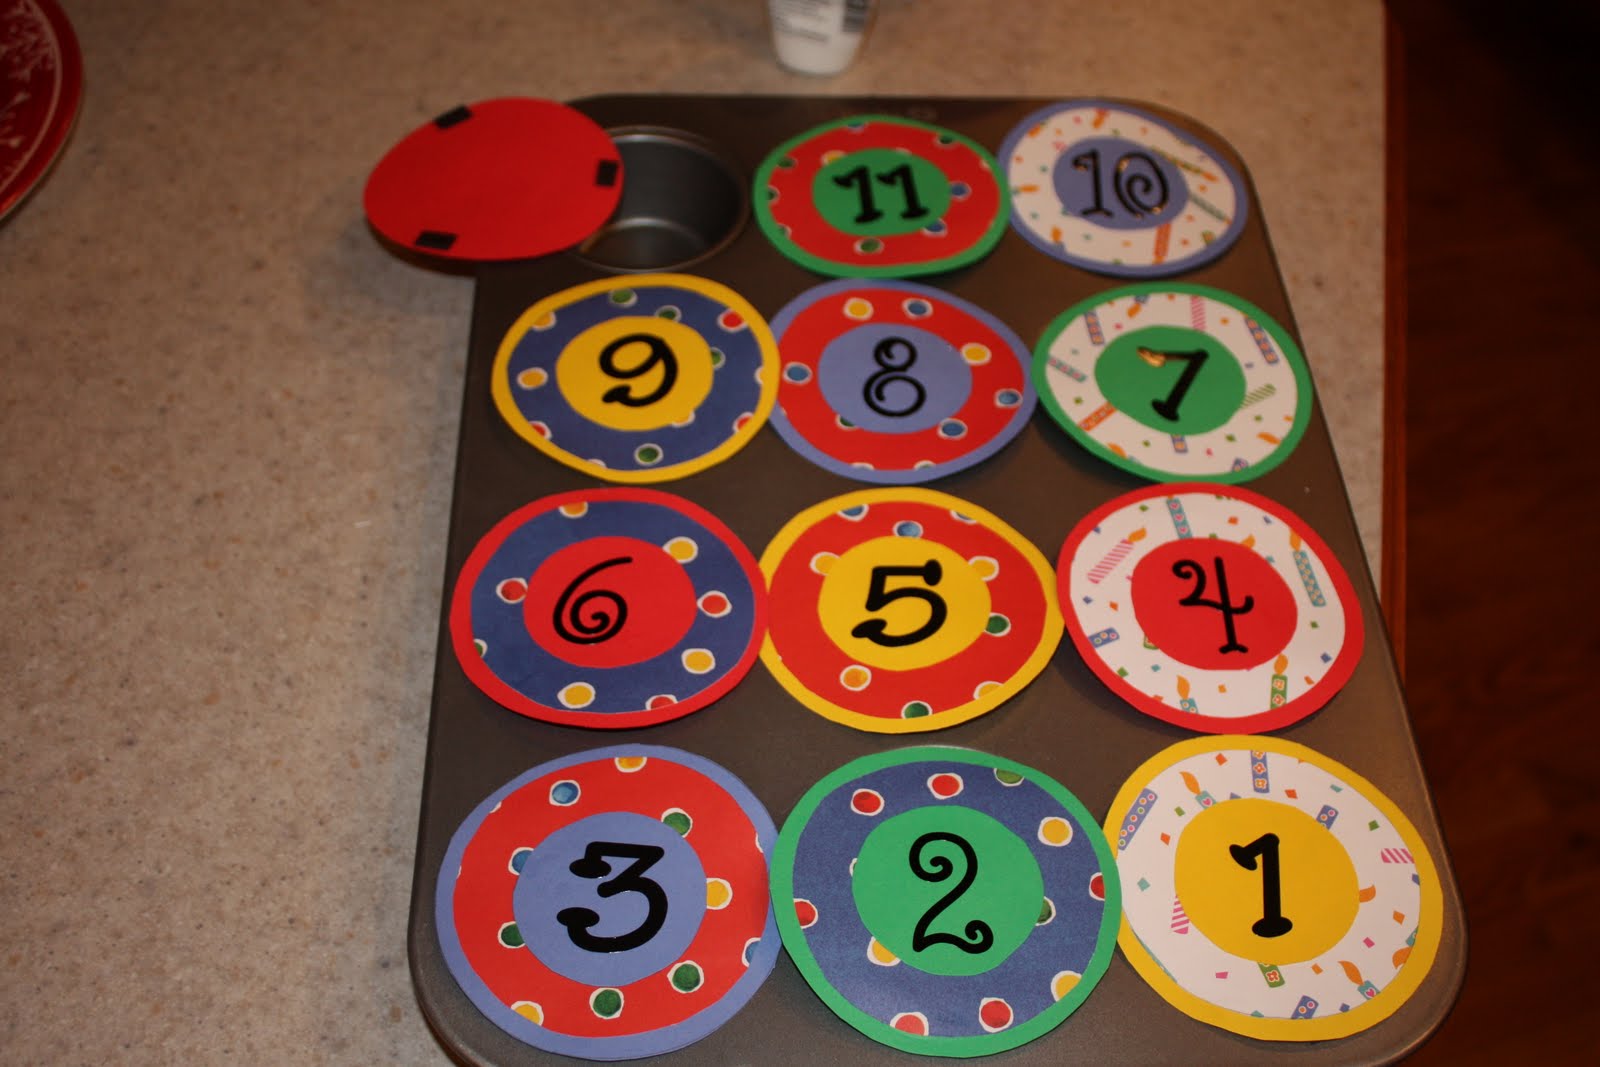
Christmas or Birthday Countdown

I've seen several of these on the internet and decided to make one of my own. Seeing as I received a Christmas Countdown/Advent calendar as a Christmas gift one year, I opted to make a birthday one. I know big sis gets so excited around her birthday - perhaps this will eliminate the, "Is it my birthday yet?!" question!

Supplies needed:
Muffin tin (mini 24-count for a full Christmas one, size of your choice for birthday)
Cardstock and either scrapbook paper/embellishments or a computer program
magnets (I bought an adhesive roll)
possibly glue

If you choose to use scrapbook paper:
Cut cardstock circles out in a size large enough to cover the muffin tin holes. I just used a variety of glasses to make the circle shapes. Decorate as you see fit, adding the countdown numbers as well.

If you choose to use the computer: Design your circles and print onto cardstock.

Cut little pieces of magnets and attach to the backs of each circle. I ended up gluing mine on as the adhesive didn't work well.

Overall, my circles ended up being a little stiff and they don't always lay well over the muffin cups. Possibly using lighter weight paper, adjusting the circle size, or using more powerful magnets would help eliminate this problem.

Fill each muffin cup with a special surprise, cover with the circles and let the countdown begin!

Sunday, June 19, 2011

Cake Pops

After reading about cake pops, having them available at a Mother's Day Tea (big sis was so sad she couldn't eat them because they had nuts in them!), and then having my mom make some for a family birthday party...I knew I wanted to give it a try. My mom owns a cake pop mold, so hers are strictly cake centers with icing on the outside. Big sis loved them, but alas my husband didn't get to try any since she made hers with chocolate cake. For Father's Day, I decided to make some using Daddy's favorite type of cake...strawberry!

I opted to follow directions from Bakerella - not sure if she made them originally, but she WAS featured on Martha Stewart and quite possibly is responsible for them becoming so popular. If you've never been to her site, she has SOOO many cute versions! Oh if I had extra time on my hands...!!!!

Here's how my girls and I made ours (and the final product review):
Supplies/ingredients:
lollipop sticks (I bought 6 inch ones, but found that the smaller sticks I had on hand worked just as well)
floral foam (or something to hold the pops upright without touching as their icing dries)
waxed paper
cake mix and necessary ingredients to bake it (we chose strawberry)
1 can cream cheese icing
vanilla almond bark or vanilla meltable candies or even chocolate chips?
Decorating sprinkles

Directions:
(Side note: My girls only helped with the last step - they added the sprinkles (well, little sis sprinkled the floor more than her cake pops!). The rest I did during rest time...but they easily could have helped.
1. Bake the cake according to directions (I made mine in a 13x9 pan). Let cool completely.
2. Crumble cake into bowl. Add icing and mix. I personally wanted the least amount of icing mixed with the cake mix, so I just added a little bit of icing at a time until I thought the consistency would hold up and the cake balls would stick together. (Probably used the equivalent of one cake and 2/3 or 3/4 can of icing.) (I also only used about 2/3 of my cake as I didn't want TONS of cake pops.)
3. Shape the cake into balls and place onto wax paper-covered cookie sheet.
4. Melt a little of the vanilla bark. Dip lollipop sticks into the melted bark and place in the cake balls.5. Stick these in the freezer to solidify/harden.
6. Melt more of your outer coating. Take cooled/frozen pops and dip them carefully in the melted bark. (They will fall apart, especially if you turn them a lot.) Tap off as much excess and place in the floral foam to dry. If you want sprinkles or decorations, add them while the "icing" is still wet.

Our family reviews:
Big sis LOVES the cake pops I coated with melted milk chocolate chips.
Daddy had the almond bark covered ones and said they are rich but really good. (I think he would tell everyone to have a glass of milk ready because you'll need it right after eating one!!)
I tried a few bites of an almond bark one - tasted "melt in your mouth" good, but not sure if I liked the after taste...contemplating just trying the Wilton candy melts next time.

Thursday, January 20, 2011

Minnie Mouse Birthday Cake

Little sis turns 2 this month and I always like to try making a fun cake/cupcake. After searching for some I thought she might like, she narrowed it down to this Minnie Mouse cake:
http://www.coolest-birthday-cakes.com/coolest-minnie-mouse-birthday-cake-61.html

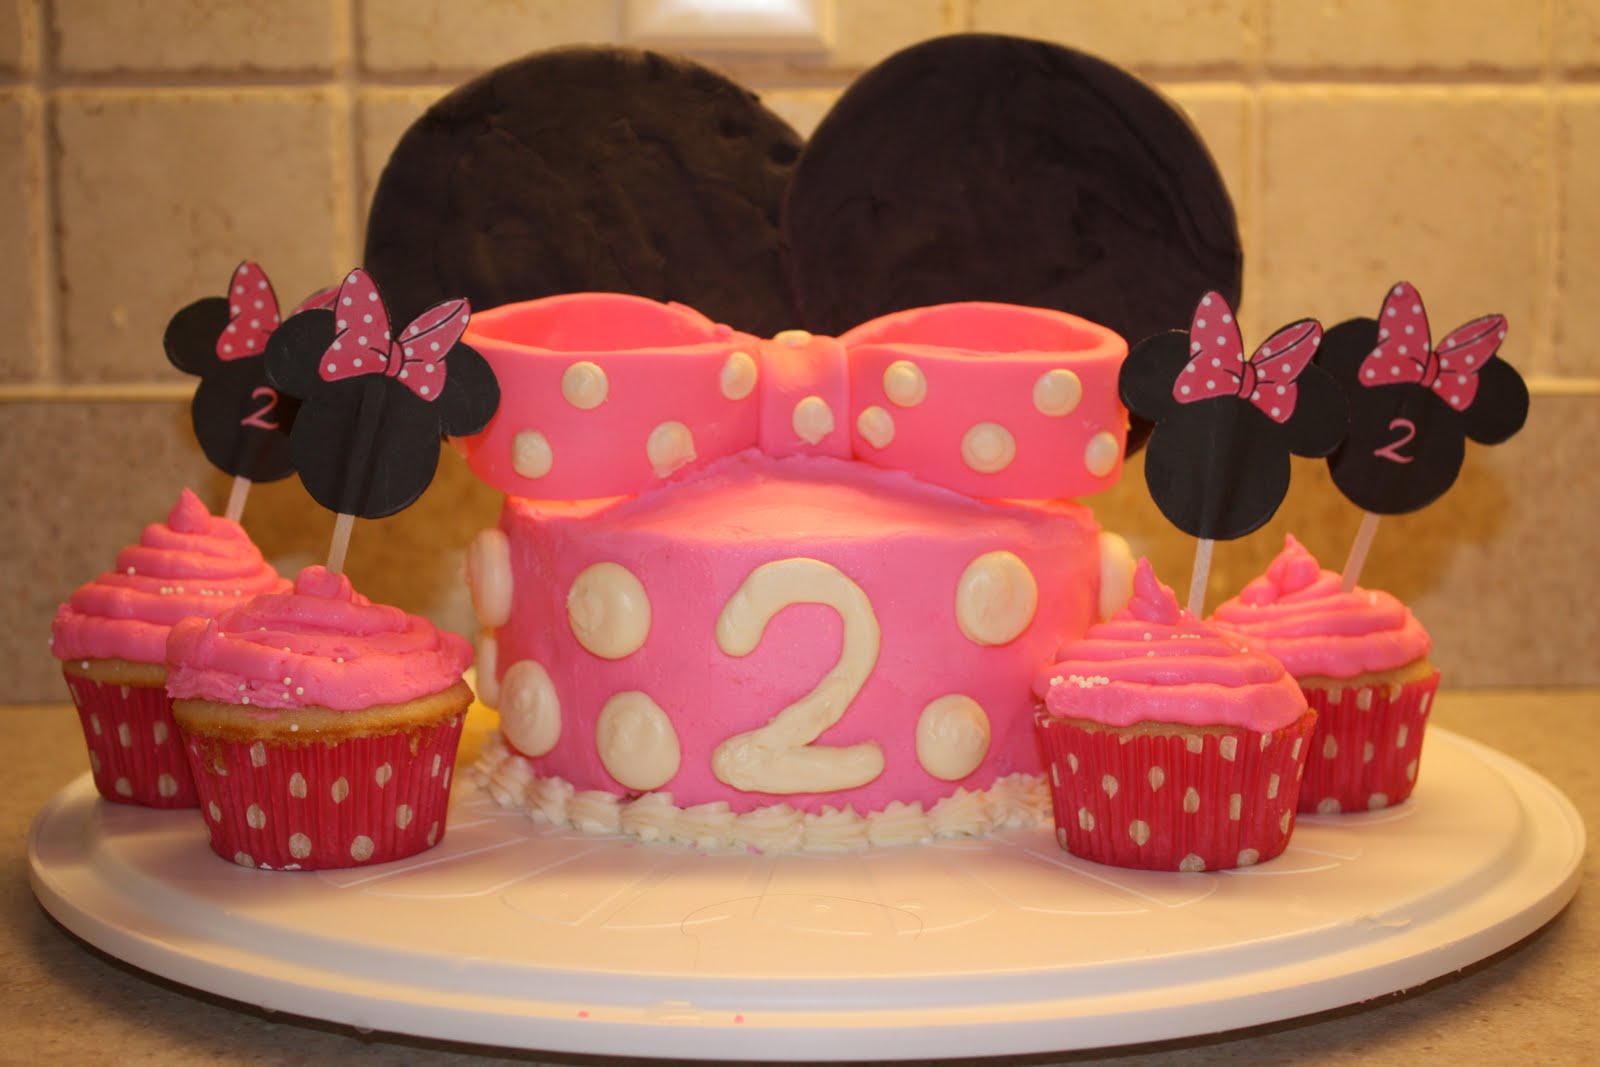
I decided to just make one tier, as my girls really prefer cupcakes, so I made a two-tier 6-inch cake with 11 cupcakes. It's nowhere near professional and there are multiple things that I wish I would've tackled differently, but boy did little sis' eyes light up when she saw it! She just kept saying, "Minnie!" and "Ears!" and "Bow!"

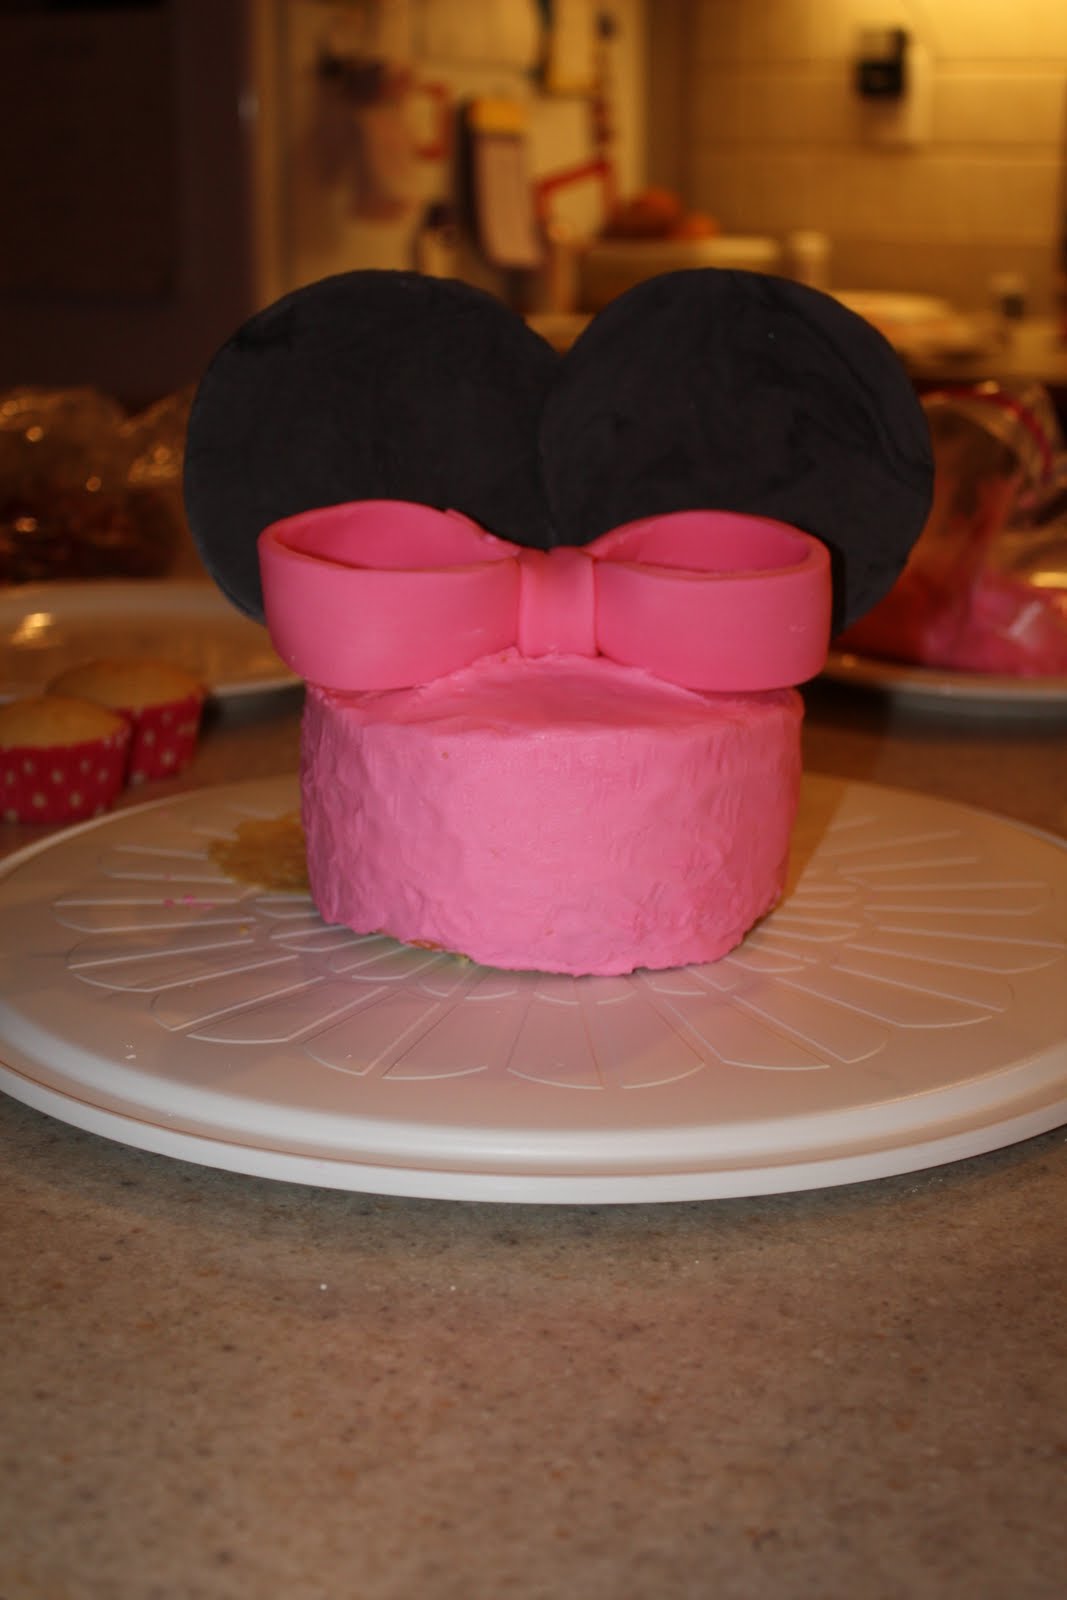
Here are some pics through the whole process...

A day before making the cake, I pulled out some really old fondant (we are not planning to eat this) and made the bow (along with some small ones in case I decided to put Minnie heads on the sides of the cake). This was just my second time working with fondant.

I also found some clip art and made the Minnie Mouse cupcake picks..leaving some blank and adding little sis' new age as well as a Happy Birthday greeting on some (using Word's Waltography font...so perfect!)

That same day, I tried my hand at gumpaste for the first time and made the ears. Learned LOTS on that experiment. After kneading in the color pink in the fondant and black in the ears, I was quite tired of kneading. The black in the gumpaste was very challenging for me...there has to be an easier way. The color turned out more black-gray, but it works. I also rolled the ears a little too thin, which made it a challenge to stick in the craft sticks that would help support it once stuck in the cake. Finally, I later discovered that I made the ears a little too big. I think I initially cut them out at the right size, but they grew bigger as I tried to insert the craft sticks.
The next day, made the cake. Decided to do one from scratch and used Wilton's Golden Yellow Cake.

Next came time to ice the cake and add the bow and ears. I wish I would have set the ears back just a little bit further, but oh well. I was pleased that the tinted fondant and tinted icing (used Wilton's Buttercream Recipe) turned out to match very closely.


Finally, added the decorating details and iced the cupcakes. First, I wish I had fresh fondant on hand...fondant circles would've looked much better. (I ended up using a tub frosting that I had on hand...didn't have much buttercream left plus I had tinted the whole batch pink.) Second, I had intended to frost my cupcakes following Wilton's swirl instructions, however I didn't realize that I did not have the needed icing tip until it was too late. I improvised and came up with the not-too-whippy look below.So that's it! Not exactly as I had envisioned, but likely perfect in little sis' eyes!