Showing posts with label Halloween. Show all posts

Friday, January 20, 2012

Halloween Costumes from years past

I likely will never post sewing instructions, as I am always just winging it when I sew. Thought I'd still post past years' costumes, all of which were homemade with the exception of Minnie Mouse (I could not find polka dot material locally and was feeling intimidated by a dress...Cinderella was my first ever attempt at a dress) and the fairy wings.

(Side note: seems we do not have any pics prior to Little Sis' birth on our back up storage drive...will have to hunt for those years and add later. Missing Big sis as a fairy when she was 1.5 and dressed as a flower for her first Halloween.)

Sorry for all of the pics of Little Sis as Pebbles for her first Halloween. Right now, she's in that "over smiling" or scowling phase for pictures, so I just had to post all of these with her adorable smiling baby face!
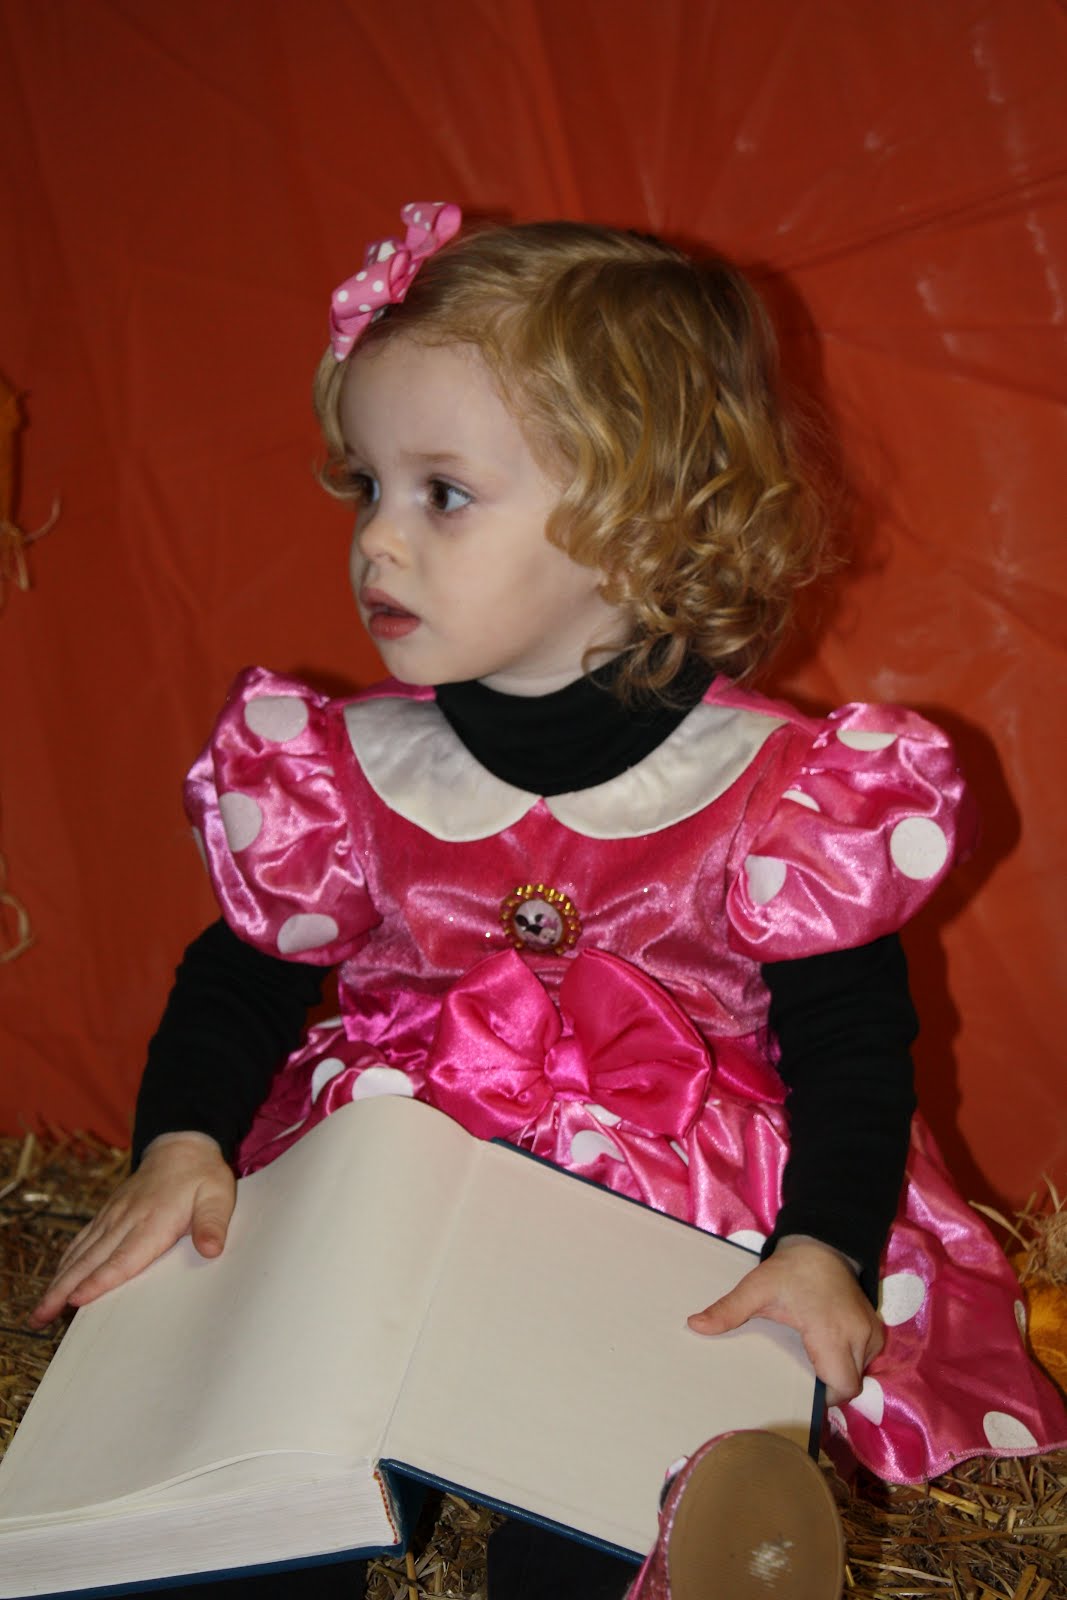


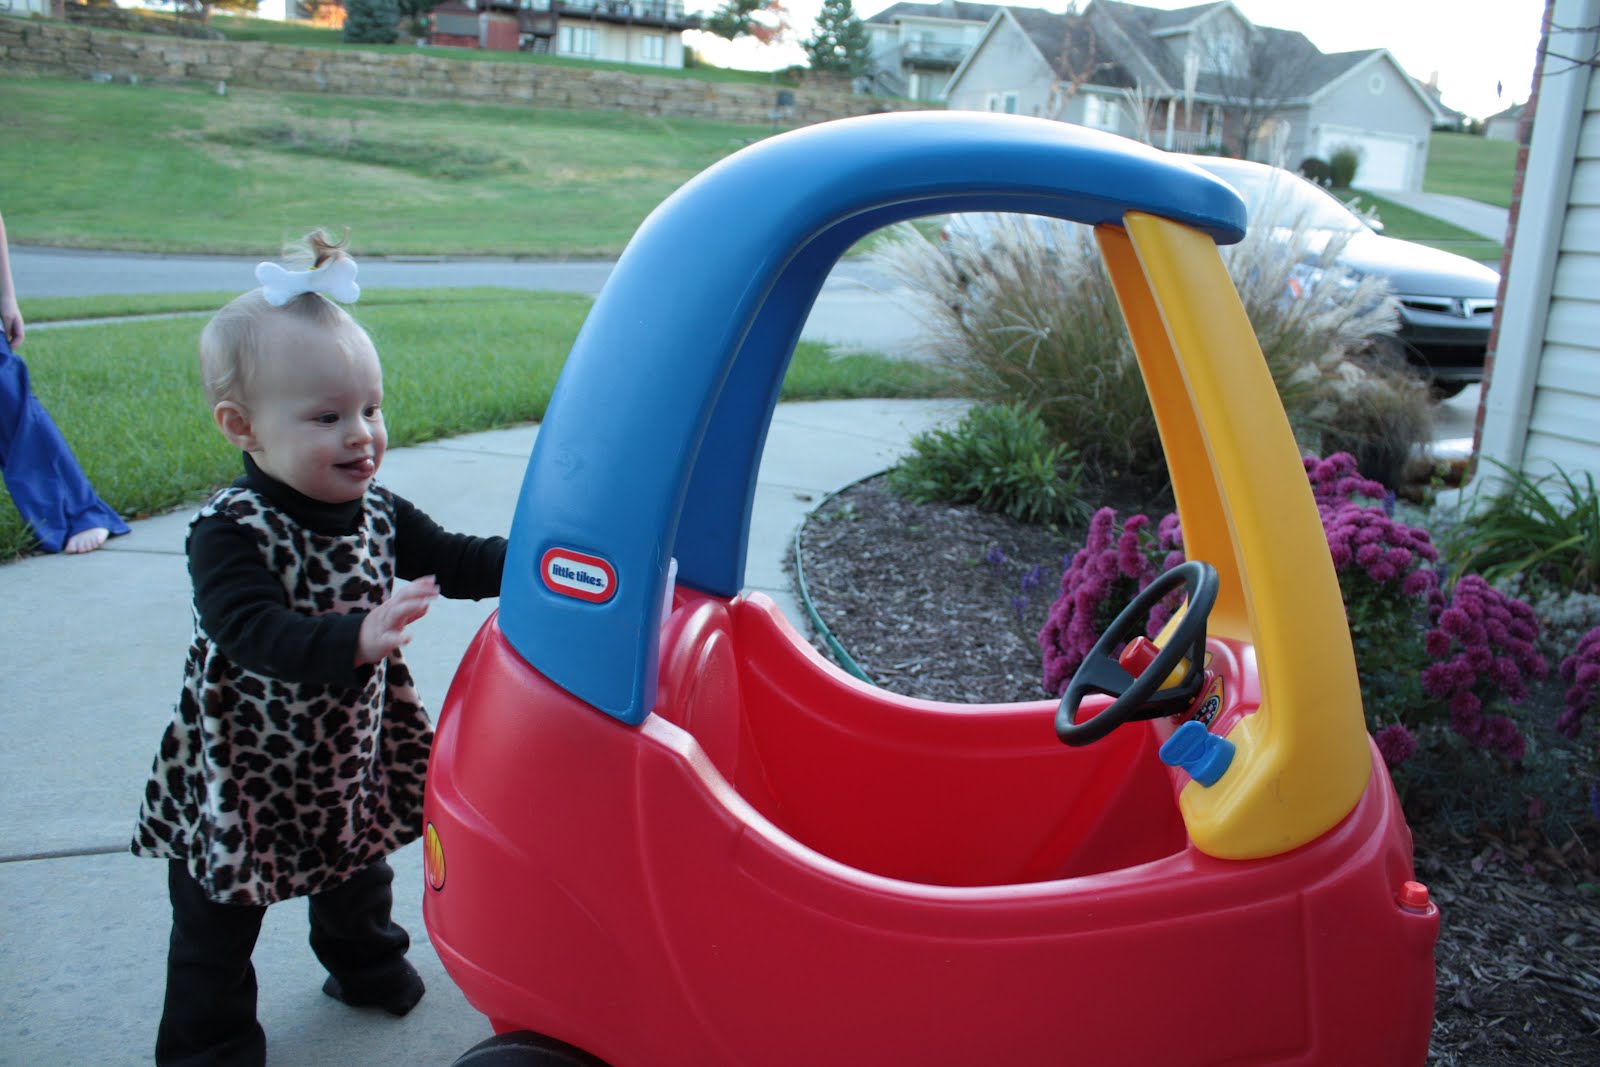

Bought the Minnie Mouse Costume. Made the Pebbles dress and "bone" accessory for her little whale spout.


Made all of the Snow White Costume except the tiara (made a cape, skirt, and top...first time working with costume satin - definitely not my favorite! Did learn some lessons and improved the next year.) Made the fairy tutu. I think I like the way big sis' fairy tutu turned out just a little better, but it was fun to try a different technique

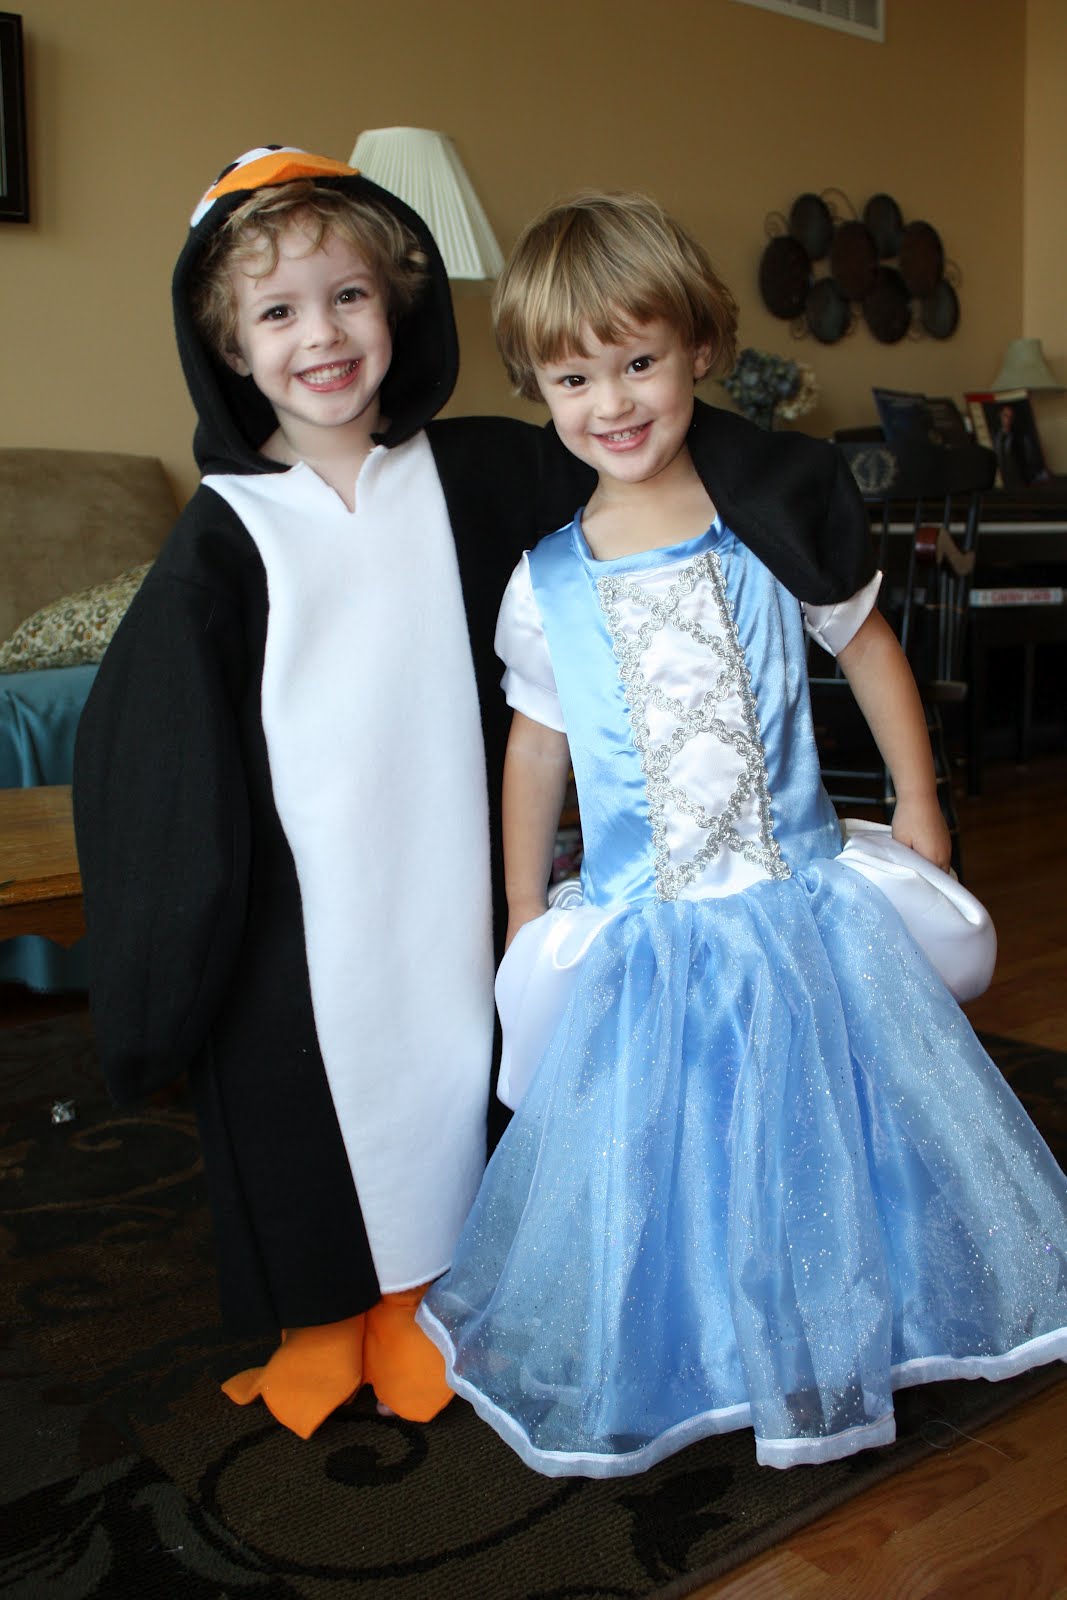
2011 Halloween Costumes

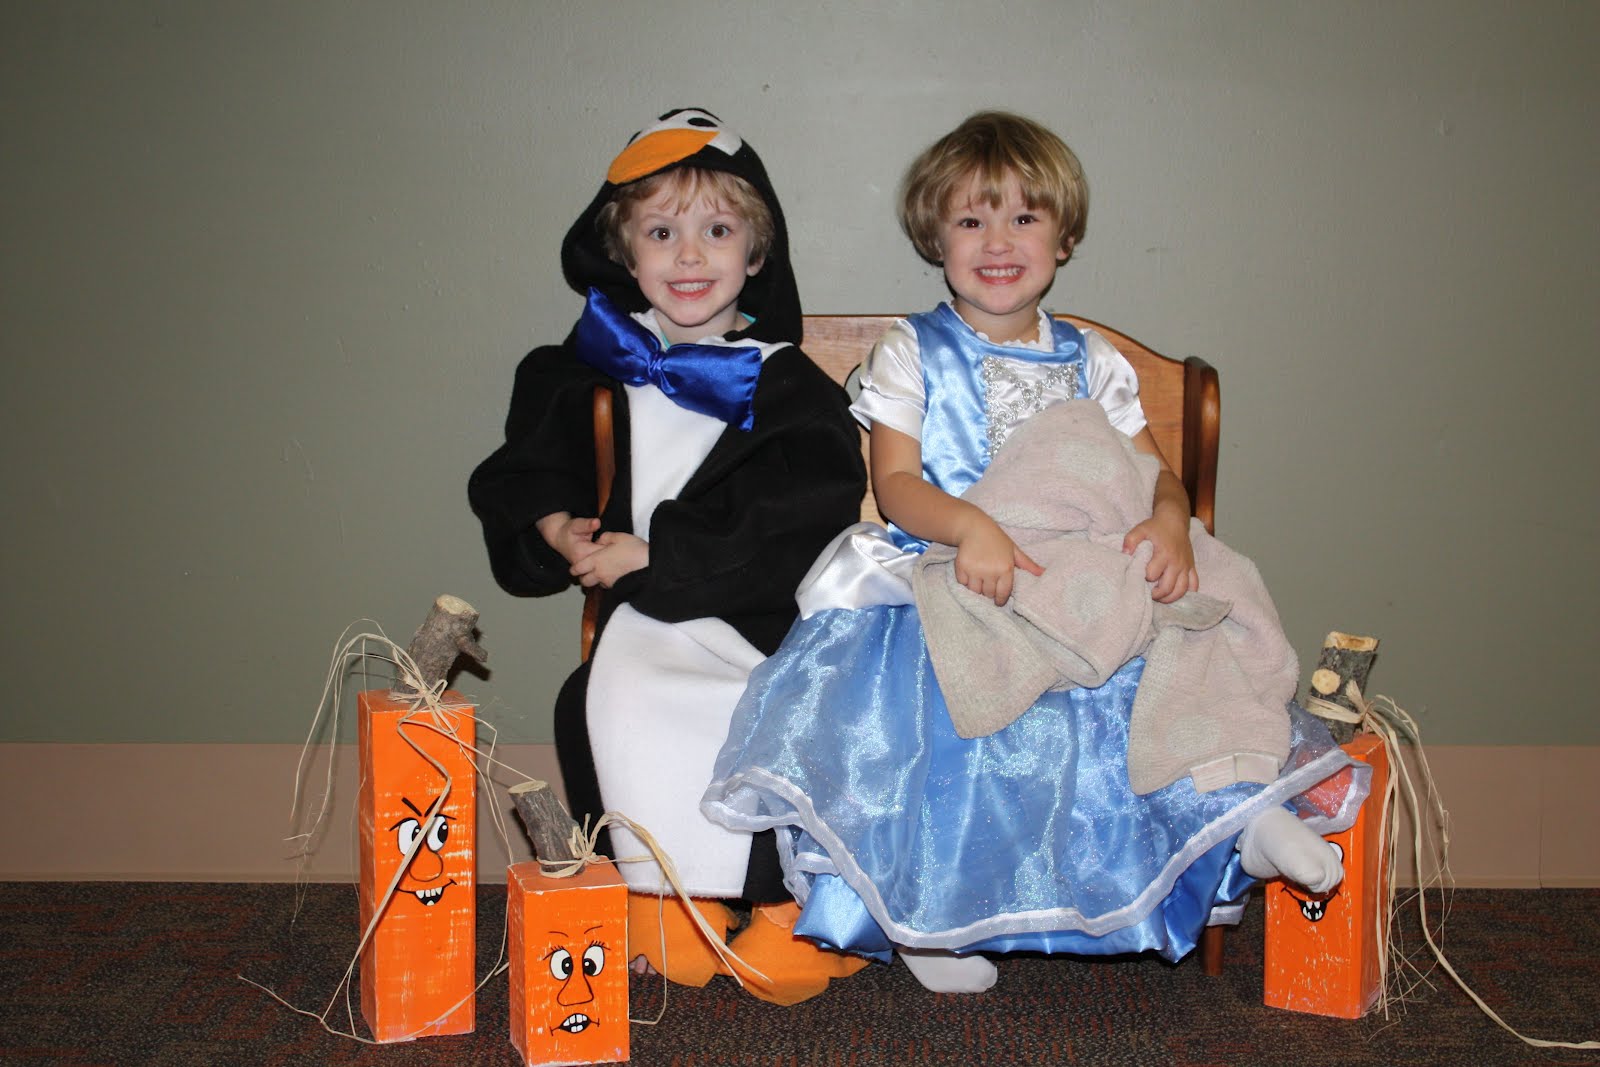
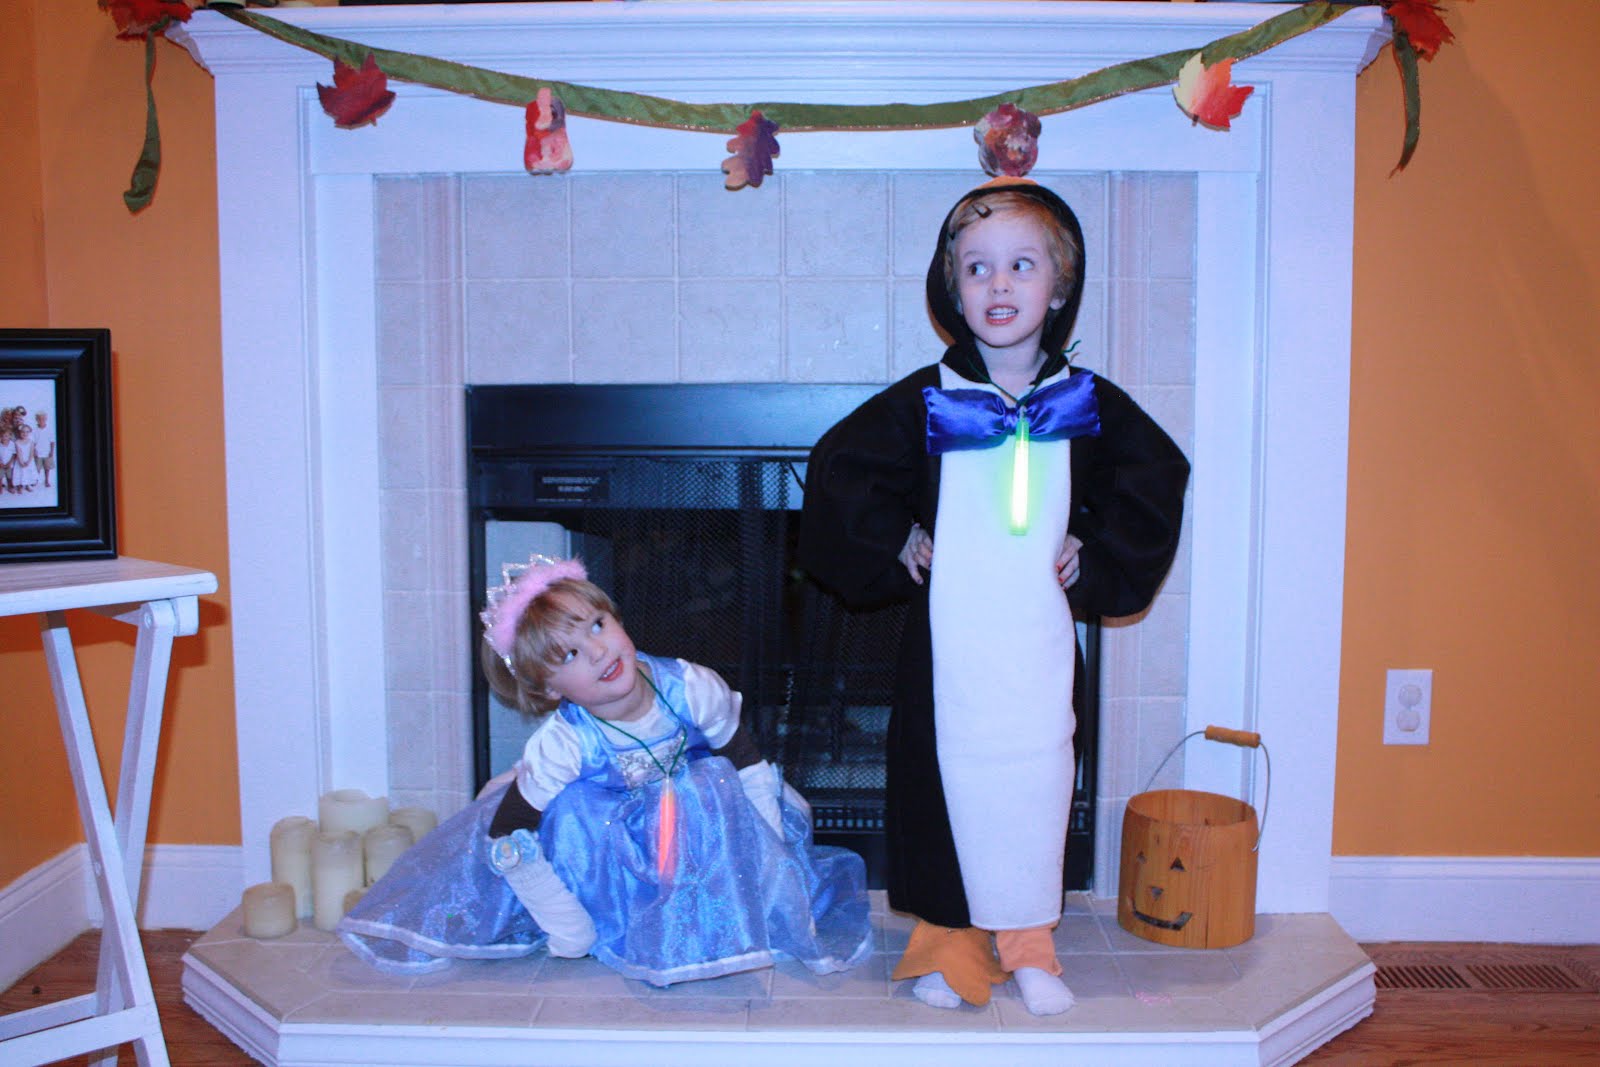
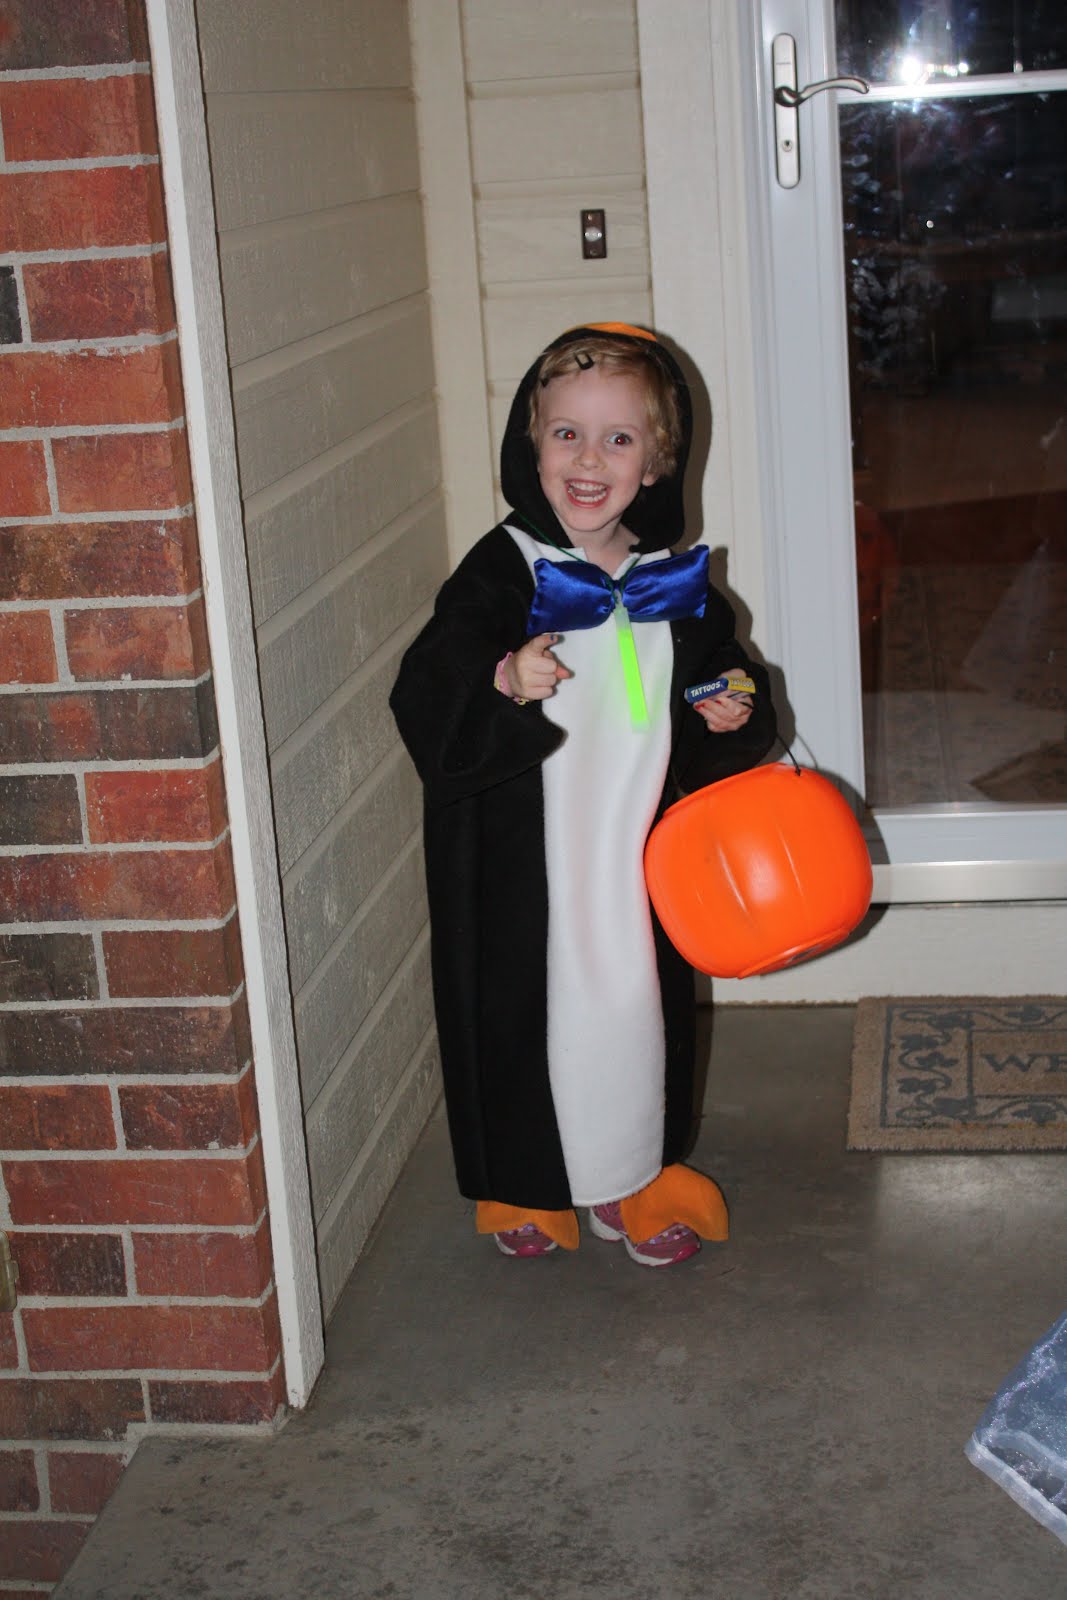
One thing I really enjoy is trying to make my girls' Halloween costumes. This year, big sis was set on being a witch. At 4, I just wasn't ready to go that route so when I temporarily had her agreeing to be a penguin, I immediately jumped on it! As a result, I had their costumes basically finished back in August!

For Big Sis' penguin costume, I took a picture of a pattern you could buy and used it as my guide - did everything free hand. I used fleece for her costume, but mistakenly sewed the hood in place, which made the neck hole too tight to slip over her head. I cut a v in the front part and then later hid it with a bow tie that was held in place by velcro.

Little Sis wanted to be Cinderella. I followed the directions here and was more than pleased with how it turned out. I added an extra layer to her skirt portion and it just looked gorgeous. I have never made sleeves like that...her directions are just great! The one mistake I made: I didn't follow the directions EXACTLY and attached the skirt later, only I forgot to measure the top bodice to determine where it should attach to the skirt. As a result, the bodice was rather long on her. Overall, it worked though and I was SO very proud of the outcome. Seriously, this pattern is worth trying. I'm not a very good seamstress and was able to do it!


Saturday, October 22, 2011

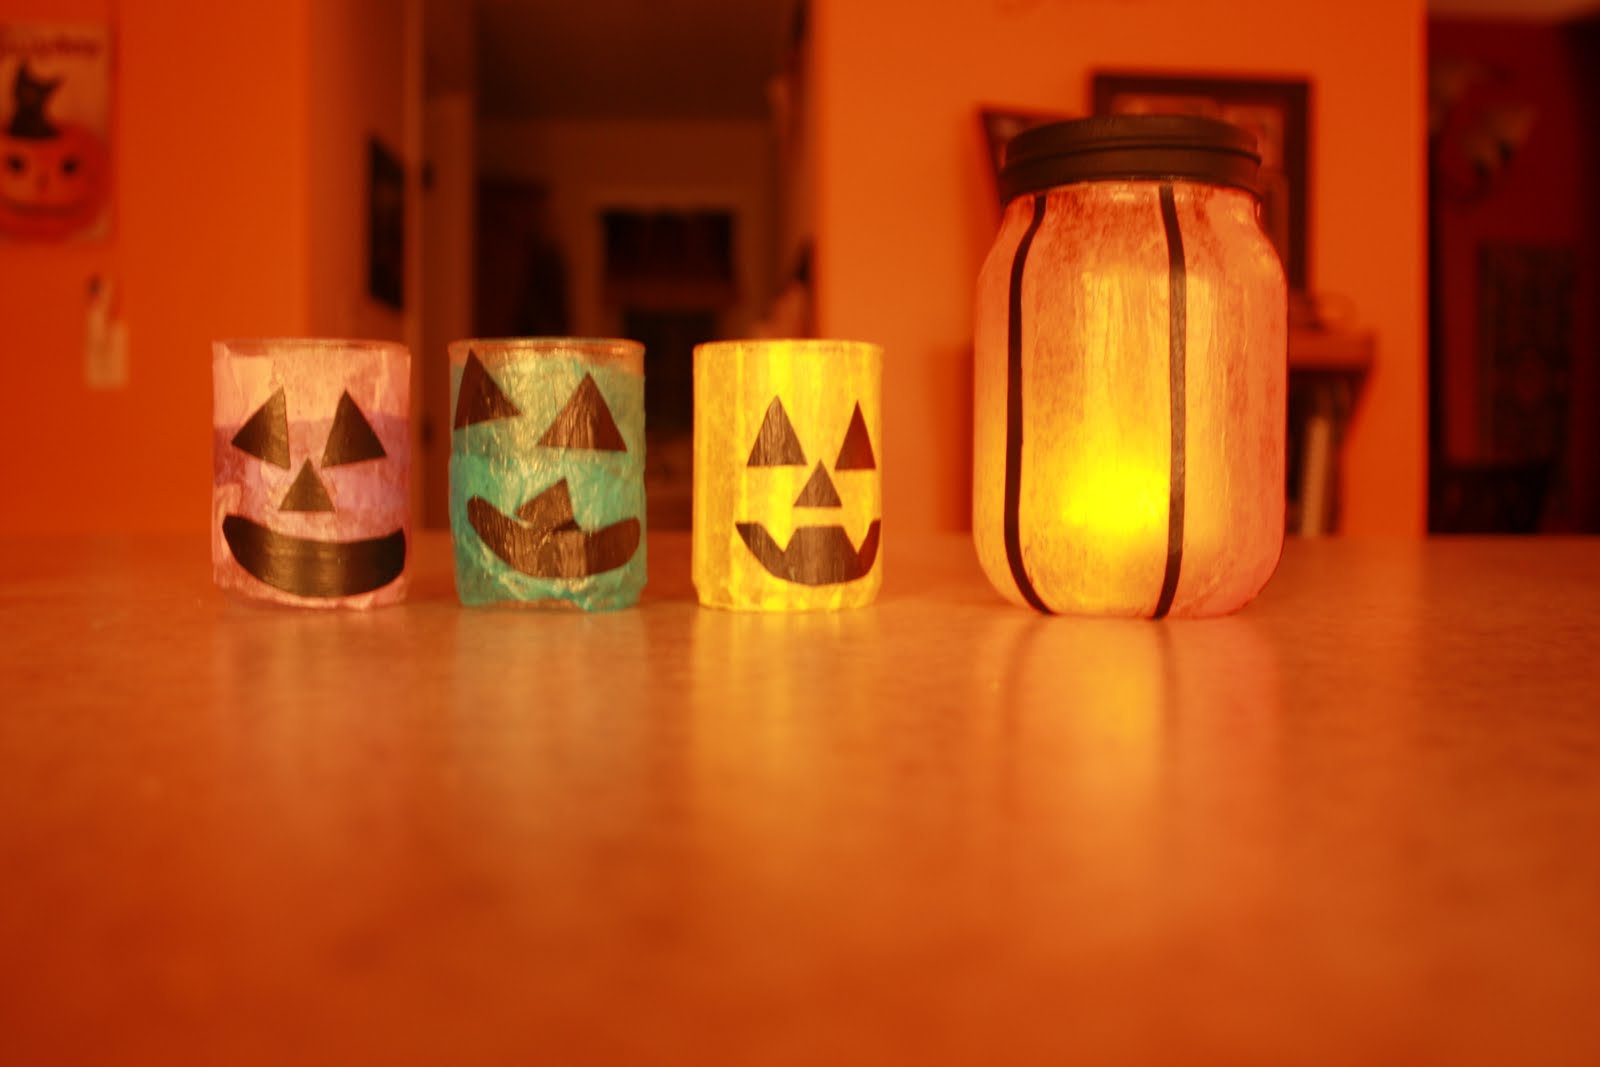
Jack O'Lantern Luminaries

I've seen these before on the internet but had not taken the time to try it out until a recent MOPS (Mothers of Preschoolers) meeting. (I was trying to make mine just look like a pumpkin so I could keep it out even around Thanksgiving...green tissue lines would've looked better than the black construction paper, but that was all that was on hand at the time.)


When my girls saw my craft at home that afternoon, they instantly wanted to make one themselves! This craft could easily be tweaked in so many ways and was fun for us to do together!

Supplies I used:
plain canning jars or votive cups, etc.
Mod Podge
Tissue paper
Black construction paper if you wish to make a Jack O'Lantern

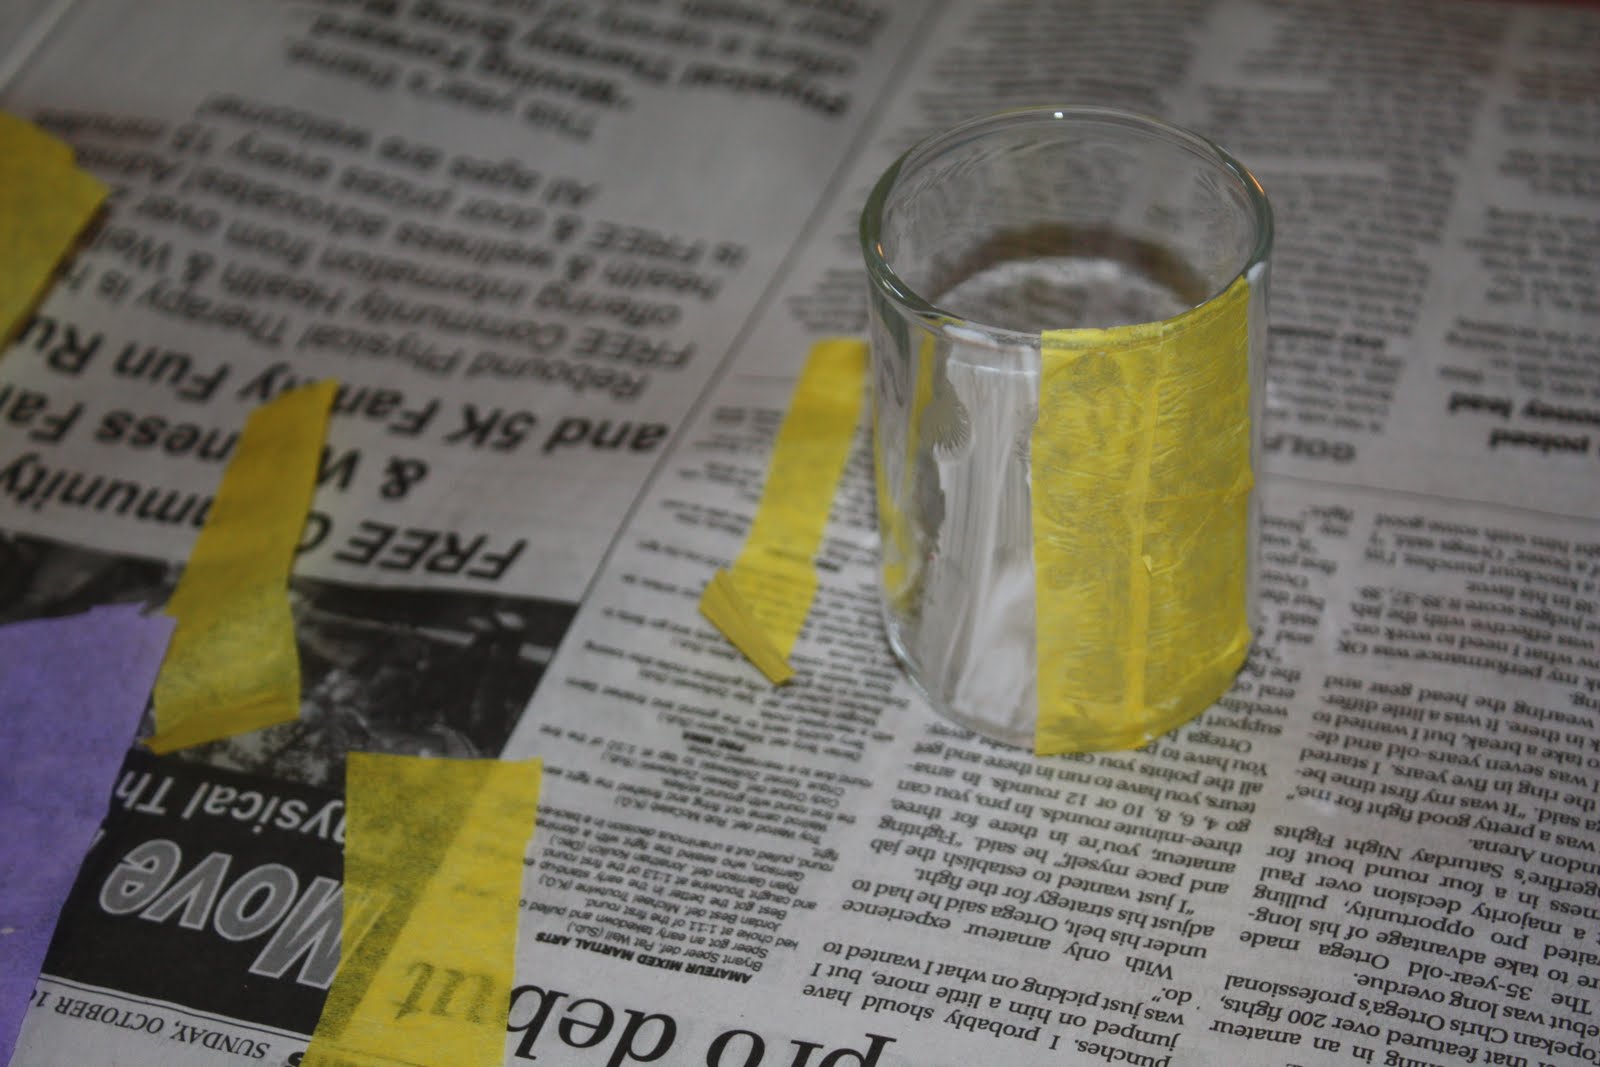
At our meeting, we used jars. The only canning jars that I had on hand were not smooth on the outside, so we had to settle for the next best thing - votive holders. That turned out to be a good thing, as my girls (the littlest one especially) grew a little impatient with applying the glue.

Pick tissue colors and cut into strips.
Apply Mod Podge to small portions of the outside of your jar and place the tissue strips on top. Continue until entire exterior is covered.


If you wish to make yours a Jack O'Lantern, cut a face out of black construction paper and glue it on.
Finally, paint a layer of Mod Podge on top. Let dry and you are done!


I dropped some battery operated tea lights in mine and my eldest loves keeping hers by her bed!


Happy crafting!