Friday, August 5, 2011

Travel Activities

We've been trying to make our car trips without televisions. (I've never been crazy about using them, but with two infants/toddlers that were not great travelers, the TVs were worth our sanity and the safety of our family.) We've been doing pretty well using books, toys, and coloring books, but I was so excited when I saw these travel binders over at Somewhat Simple.

As excited as I was, I didn't jump at the chance to make them. Regular dry erase markers DO NOT come out of clothing (at least, I couldn't get them out) and my girls are notorious for drawing on their bodies and getting markers on their clothing by accident. However, this fall I noticed that Expo now has a line of washable dry erase markers (and they were on sale with school supplies!!), so it was time to give this a go. (I also bought some washable Crayola dry erase crayons, but have yet to test them on the binders. Crayons aren't great for travel with this hot weather!! Too many bad experiences with melted crayons in the car!)

Needless to say, Big Sis LOVES her notebook and will remain quite busy with it. Little Sis loses interest after a while, but she still thinks it is fun.

Cheapest time to make these is likely in the fall/back to school when you can buy all of the supplies on sale!

Supplies needed:
binder or scrapbook
sheet protectors
either printer/paper to print sheets from the web OR
purchase workbooks
dry erase markers (or possibly crayons)
OPTIONAL:
pencil holder with binder holes
coffee filters or tissues or something else to serve as an eraserFairly easy...simply print or tear out worksheets from a book, slide into the sheet protectors, add them to your binder and you are ready for travel! I plan to have each girl color a favorite character for the front of her binder.

Worksheet possibilities:
This activity is pretty easy to gear up or down to your child's age. Some possibilities: coloring pages, connect the dots, finish the picture pages, mad libs (buy a book or print some for free online) for older children, letter and number tracing for the pre-K/K crowd, color by number if you have enough markers, etc.Where I found my worksheets:
Workbooks from the Dollar Store/Target Dollar Aisle
Customizable handwriting worksheets
Preschool Worksheets
DLTK usually has a lot of printables to choose from, but I haven't printed from there yet...Other examples (besides Somewhat Simples):
Simple, Messy, Fun
Feels Like Home
Try This!

Friday, July 29, 2011

Notebook Purses

When I saw these journals at Sisters' Stuff, I knew at some point I'd be making them for my girls! With school supplies on sale, this seemed like the perfect time! (Please note, theirs are much cuter due to the additional embellishments...I didn't want to sink too much money into these as I know my little ones will burn right through them.) (There are some other cute examples at Brassy Apple)

Supplies I used:
Composition Notebooks (mini and regular sized examples shown)
scrapbook paper
ribbon
Mod Podge
hot glue
velcro tabs
scissors

The other site used a knife to cut their layers and I would probably recommend that, as I attempted to use scissors and just didn't get as clean a look (probably took me longer). The first step is to cut corners off your notebook to make it shaped like a trapezoid. (I just winged it on mine, so for those perfectionists out there...sorry I don't have specific measurements for these cuts!)

Next, I applied the scrapbook paper using Mod Podge. (For me, it was easier to just glue the notebook cover to the paper and trim after, but you could measure or trace it out then glue.)

I hot glued ribbon on each notebook for decoration and also for handles.

Finally, I cut out a rectangle of scrapbook paper, hot glued it to the center of the back cover, folded it over to the front side and attached velcro. (I had sew on velcro on hand and opted to try hot gluing, but would likely recommend the self-adhesive velcro dots or something to that effect.)

I like the example on the other blog - so cute with the flower on the closing tab!

Pretty easy and fun project. I can't wait to give it to big or little sis! Big sis LOVES to draw, so I know she will go through hers fast!

UPDATE: Check this post for another way to close the purse (I ended up calling it a purse buckle..???)

Sunday, June 19, 2011

Cake Pops

After reading about cake pops, having them available at a Mother's Day Tea (big sis was so sad she couldn't eat them because they had nuts in them!), and then having my mom make some for a family birthday party...I knew I wanted to give it a try. My mom owns a cake pop mold, so hers are strictly cake centers with icing on the outside. Big sis loved them, but alas my husband didn't get to try any since she made hers with chocolate cake. For Father's Day, I decided to make some using Daddy's favorite type of cake...strawberry!

I opted to follow directions from Bakerella - not sure if she made them originally, but she WAS featured on Martha Stewart and quite possibly is responsible for them becoming so popular. If you've never been to her site, she has SOOO many cute versions! Oh if I had extra time on my hands...!!!!

Here's how my girls and I made ours (and the final product review):
Supplies/ingredients:
lollipop sticks (I bought 6 inch ones, but found that the smaller sticks I had on hand worked just as well)
floral foam (or something to hold the pops upright without touching as their icing dries)
waxed paper
cake mix and necessary ingredients to bake it (we chose strawberry)
1 can cream cheese icing
vanilla almond bark or vanilla meltable candies or even chocolate chips?
Decorating sprinkles

Directions:
(Side note: My girls only helped with the last step - they added the sprinkles (well, little sis sprinkled the floor more than her cake pops!). The rest I did during rest time...but they easily could have helped.
1. Bake the cake according to directions (I made mine in a 13x9 pan). Let cool completely.
2. Crumble cake into bowl. Add icing and mix. I personally wanted the least amount of icing mixed with the cake mix, so I just added a little bit of icing at a time until I thought the consistency would hold up and the cake balls would stick together. (Probably used the equivalent of one cake and 2/3 or 3/4 can of icing.) (I also only used about 2/3 of my cake as I didn't want TONS of cake pops.)
3. Shape the cake into balls and place onto wax paper-covered cookie sheet.
4. Melt a little of the vanilla bark. Dip lollipop sticks into the melted bark and place in the cake balls.5. Stick these in the freezer to solidify/harden.
6. Melt more of your outer coating. Take cooled/frozen pops and dip them carefully in the melted bark. (They will fall apart, especially if you turn them a lot.) Tap off as much excess and place in the floral foam to dry. If you want sprinkles or decorations, add them while the "icing" is still wet.

Our family reviews:
Big sis LOVES the cake pops I coated with melted milk chocolate chips.
Daddy had the almond bark covered ones and said they are rich but really good. (I think he would tell everyone to have a glass of milk ready because you'll need it right after eating one!!)
I tried a few bites of an almond bark one - tasted "melt in your mouth" good, but not sure if I liked the after taste...contemplating just trying the Wilton candy melts next time.

Father's Day Trophy

One of my favorite crafty mommy bloggers posted a cute Father's Day Trophy craft on Kaboose. We decided to make it this year using almost entirely supplies we already had on hand (just had to buy gold paint). Here's how we made ours...

(Note, she chose to cover her cups in masking tape and then paint...we opted out of that step....)

Supplies:
gold paint
styrafoam cups (I had larger ones on hand from a ghost project...smaller ones would look cuter)
glue (I ended up just using hot glue as I already had it out for another project)
pipe cleaners (I did not have gold, so substituted black)
something for the trophy base (I used a recycled Boston Market container that I had on hand, she used a box)
something for writing the message (paint pen, puffy paint, etc.)

Much of this project I did myself, but it would be easy to involve just about any age child.

First, I had my girls each paint as much as they wanted/could of a styrafoam cup (used gold acrylic paint). I went back after it had dried to add another coat. I think it took 2-3 coats for me to be happy with the color. (Note: I DID sloppily paint the inside of the cup designated to be the upper part of the trophy.)Second, I hot glued the bottoms of the two cups together and then hot glued the top of one cup to the bottom of my Boston Market bowl. (Loved using this bowl since it was already black!)

Third, I added the trophy "label" to the trophy base. (All I had that still worked was yellow glitter puffy paint!)
Finally, I inserted the pipe cleaner into my cups. (I did knot the upper one on the inner side of the cup so it wouldn't fall out easily.)

We filled ours with mini versions of a favorite candy!

Happy Father's Day!

Father's Day Gift Tradition

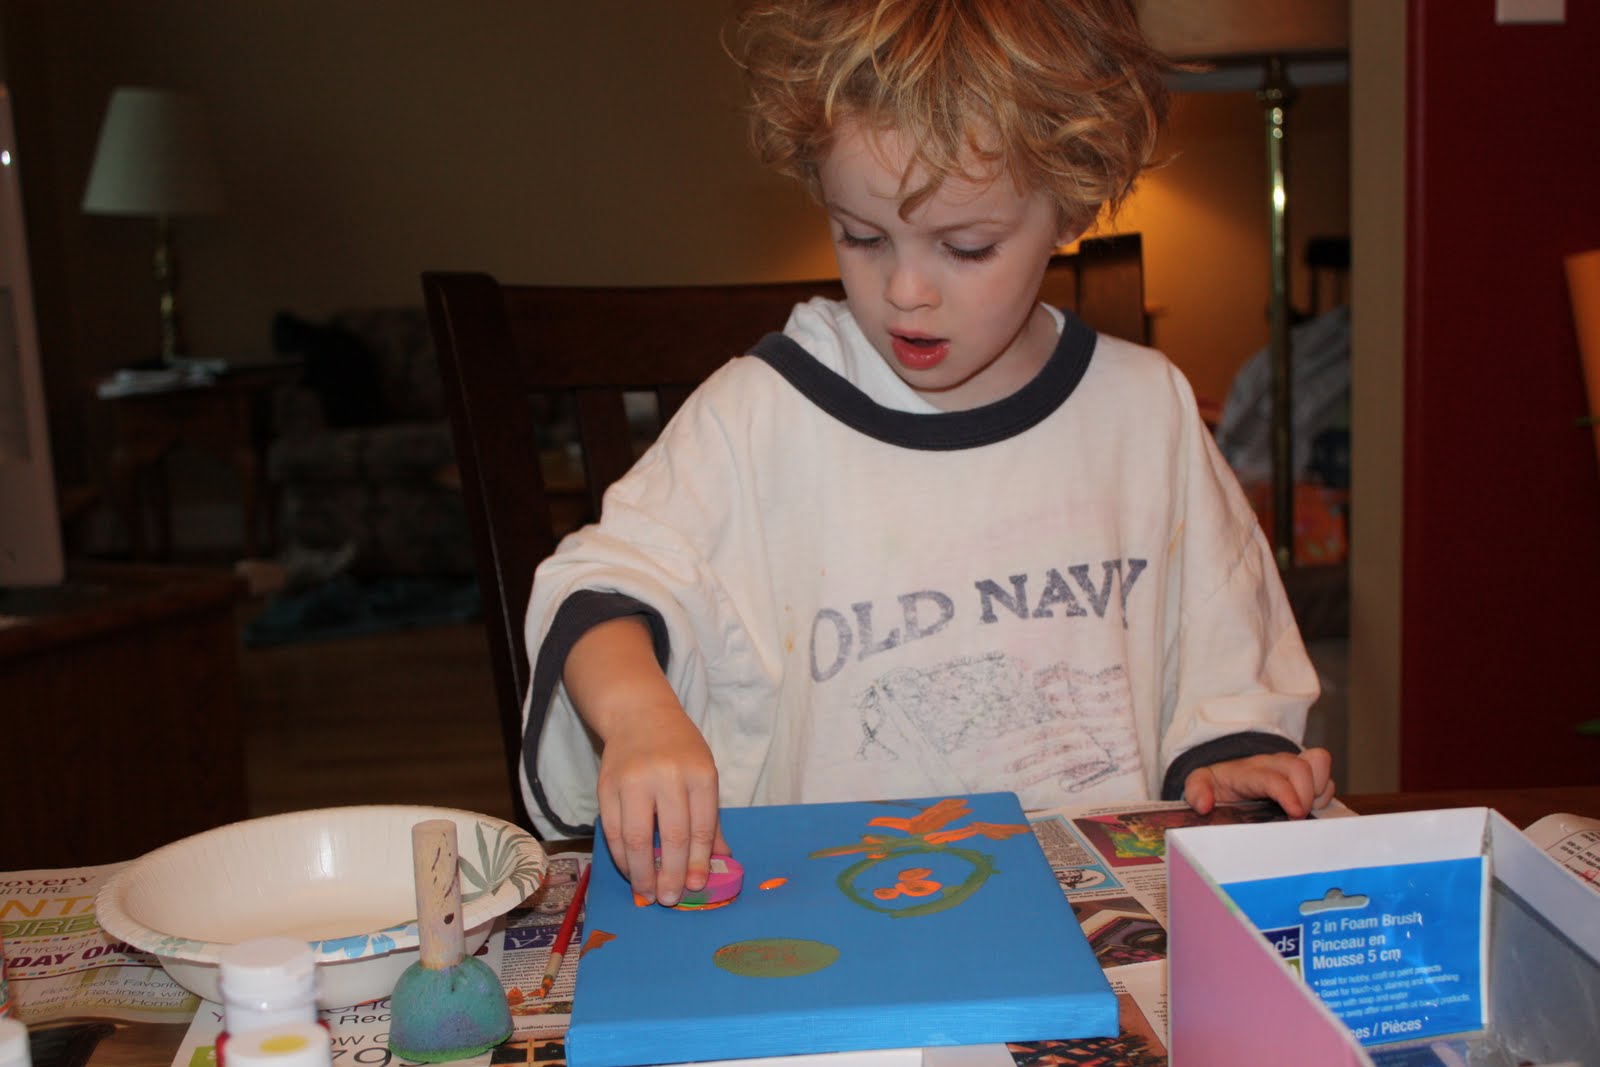
Last year, I searched many sites for some new ideas for Father's Day gifts. On one site (can't remember which one...Family Fun??) a mom shared that she had her child paint on a canvas each year for Father's Day and that the paintings now hang in her husband's office. I decided to start that tradition last year with my girls (1 and 3 at the time). I buy the smaller canvases, paint each a different base color, then let them choose their color(s) and have at it! Pictured below are their canvases from last year and this year.
Above are their paintings from last year hanging on the play area wall (orange is big sis and yellow is little sis)
Little sis hard at work on her red canvasBig sis hard at workFinished products from this year (big sis painted "Daddy" on the left; little sis on the right)