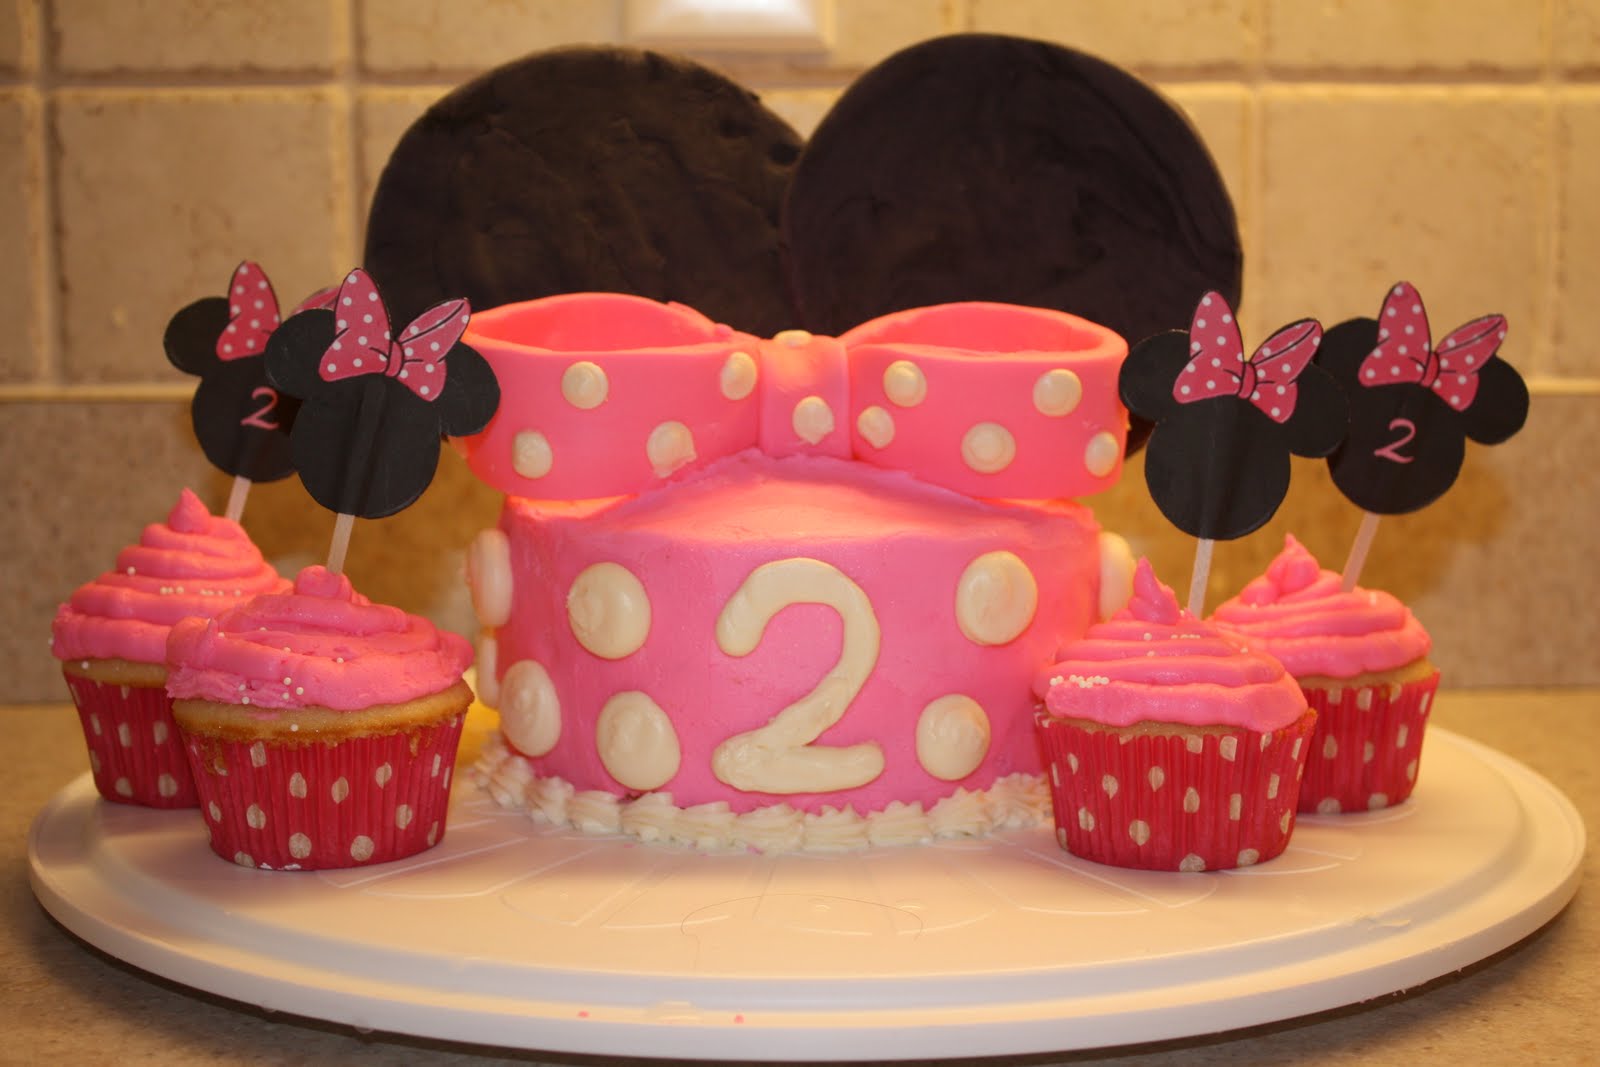
Little sis turns 2 this month and I always like to try making a fun cake/cupcake. After searching for some I thought she might like, she narrowed it down to this Minnie Mouse cake:
http://www.coolest-birthday-cakes.com/coolest-minnie-mouse-birthday-cake-61.html
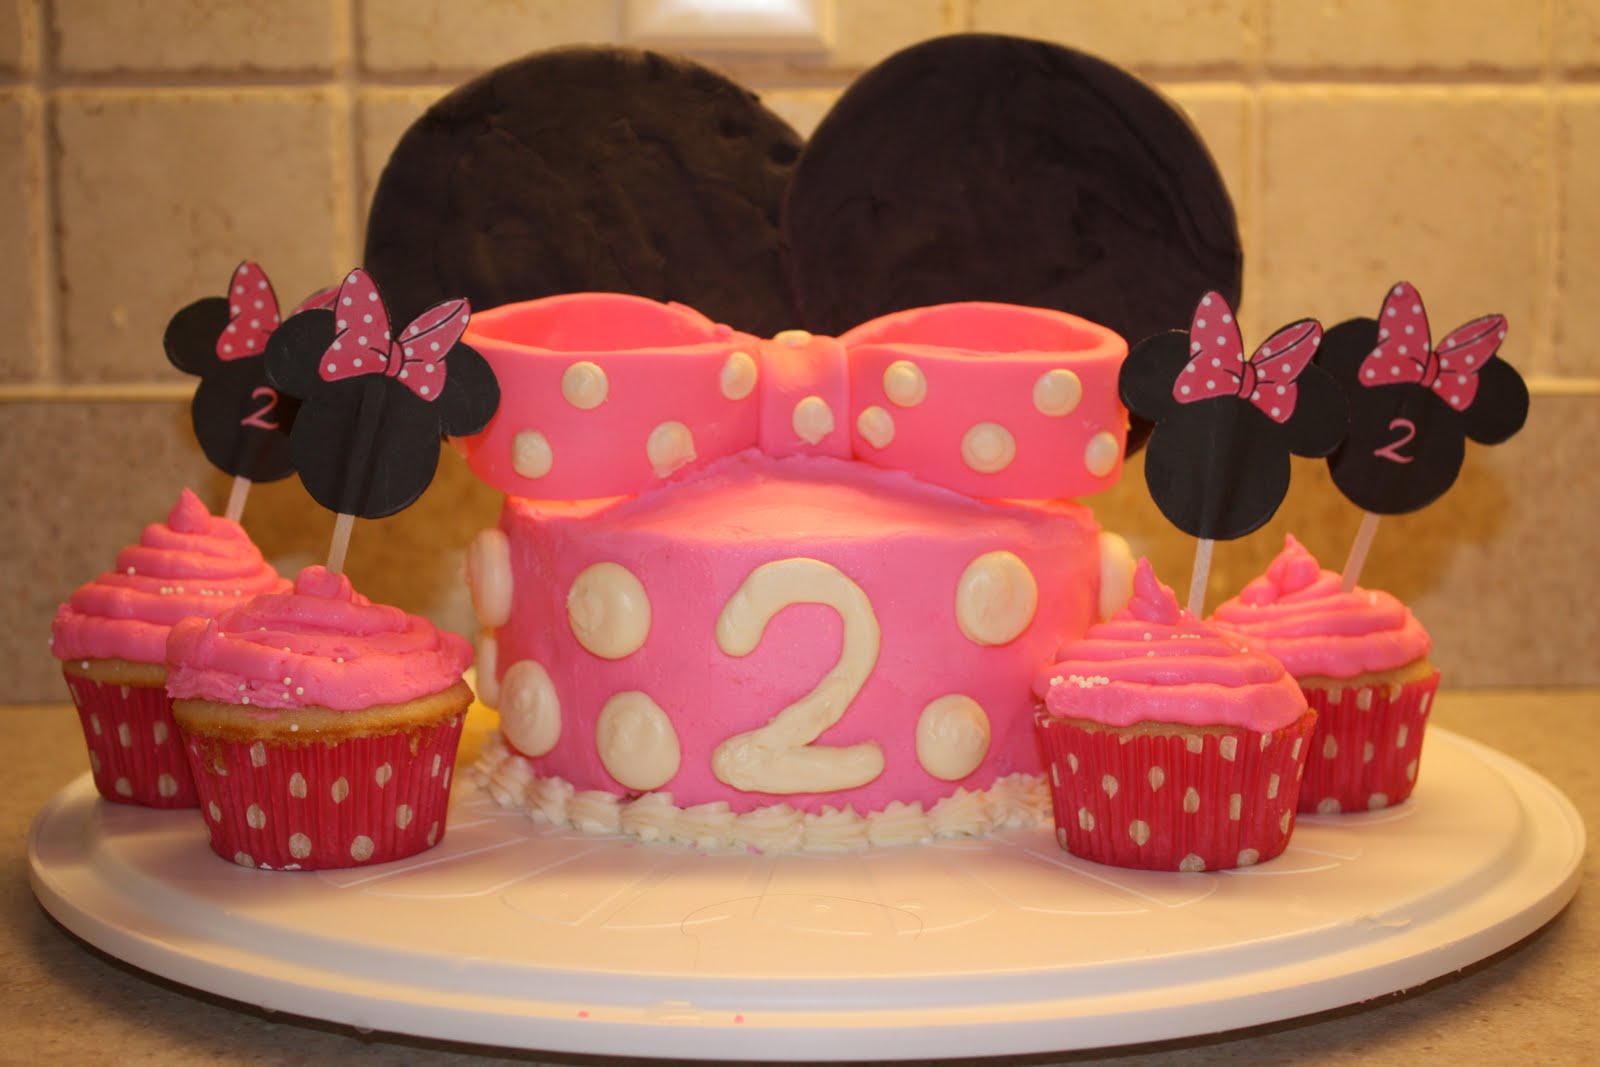
I decided to just make one tier, as my girls really prefer cupcakes, so I made a two-tier 6-inch cake with 11 cupcakes. It's nowhere near professional and there are multiple things that I wish I would've tackled differently, but boy did little sis' eyes light up when she saw it! She just kept saying, "Minnie!" and "Ears!" and "Bow!"
Here are some pics through the whole process...
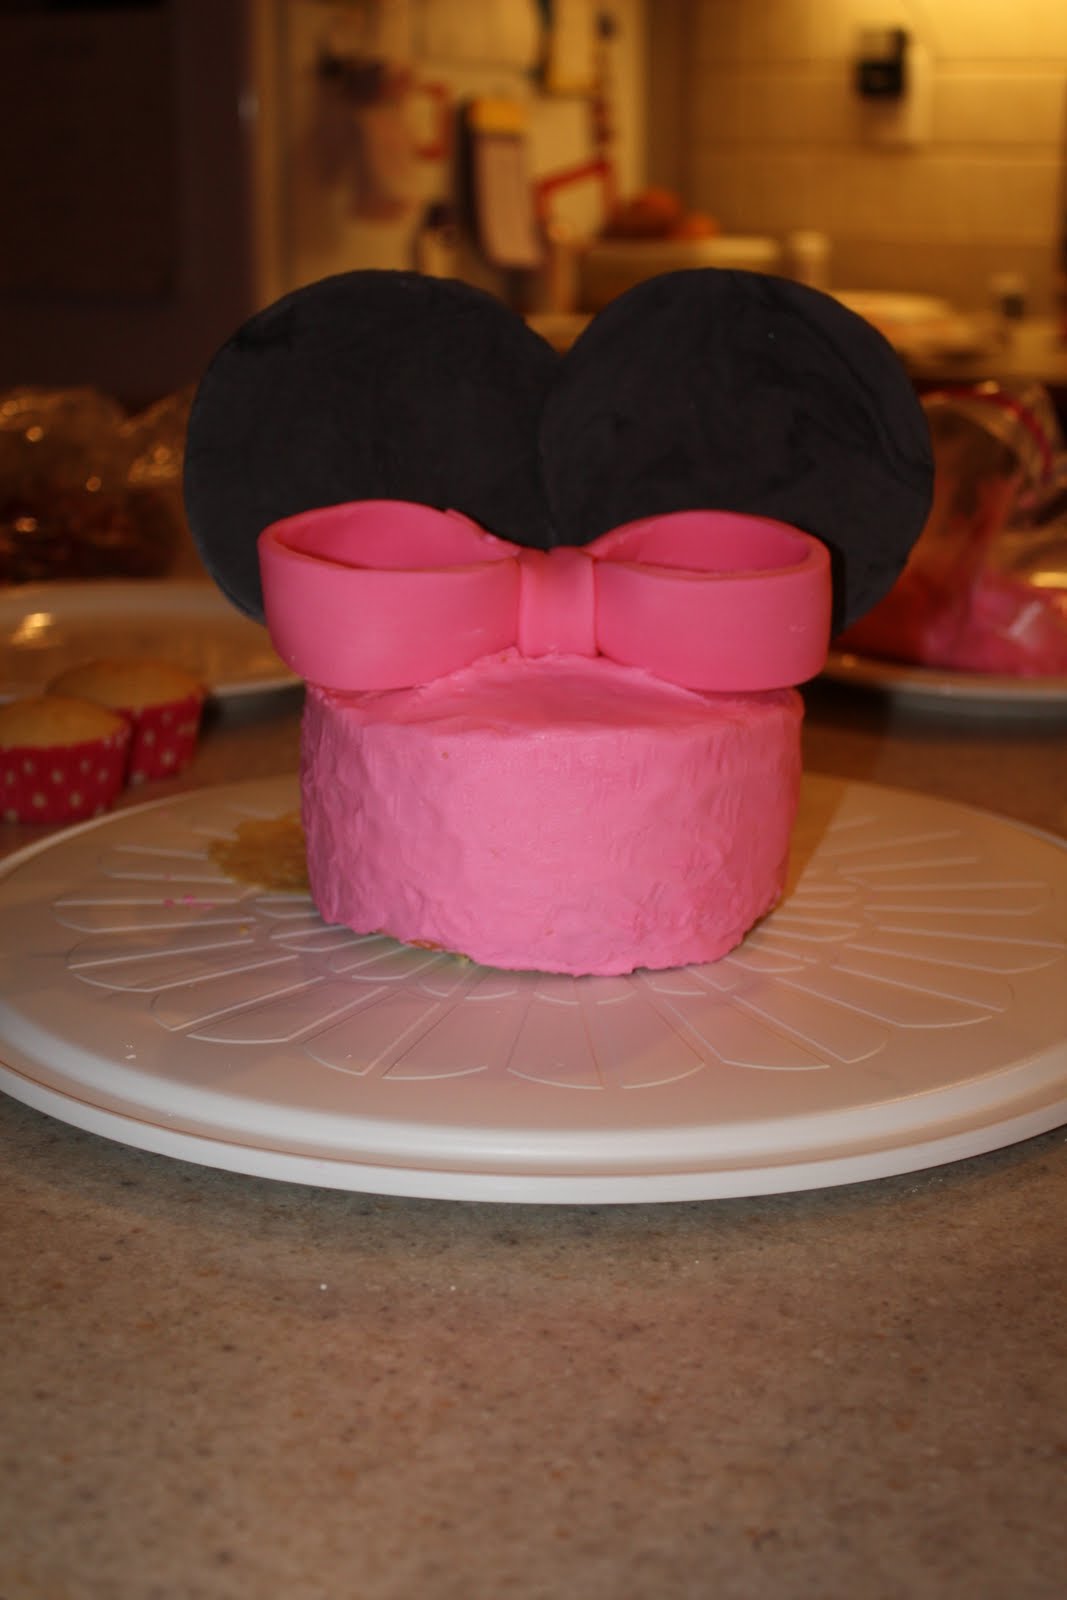
A day before making the cake, I pulled out some really old fondant (we are not planning to eat this) and made the bow (along with some small ones in case I decided to put Minnie heads on the sides of the cake). This was just my second time working with fondant.
I also found some clip art and made the Minnie Mouse cupcake picks..leaving some blank and adding little sis' new age as well as a Happy Birthday greeting on some (using Word's Waltography font...so perfect!)

That same day, I tried my hand at gumpaste for the first time and made the ears. Learned LOTS on that experiment. After kneading in the color pink in the fondant and black in the ears, I was quite tired of kneading. The black in the gumpaste was very challenging for me...there has to be an easier way. The color turned out more black-gray, but it works. I also rolled the ears a little too thin, which made it a challenge to stick in the craft sticks that would help support it once stuck in the cake. Finally, I later discovered that I made the ears a little too big. I think I initially cut them out at the right size, but they grew bigger as I tried to insert the craft sticks.

The next day, made the cake. Decided to do one from scratch and used Wilton's
Golden Yellow Cake.
Next came time to ice the cake and add the bow and ears. I wish I would have set the ears back just a little bit further, but oh well. I was pleased that the tinted fondant and tinted icing (used Wilton's
Buttercream Recipe) turned out to match very closely.

Finally, added the decorating details and iced the cupcakes. First, I wish I had fresh fondant on hand...fondant circles would've looked much better. (I ended up using a tub frosting that I had on hand...didn't have much buttercream left plus I had tinted the whole batch pink.) Second, I had intended to frost my cupcakes following Wilton's
swirl instructions, however I didn't realize that I did not have the needed icing tip until it was too late. I improvised and came up with the not-too-whippy look below.
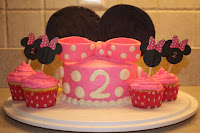
So that's it! Not exactly as I had envisioned, but likely perfect in little sis' eyes!
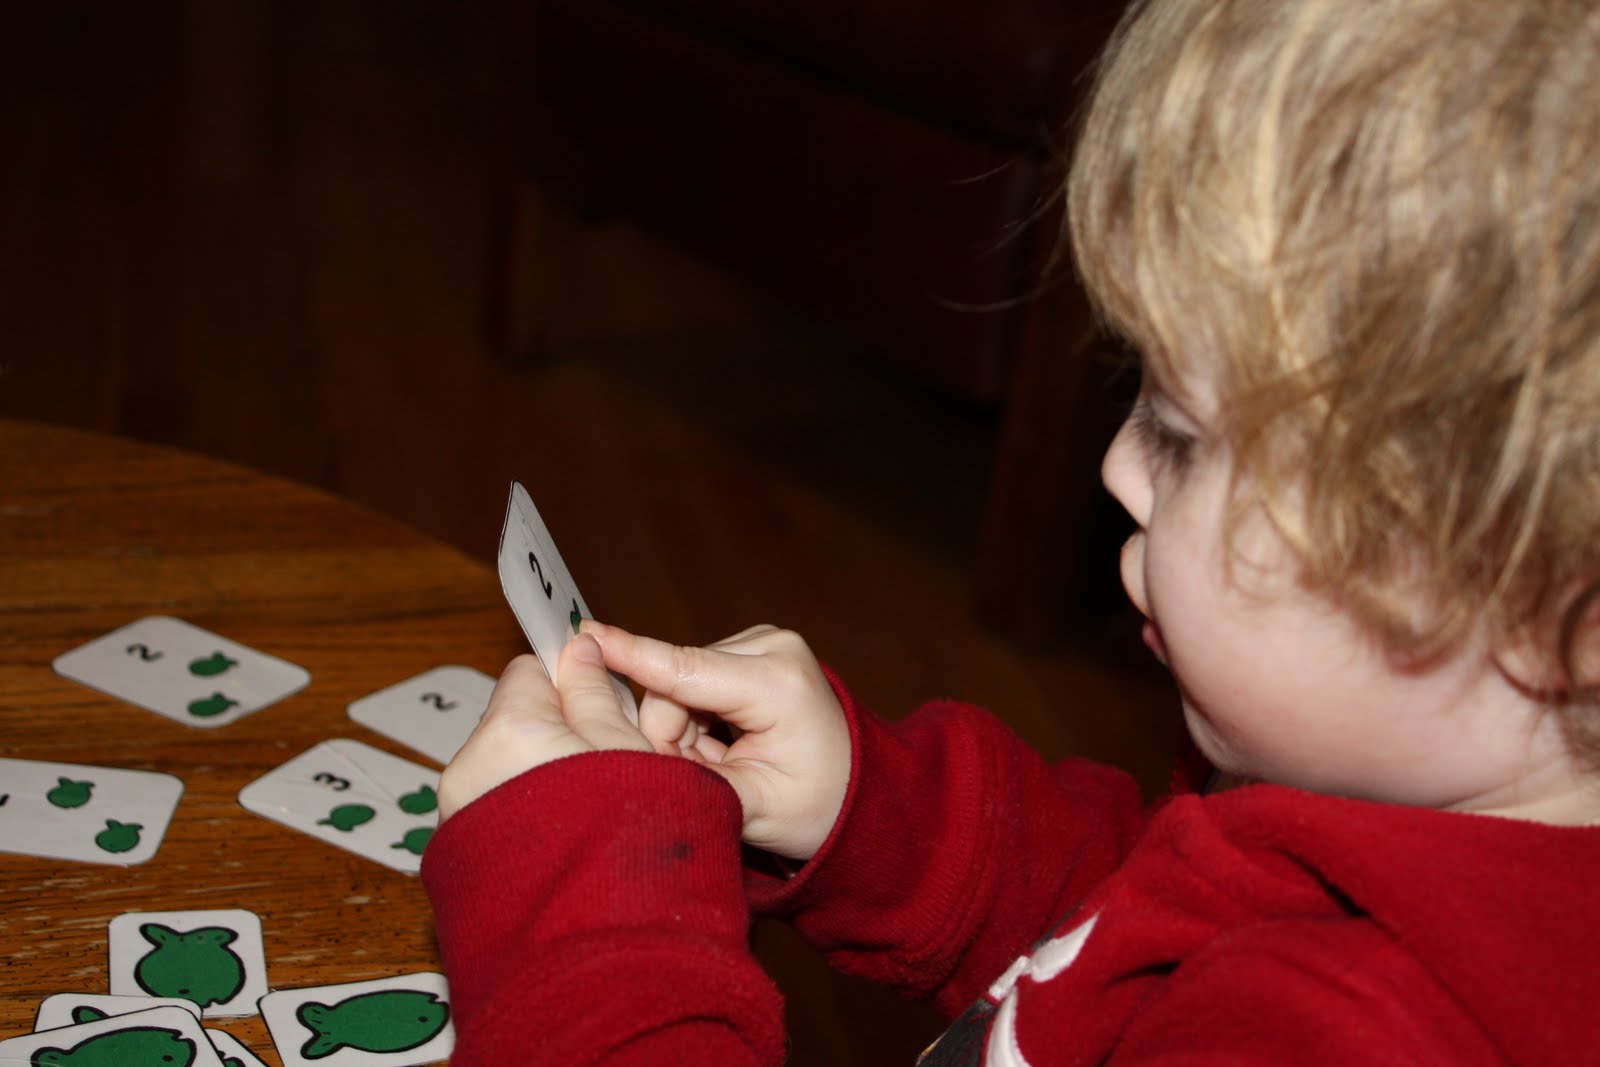
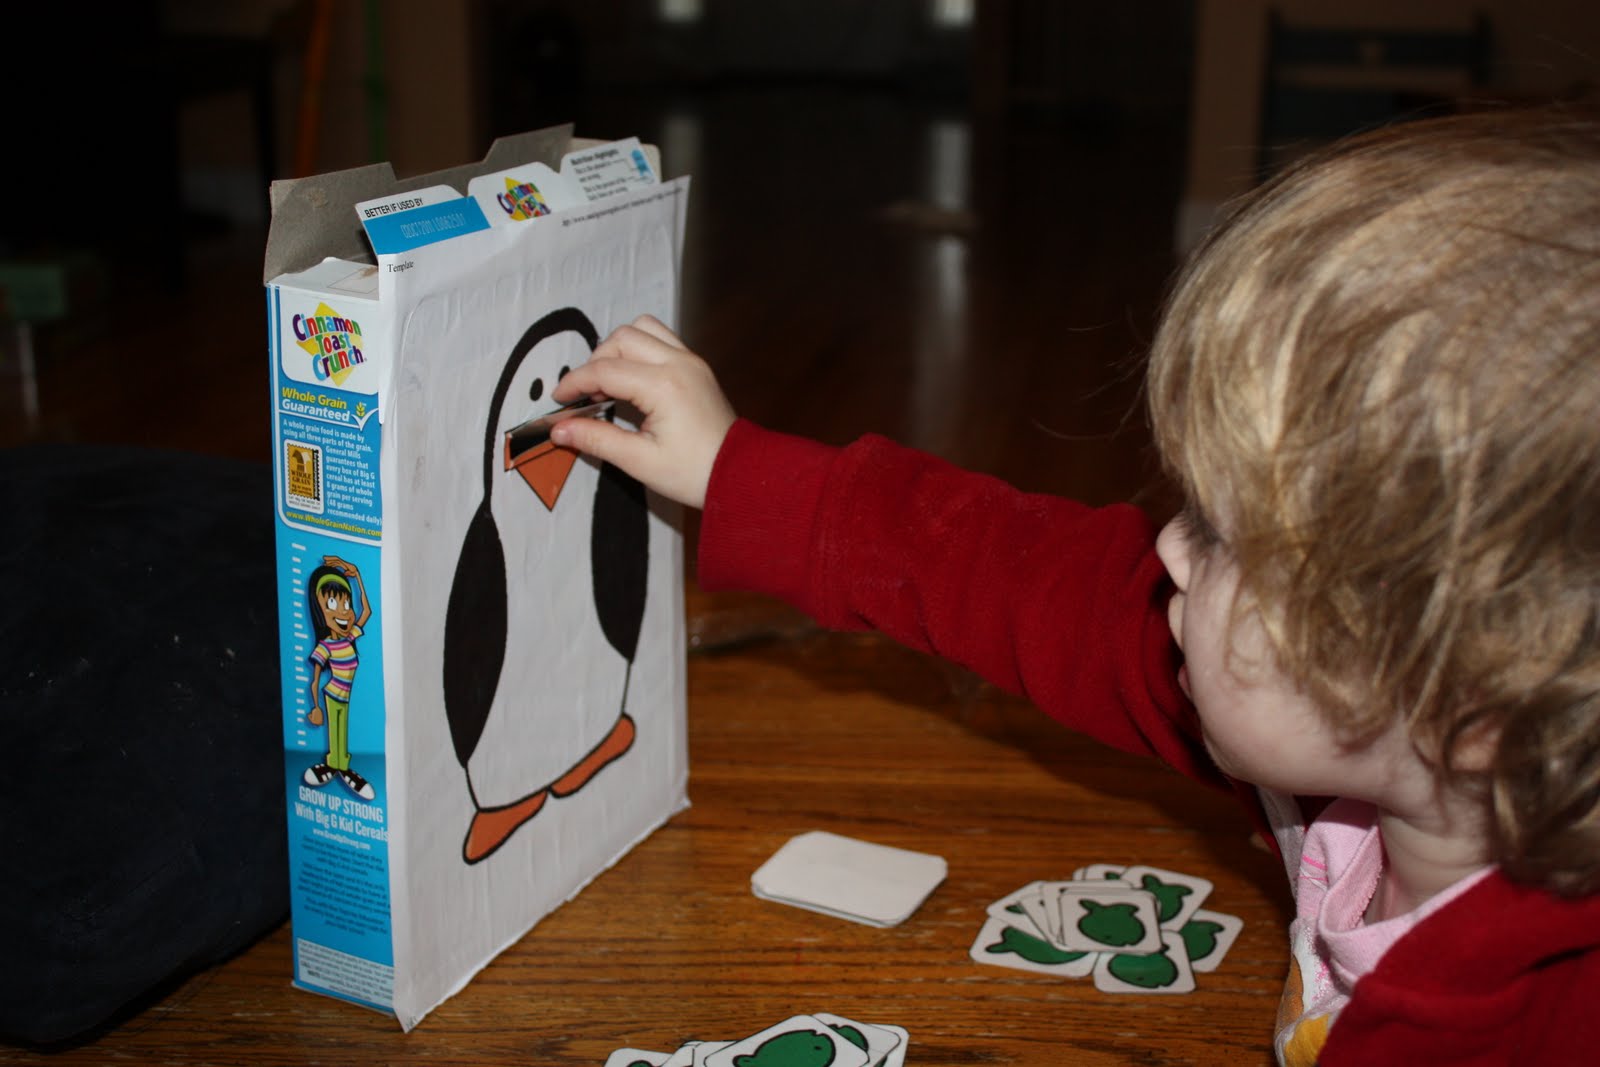
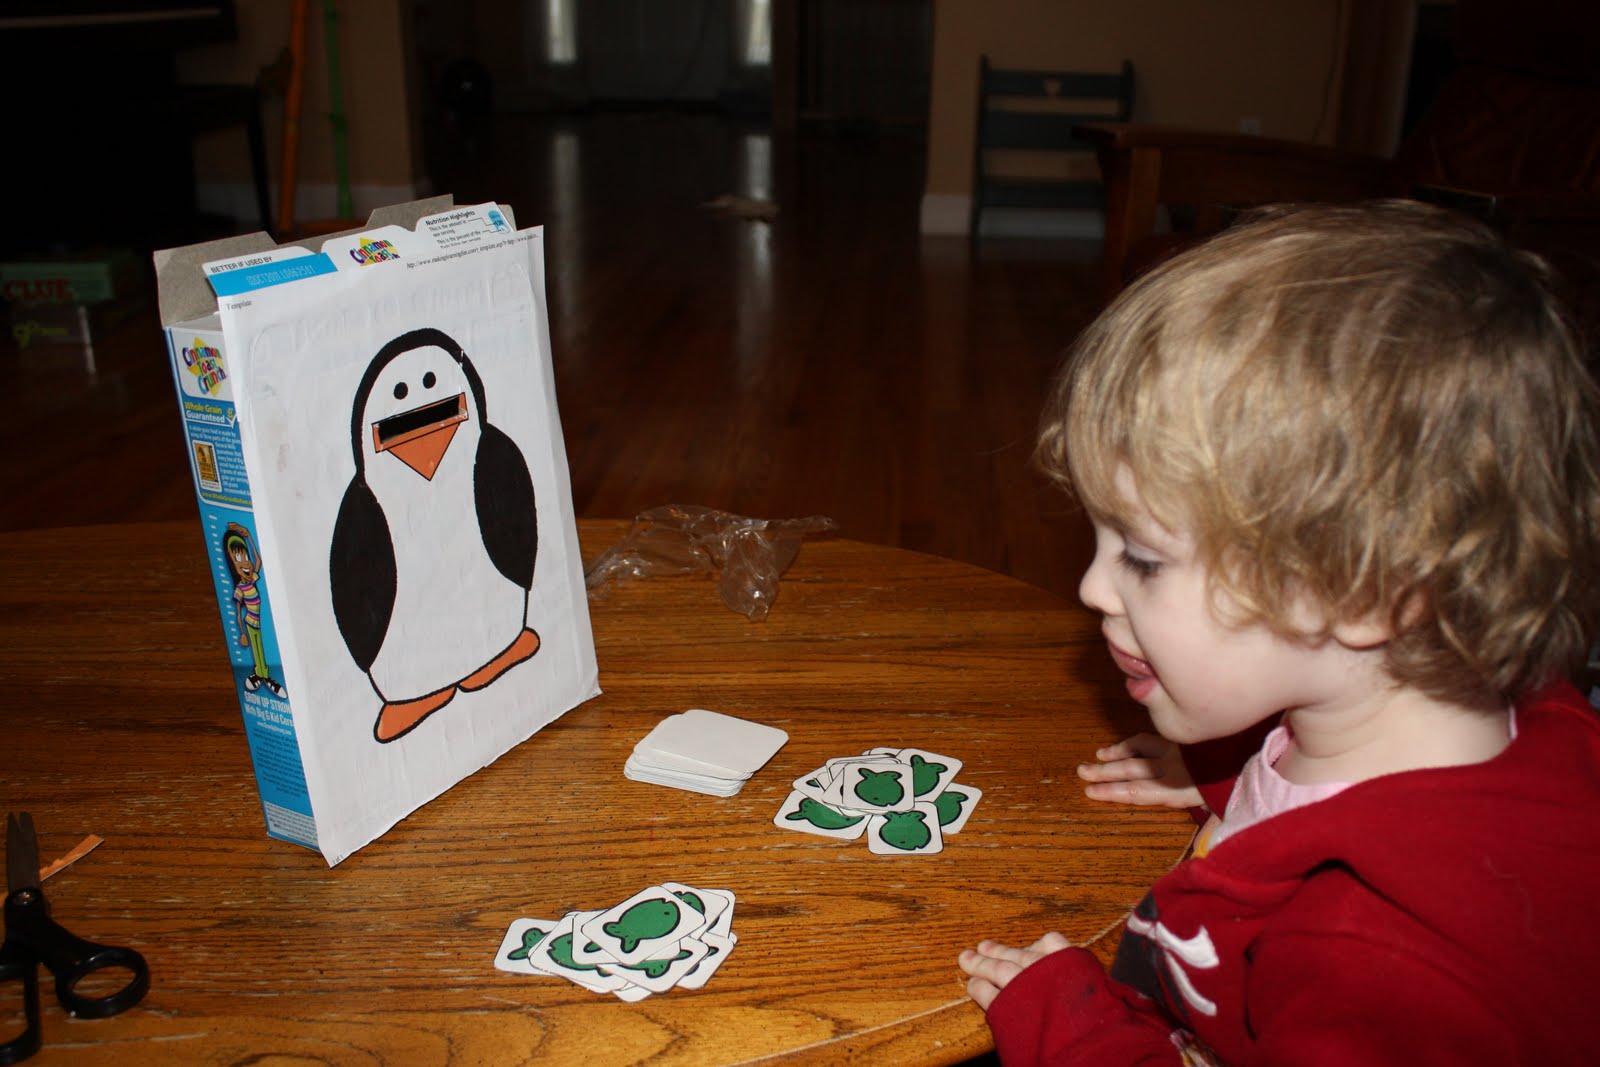 To play the game, we each started out with 15 fish cards. We took turns drawing from the card pile - the cards either showed 1, 2 or 3 fish (both the numeral and a fish representation). Whoever feeds all of their fish to the penguin first is the winner! Big sis loved the game...we didn't play it for terribly long, but I know it will be one she'll go back to for a while!