Saturday, March 5, 2011

Unicorn

Big sis loves unicorns right now, so when I asked her what kind of art project she would like to do on a rainy day I should not have been surprised to hear "unicorn!" I really "winged" this project, so it isn't anything too special, but big sis just loves hers. (It is currently hanging on the wall in her room.)

Supplies needed: white construction paper or cardstock, scissors, markers/crayons/stickers/other supplies for decorating, googly eyes, glue, curly ribbon (or yarn or other item of choice for the tail), feathers.

I used cardstock (8.5x11). First I cut out all the parts of the body: for the main body, I just rounded the edges of one sheet of cardstock. The legs were made from about half a sheet of cardstock and the head was formed out of the other half. Also cut out a small rectangle for the neck and cut out the unicorn horn. (We didn't place ears on it due to some time issues.)

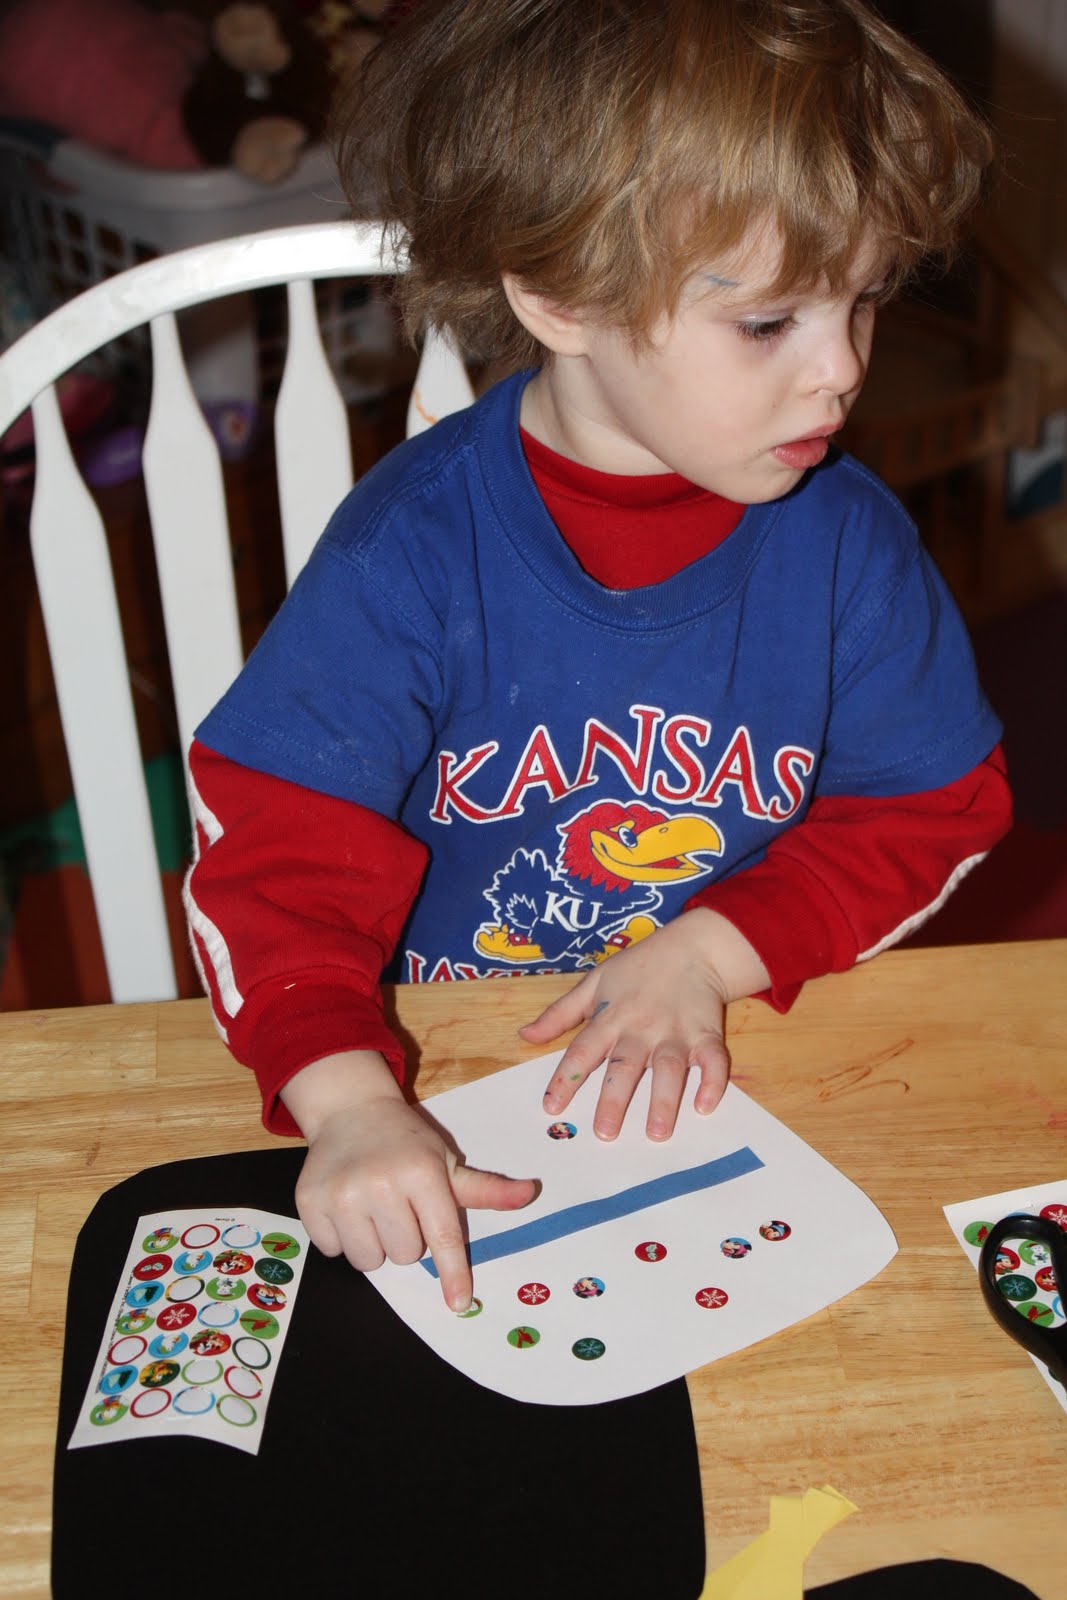
Big and Little Sis colored the "torso" first and also used stickers. (Big sis was determined to color every square inch this time, so little sister wanted to do likewise...they both enlisted Mommy's help for this!)
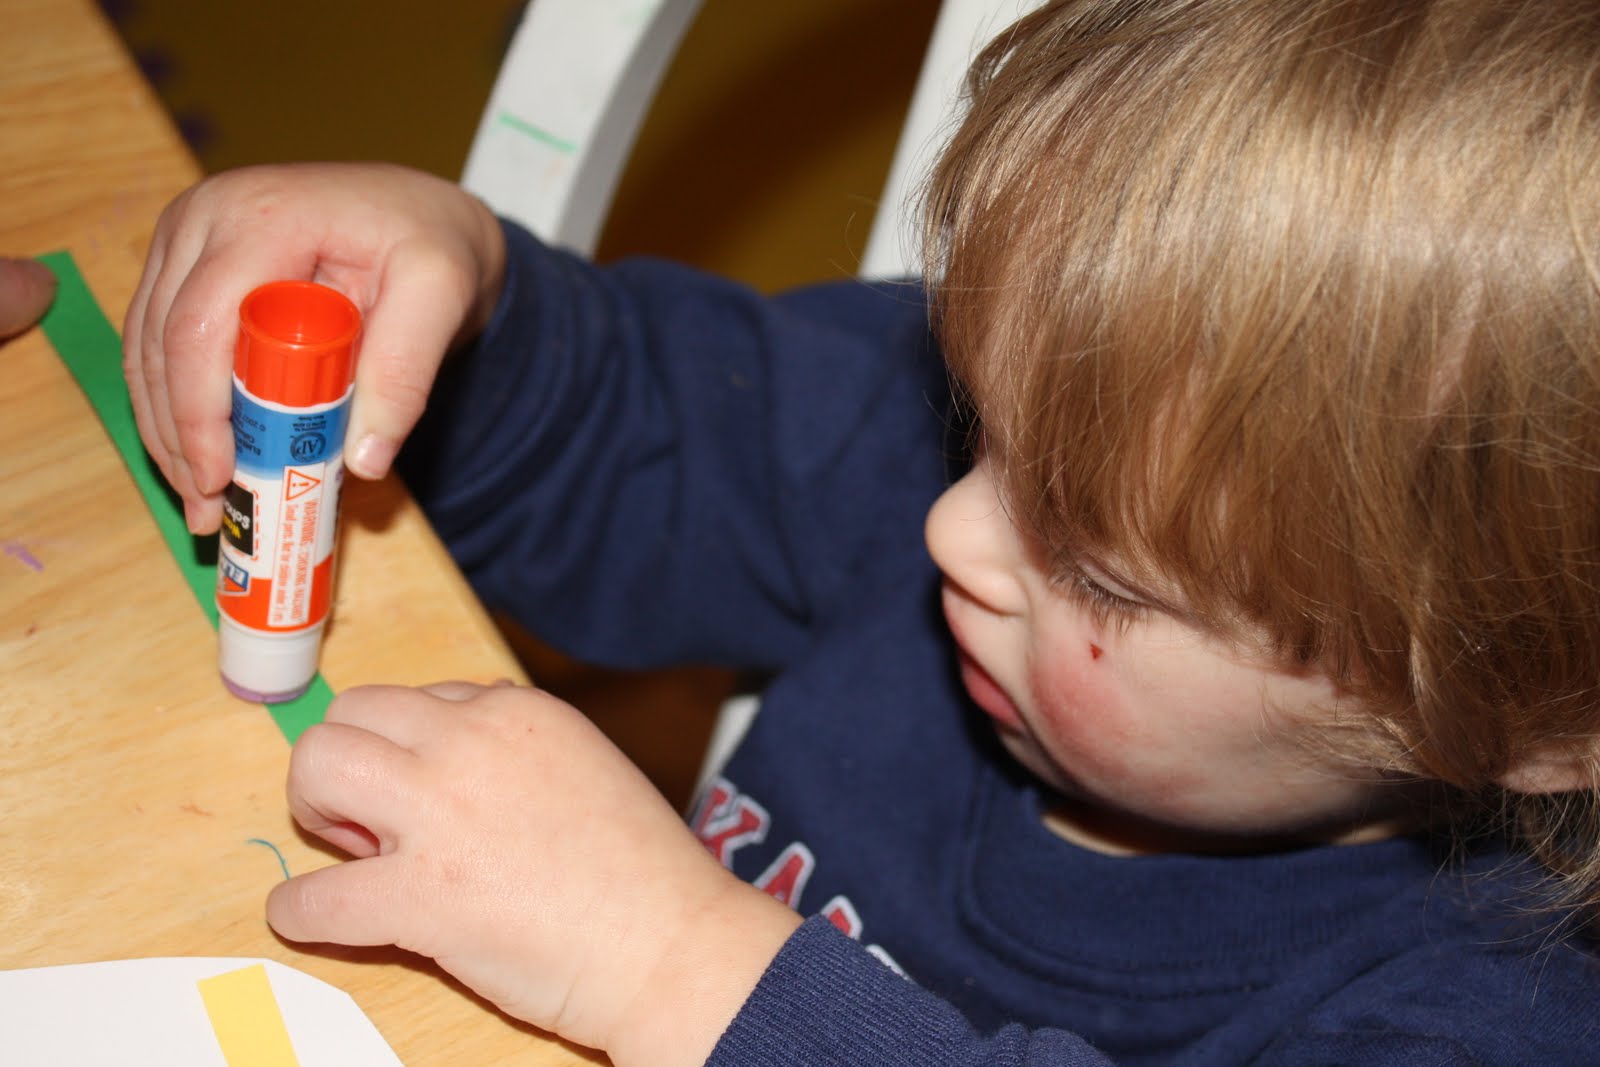
Next, they colored the legs and grew them on. Big sis chose to blue it on the front of the torso. Little sis just wanted to play with the glue and refused to attach her legs. At this point, she decided to move on to something else! :o)
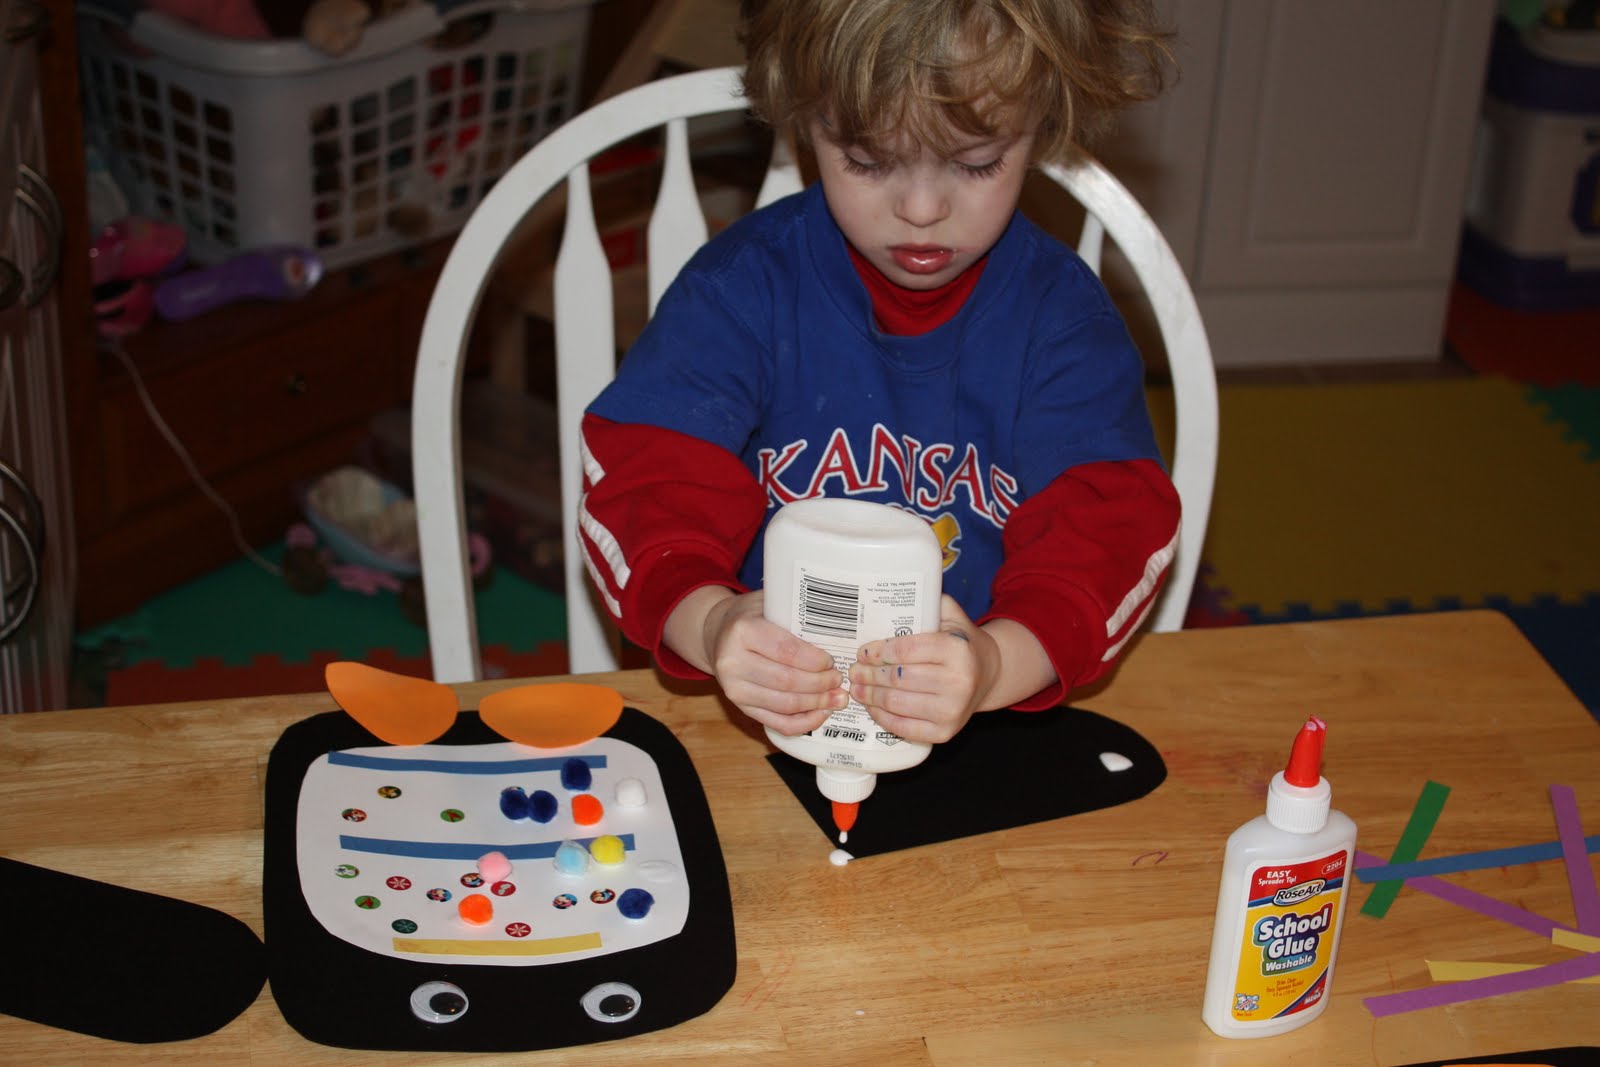
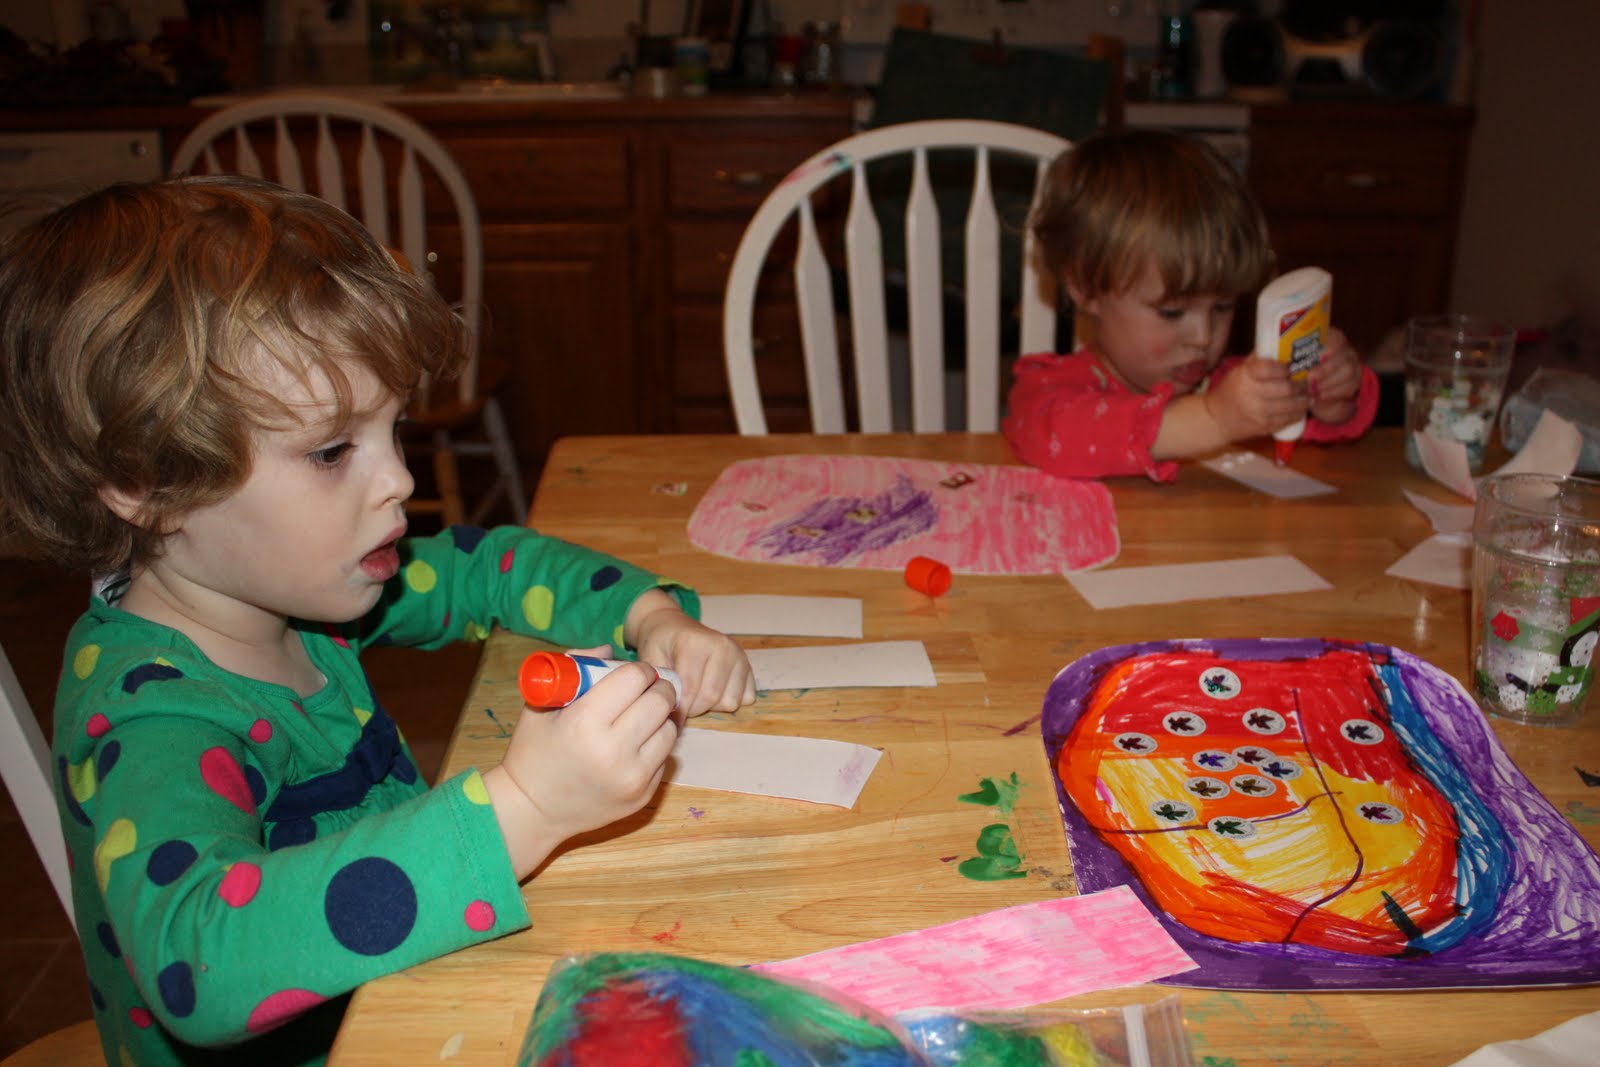
We attached the neck and head, then big sis decorated this part. She glued on googly eyes and a pom pom nose, drew on a mouth and cheeks, then started gluing on feathers for the mane. (She chose to cover the entire neck instead of the back of the neck and head.)

Finally, she wanted to color the unicorn horn and glued it onto the unicorn head.

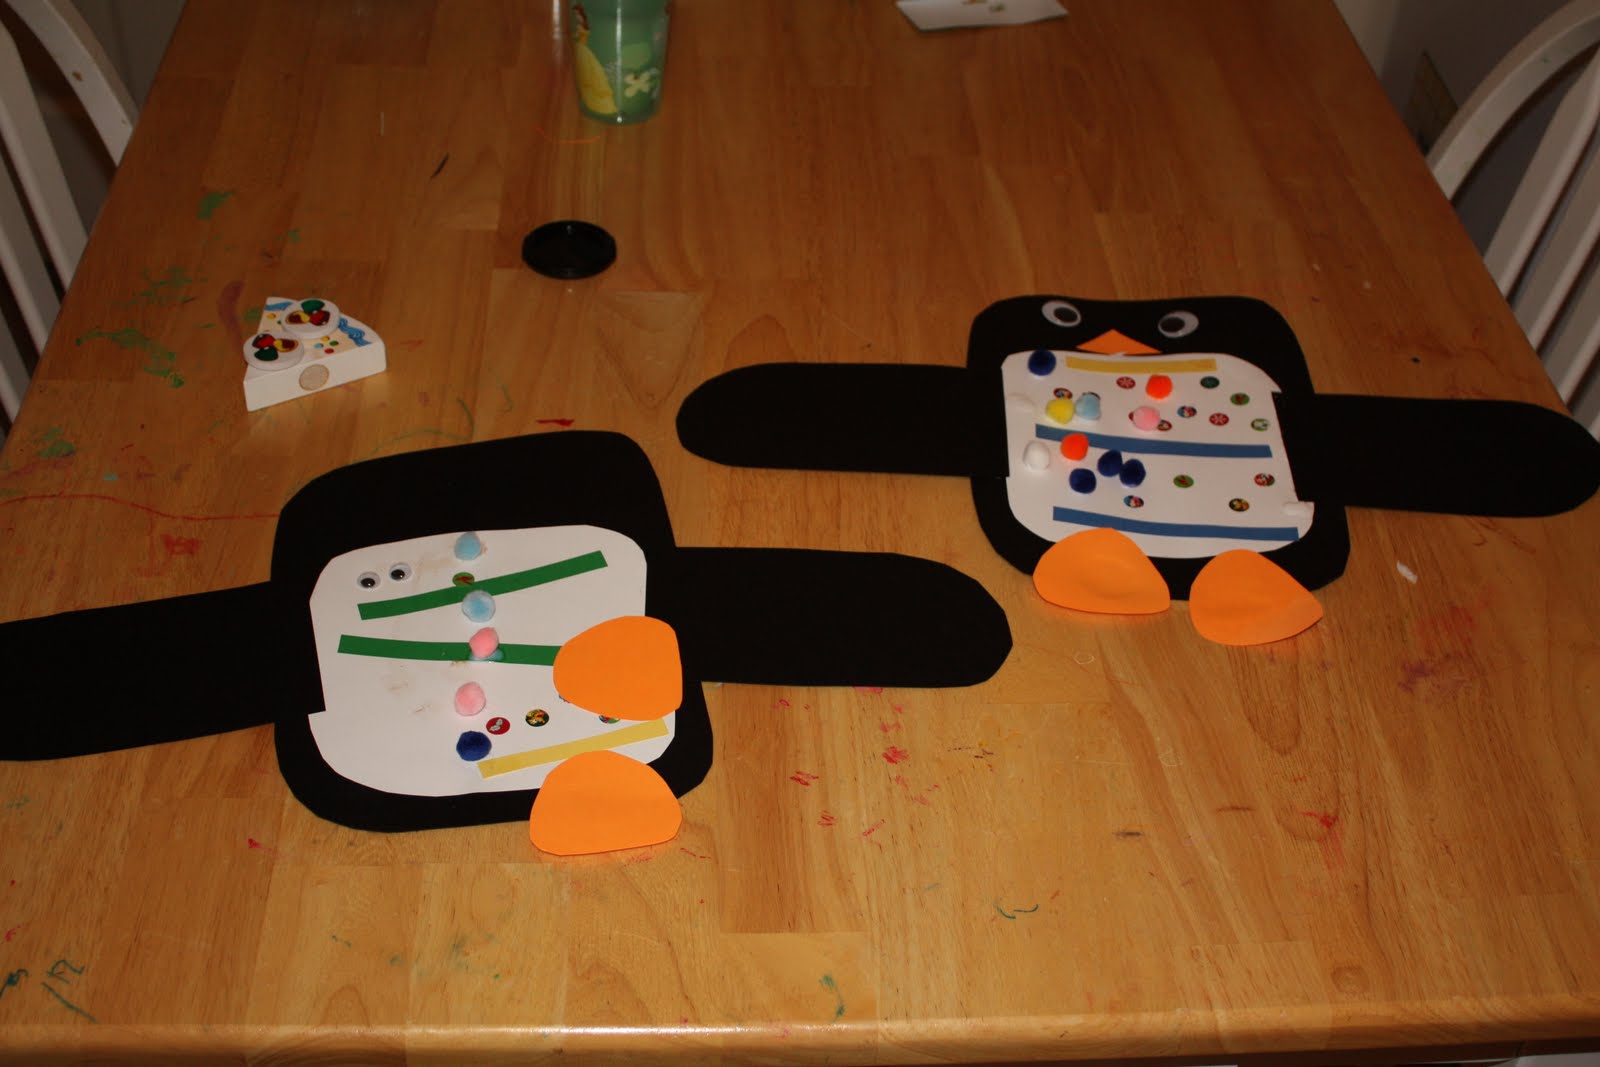
I had her choose ribbon colors, then I did the tail part (partially due to limited time) - curled the ribbon and I ended up just taping it on.
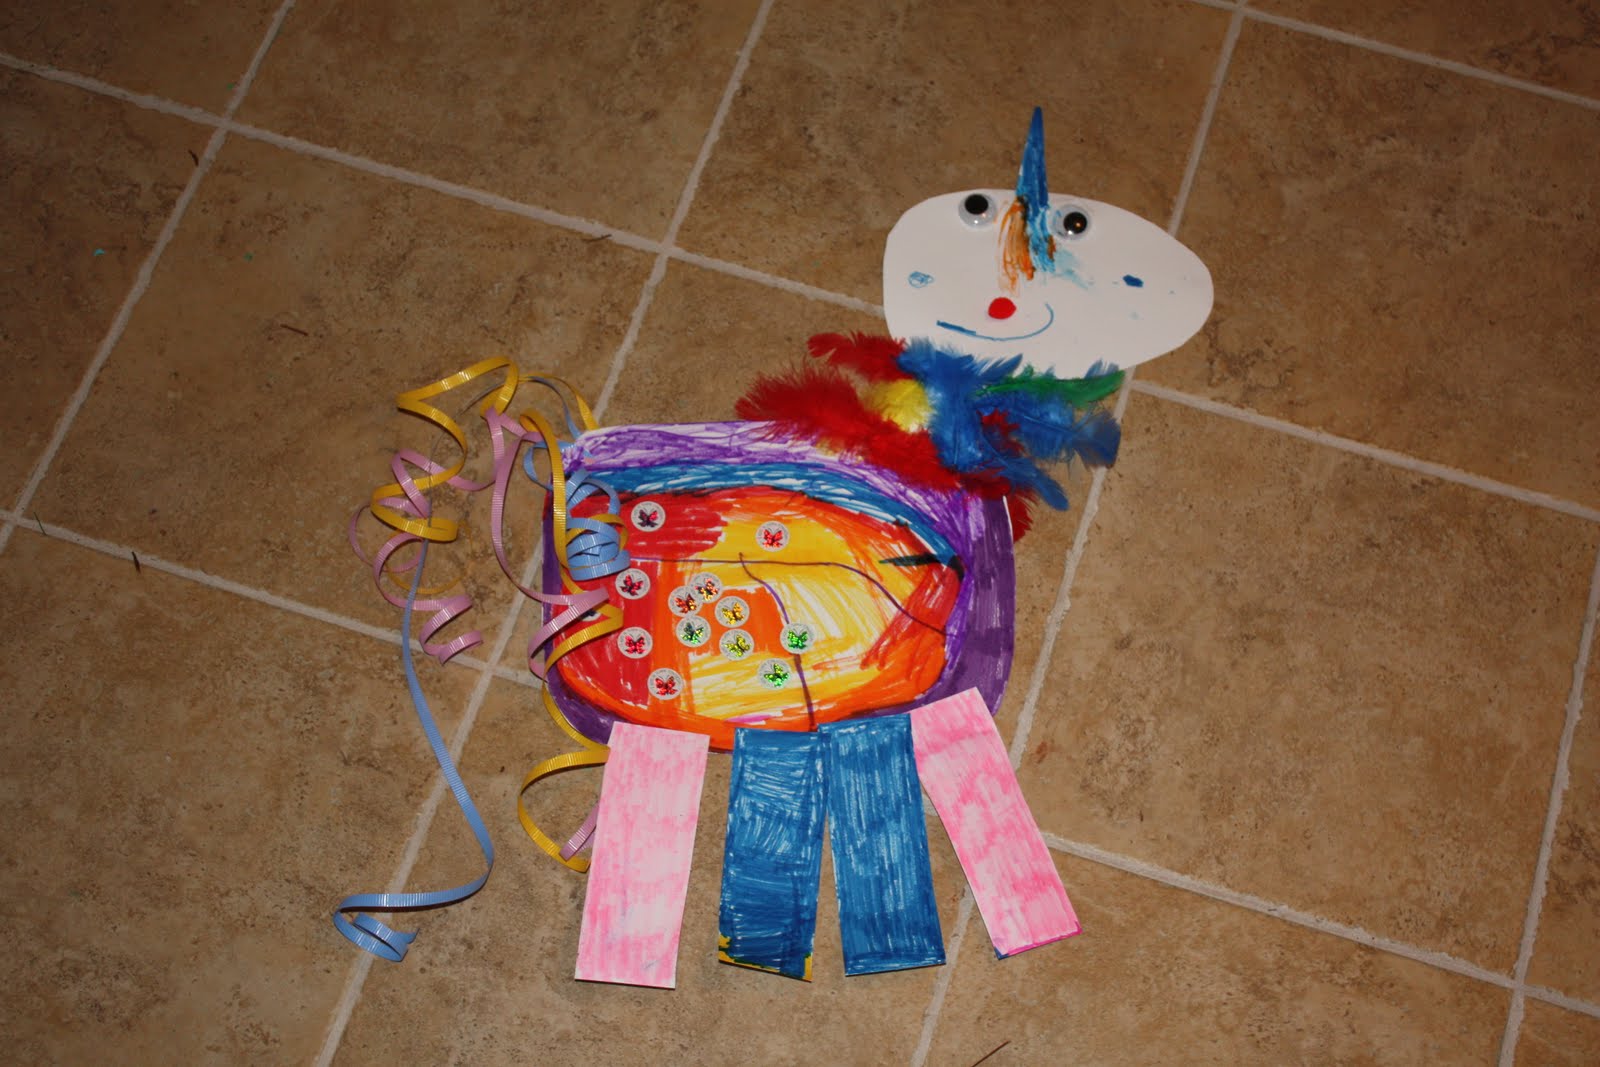
This made for one unique unicorn!

Saturday, February 26, 2011

Big Sis's Art Gallery

Big sis loves to draw and for now, really has quite a knack for it considering her age. So, I've decided to open her very own "Art Gallery" online so our friends and family can see some of her wonderful masterpieces! (Also so that I have a place to save them and we aren't being overrun by papers!)Daddy asked Big Sis to draw a car using her tub crayons, so this was her first car drawing! You can see the wheels, I think windows, and even the ground below (looks like train tracks).


This one is a little hard to see, like the tub drawing...sidewalk chalk! This is Mommy and Daddy pirates, holding hands. (One is wearing an eye patch, both have on pirate hats.)

When I first saw this, I was kind of blown away. Later I found out that she was taking the flower candle and tracing it! Ha!

A picture of someone wearing a hat with a bunch of heart balloons floating around. This was one of the first times she actually gave the person a body - usually the legs and arms just come out of their heads.

An earlier drawing of a person in a hat holding a heart balloon and a flower (it's a stamp from the doodle pad).

The first picture from the doodle pad session - has a hat, holding a flower, has circle stamped shoes and this time has a belly button (the circle below the person's mouth).

Busy painting a card (at one time, there were faces on here but they have been buried by the handprints)

Painting people

Monday, February 14, 2011

Tell Me a Story

Let me start this entry by stating that I am not receiving anything for this review...just sharing a toy/book that we have fallen in love with! It may not be every child's cup of tea, but our eldest just loves these!

We stumbled upon eeBoo's Tell Me a Story cards at our local toy store. We opted for the Fairy Tale Mix Ups version. Basically, it is a box filled with neat illustrations related to fairy tales. There is a card with some suggestions for use inside, but we've had fun creating our own ways of using the cards. Right now, here is what we are doing so far...

*We pick out several cards (at least 3) and my eldest will hand us one card at a time as we tell a story using the pictures on the card. We usually have her help with certain parts of the story.

*Occasionally, my daughter will tell a story. She usually doesn't like to do this in front of us...she waits until she is in her room alone at bedtime and will tell a story to her stuffed animals!

*A new favorite game created by Daddy is to act out the cards. One of us will tell the story while everyone else acts it out. (Our youngest hasn't quite caught on to this yet, so I know it will become even more fun when she can participate.)

I am thinking about purchasing another set, but I know the fairy tale set will remain the favorite for now!!

Wednesday, February 2, 2011

Penguin Craft

Big sis has been asking to do a penguin craft, so I had her look through several ideas as we decided what to do. She fell in love with the one from Our Crafts N Things. (This made my work fairly easy!)

Needed supplies: Black, white, orange construction paper or card stock, googly eyes, things to decorate the penguin's tummy (we used the same as the other post - pom poms, colored construction paper, left over Christmas stickers).

First, I cut out all of the basic body part shapes: the body, two flippers per penguin, two feet and a beak per penguin. Since big sis really liked that particular penguin, I also cut some strips of colored construction paper.

Next, I had the girls decorate the penguin's tummy. They used glue sticks (much easier for them) to glue on the colored strips while also adding some stickers. Next, they glued the tummy onto the body. Finally we glued the pom poms onto the tummy using squeeze glue (had to help little Sis with that part).Big sis decided the assembly order, so next we glued on the eyes, the feet, the flippers, and finally the beaks. Both girls had a lot of fun and really seemed to like this project. (We call Little Sis' the "Picasso version" as she chose to glue her eyes sideways on the belly and did likewise with her feet.)

"Stained glass" heart (or suncatcher?)

Big sis has mostly just wanted to engage in free style card making for Valentine's Day (all cards have gone to Daddy so far!), so this was our first, and possibly only, V-Day craft this year. The idea came from No Time for Flashcards and Our Crafts n Things.

Supplies needed: Wax paper (or I suppose parchment would work), tissue paper, sharpie marker, glue, scissors, possibly a hole punch and ribbon

First, I drew a heart on a piece of wax paper using a Sharpie marker. I had the girls tear pieces of tissue paper (which they weren't really wanting to do, so I ended up helping quite a bit). I mixed some glue and water and had them drag the tissue paper bits through the glue and lay them on the wax paper. Little sis lost interest after 5-6 strips, so I helped finish hers.We let them dry over night and I cut them out, hole punched, and added hanging ribbon the next day. Lots of possibilities for this craft. May try making several shamrocks with the girls to hang in our window (or maybe Easter eggs) later this spring! Big sis had fun wearing hers, although had I known she wanted to do that, I would have made them a little bit smaller!Happy Valentine's Day!